4
Quick Install Guide – GAS Model
FINAL STEP
The installation of your iGuardStove is complete! To open your ONLINE ACCOUNT go to our website
www.iGuardFire.com and under the Owners tab on the main menu click on How To Set Up Your
Online Account
http://iguardfire.com/set-up-online-account/
in your browser
.
Handy Tip:
The iGuardStove works best when the motion sensor has the best view of the highest traffic area in
the kitchen. Mount the control panel on the side of the stove that will see the most motion.
⚠
WARNING
The Gas model MUST be installed by a qualified gas fitter or plumber and they can
follow the instructions below.
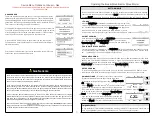
1. Pull the stove away from the wall and unplug stove from wall outlet.
2. Turn off the main gas shut off valve, disconnect the flexible gas hose and install the iGuardStove
Gas Valve Power Box inline with the stove gas hose.
•
Be aware of the gas flow direction arrow when Installing valve
•
DO NOT mount the valve upside down.
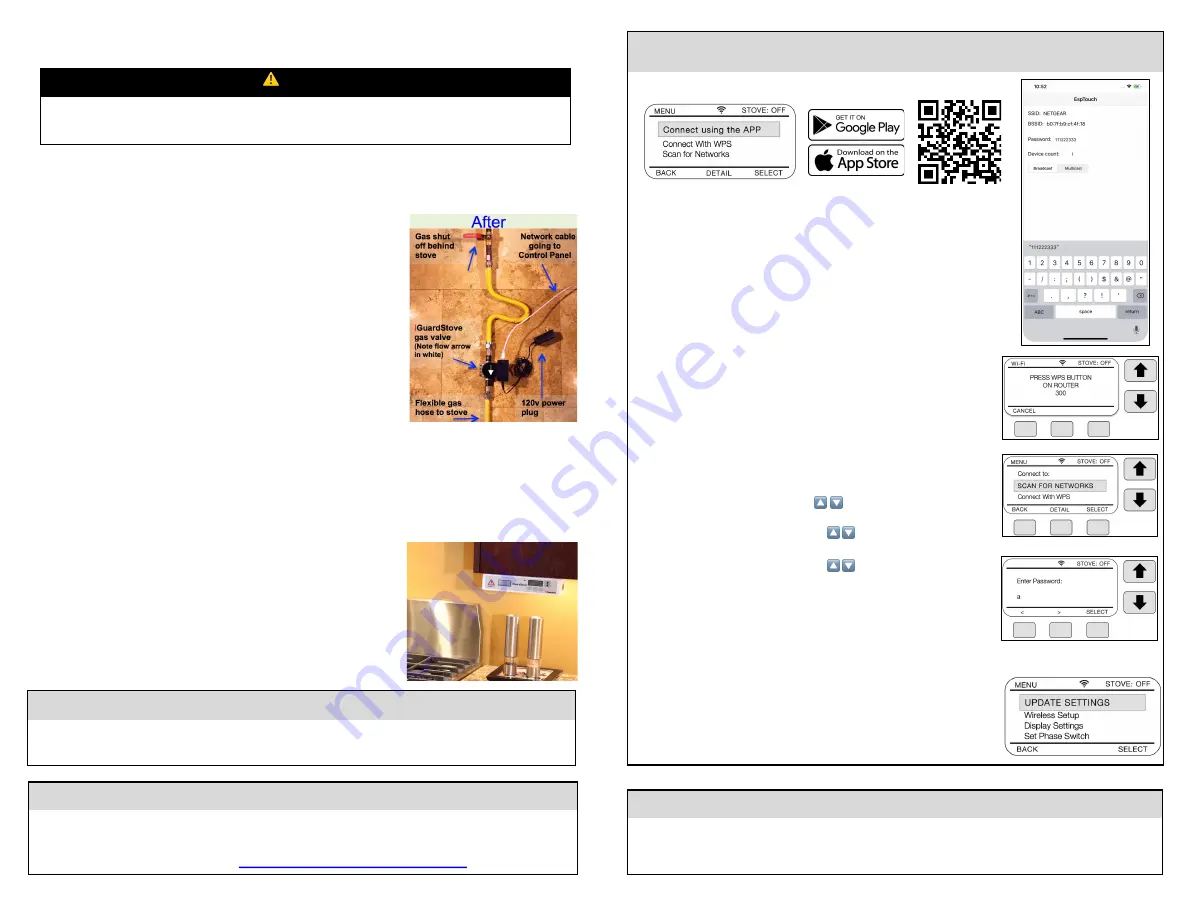
3. Plug the power transformer into the 120 volt wall outlet behind
the stove and the other end into the iGuardStove
Gas Valve Power Box.
4. Connect one end of the network cable into the iGuardStove
power box and connect the other end of the network cable into
the back of the iGuardStove control panel. Use the Start/Stop button
to toggle the gas valve open and closed to make sure it’s working.
5. Make sure the iGuardStove gas valve and cables are out of the way and against the back wall, and
then slide the stove back into place.
6. If you need to secure the network cable against the wall from the countertop up to the underside
of the upper cabinet use the plastic wire channel with a peel and stick backing that’s in the box. Its
also works well if you can hide the wire behind the gyprock or inside the wall.
7. Use the 2 screws to mount the iGuardStove control
panel underneath the upper kitchen cabinet beside the
stove and close to the front where the motion sensor
has a good view of the cooking area and is easy to
reach. Do not mount above the stove or in other
hazardous spots.
Operating Note:
•
After you turn the stove off the words “Protection Enabled” will disappear in 3 or 4 minutes.
•
Pressing the “Emergency” button will instantly shut the stove off. (To resume cooking press
“Reset” to turn the stove back on.)
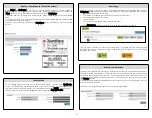
Wireless Setup
Press Menu and scroll to Wireless Setup. You will find 3 options.
(A) Connect Using the APP
Download the Espressive ESPTouch app by using this QR Code and
your phones camera. Chose either Google Play for Androids or the
Apple Store for iPhones.
Open the APP and chose the network you want to connect with and
then enter the password using the phones keypad.
When done choose “Confirm” at the bottom.
(B) Connect using WPS AUTOMATIC CONNECTION
For newer routers you can use the very simple WPS
(Wi-Fi Protected Setup) feature. Simply press and hold the Menu
Button for 2 seconds to enter into the Menu and down to Wireless
Setup and then chose “Connect with WPS” option.
Press “Select” and then press the WPS button on your router and
then wait until they connect.
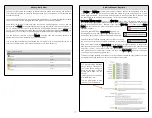
(C) Scan for Networks Connect MANUAL CONNECTION
Scroll to Wireless Setup using the
🔼 🔽
arrows and choose
“Select”.
Then enter your password using the
🔼 🔽
arrows to select the
Then enter your password using the
🔼 🔽
arrows to scroll through
lowercase, upper case symbols and then numbers to select the
character you want and then move to next position by pressing
the > button.
Do not press ACCEPT until the final step.
After a successful
connection use “Back” to get to Main screen
NOTE: To confirm that the device is connected properly go back
into the Menu and now the very first Menu option should be “Update
Settings
”. If you do not see this then you need to try to connect it
again but before you do that you could try to unplug the power to the
i
GuardStove
for 5 seconds and then power it back up. If not then try
to reconnect using methods A or B again.

