Part 2 - Configuration
49
•
Remote Audio Channel
: Transmits the selected
channel’s audio to the remote program. Select
Select
From Client
to stream audio of the channel selected
on the remote program.
Audio skipping and sync issues can occur under poor
network conditions.
•
Enable SSL for Transferring Data
: Applies SSL
(Secure Sockets Layer) protection on remote viewing
and recording data transmissions.
•
If using the SSL feature, it will not be possible to
connect to the DVR from a remote program or a
network keyboard that does not support SSL.
•
Changing the SSL setting temporarily severs all
remote connections to the DVR in order to apply the
change.
•
This product contains content developed by
OpenSSL Project for use in Open SSL Toolkit (http://
www.openssl.org/).
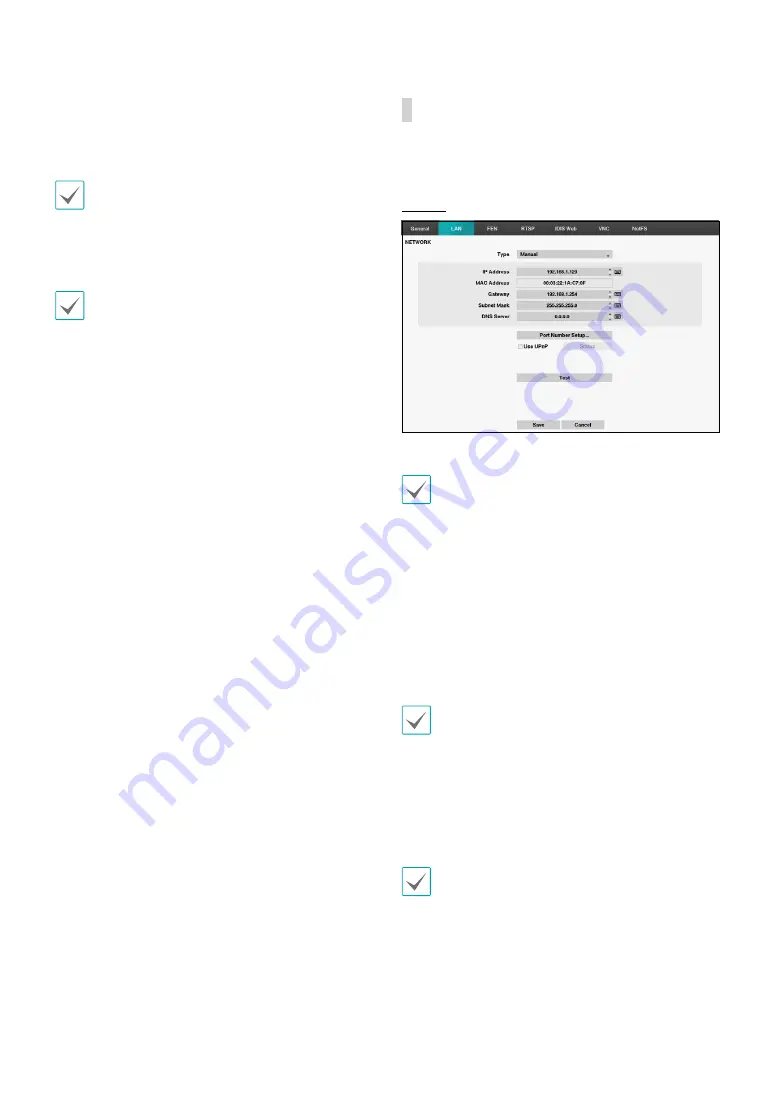
LAN
Designate the IP address type as
Manual
or
DHCP
.
Manual
•
Set
Type
to Manual.
Manual
lets you configure related settings manually.
Configure
IP Address
,
Gateway
, and
Subnet Mask
settings manually using the remote control's arrow
buttons or the mouse wheel.
•
DNS Server
: Enter the DNS server’s IP address. The IP
address can also be entered using the mouse wheel.
•
Port Number Setup:
Change the numbers by
highlighting them and using the Up and Down
arrow buttons to increase or decrease the number.
The factory default Port settings are: 8200(Remote
Admin), 8201(Remote Callback), 8016(Remote Watch),
and 10019(Remote Search).
You will need to get the appropriate Port Numbers
for each IDIS Center and IDIS Web related program
(Admin, Callback, Watch and Search) from your
network administrator.
To use the
UPnP
(Universal Plug and Play) feature, select
Use UPnP
. If using an IP router (or NAT), UPnP service
allows the device to automatically forward the port to
the DVR.
•
This port is used to access a port that has a private
IP address.
•
In order to use the UPnP service, the IP router (or
NAT) must support UPnP port forwarding and have
the relevant options enabled.
•
Port number cannot be changed with
Use UPnP
selected.


