Part 2 - Configuration
41
Self-Diagnosis
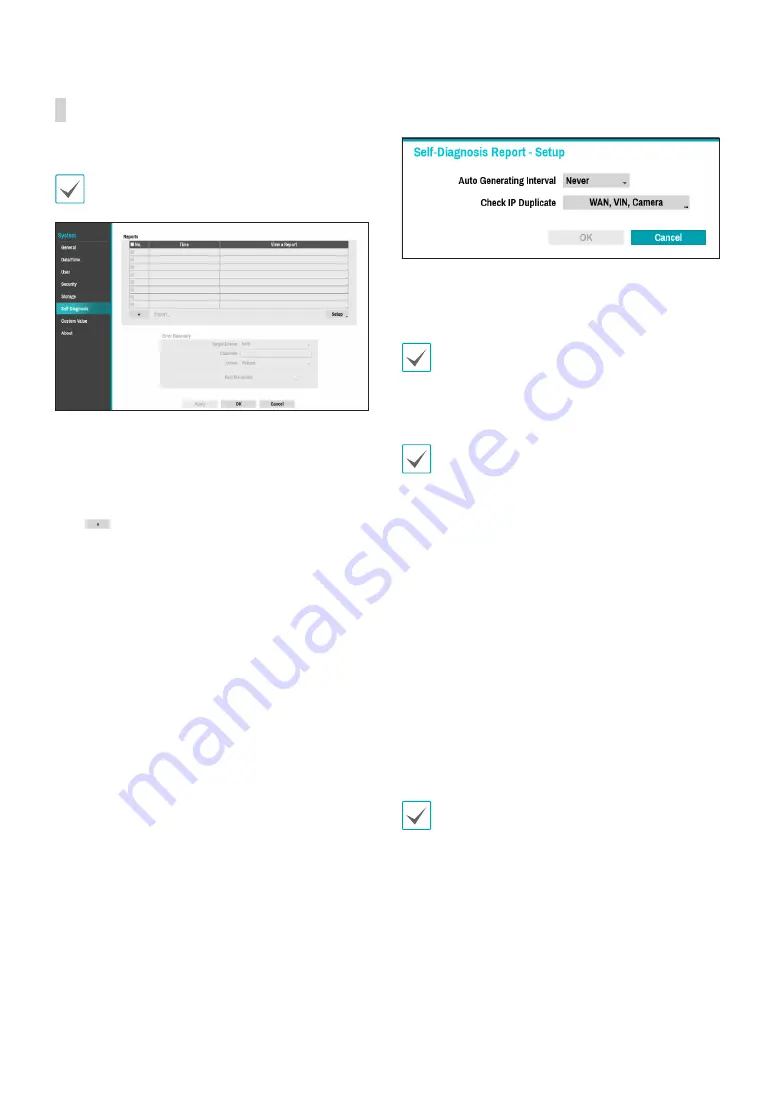
Use this option to configure self-diagnostic settings.
This feature is also supported when connected to the
NVR from a remote program.
●
Reports
–
No.
: Selects which reports to export.
–
Time
: Displays when you started the self-diagnosis.
–
View a Report
: Briefly displays whether the report
is “Good” or “Bad”.
–
:
Click the + icon at the bottom left corner of
the screen to run the self-diagnosis
.
–
Export
: Saves the Saves the reports to a storage
device, such as the USB port and NetFS site, by
converting them to HTML format. You can export
more than one report at a time by selecting
multiple reports.
●
Set up
Auto Generating Interval and Check IP
Duplicate.
–
Auto Generating Interval
: Select any time period
between 6 hours and 7 days.
–
Check IP Duplicate:
Check the IPs of the WAN, VIN,
and Camera are network-specific.
•
These settings can be periodically checked for IP
duplication, but Camera IP duplication checks have
a long verification cycle, so you can check the results
immediately after self-diagnosis.
•
Camera IP duplication checks only the VIN network.
•
The reports are stored in up to 24 files. If you have
configured
Auto Generating Interval
as one-day
period, only the reports from the last 24 days can be
viewed.
•
If the NVR is turned off, the reports will
automatically turn off.
•
The reports are organized by recent date and time.
●
FailOver:
When a problem is detected on the target
device, click the
Run the failover button
to resolve
the problem.
–
Target Device.
: Selects which device to run the
failover.
–
Channels
: Select the camera channel if a camera is
set to the target device.
–
Action
: Select the type of action to run the failover.
–
Run the failover
: Click the
Run the failover
button when a fail is detected on the target device
to resolve the problem.
Once
Run the failover
have made to the camera, the
camera will reboot automatically.


