Part 3 - Remote Setup
21
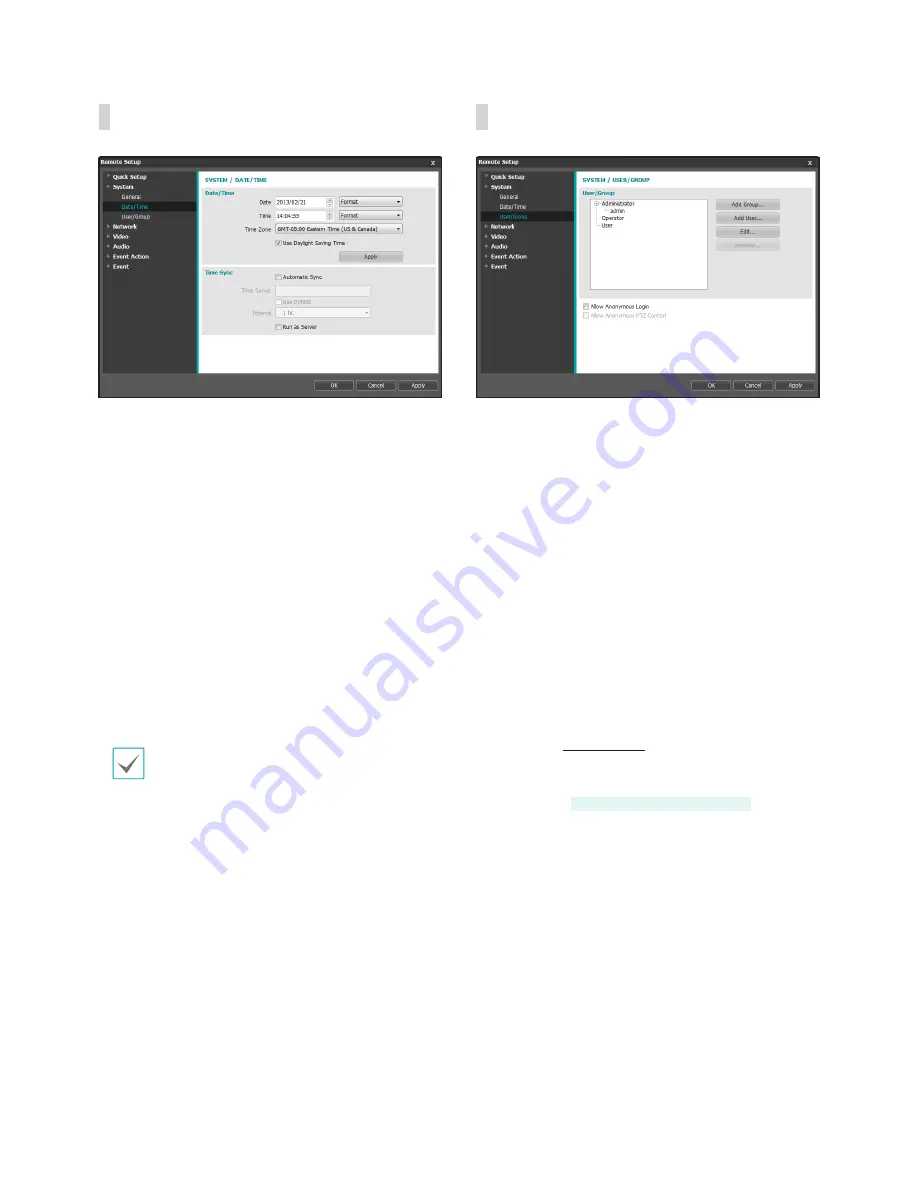
Date/Time
•
Date/Time
: Change the camera's date/time
settings and display formats and configure the time
zone and daylight saving time settings. Click
Apply
to apply the changes right away.
•
Time Sync
-
Automatic Sync
: Select to synchronize the
system's time with the time server at a specified
interval. Enter the time server's IP address or
domain name and then specify the interval. If the
time server is
FEN
-enabled, select the
Use FEN
option and then enter the time server's name
instead of its IP address or domain name.
-
Run as Server
: Select to run the camera as a
time server. Other devices will then be able to
synchronize its time setting with this camera's
time setting.
If you wish to enter a domain name instead of
an IP address for the
Time Server
setting, DNS
server must be configured during
Network
setup.
If you wish to enter a server name instead of an IP
address or a domain name, the
Use FEN
option
must be enabled during
Network
setup.
User/Group
•
User/Group
: Change remote camera control
permission settings for users and user groups.
-
Add Group
: Add a new user group. Designate
a name for the group and then specify control
authorities.
-
Add User
: Add a new user. Designate a name for
the user, select which group to add the user to,
and then enter a connection password.
-
Edit
: Edit group authorities and/or user
passwords. Select a group or user and then click
on the button.
-
Remove
: Delete groups or users. Select a group
of user you wish to delete and then click on the
button.
•
Allow Anonymous Login
: Select if you are using
Webcasting. For more information on webcasting,
refer to the
Webcasting
on page 31.
•
Allow Anonymous PTZ Control
: Select to control
the pan/tilt driver remotely from a website using
webcasting.
DC-B1103 / DC-B1203 only


