Part 3 - Remote Setup
20
System
Change the camera's system information, add users/
groups, and/or import/export settings.
General
•
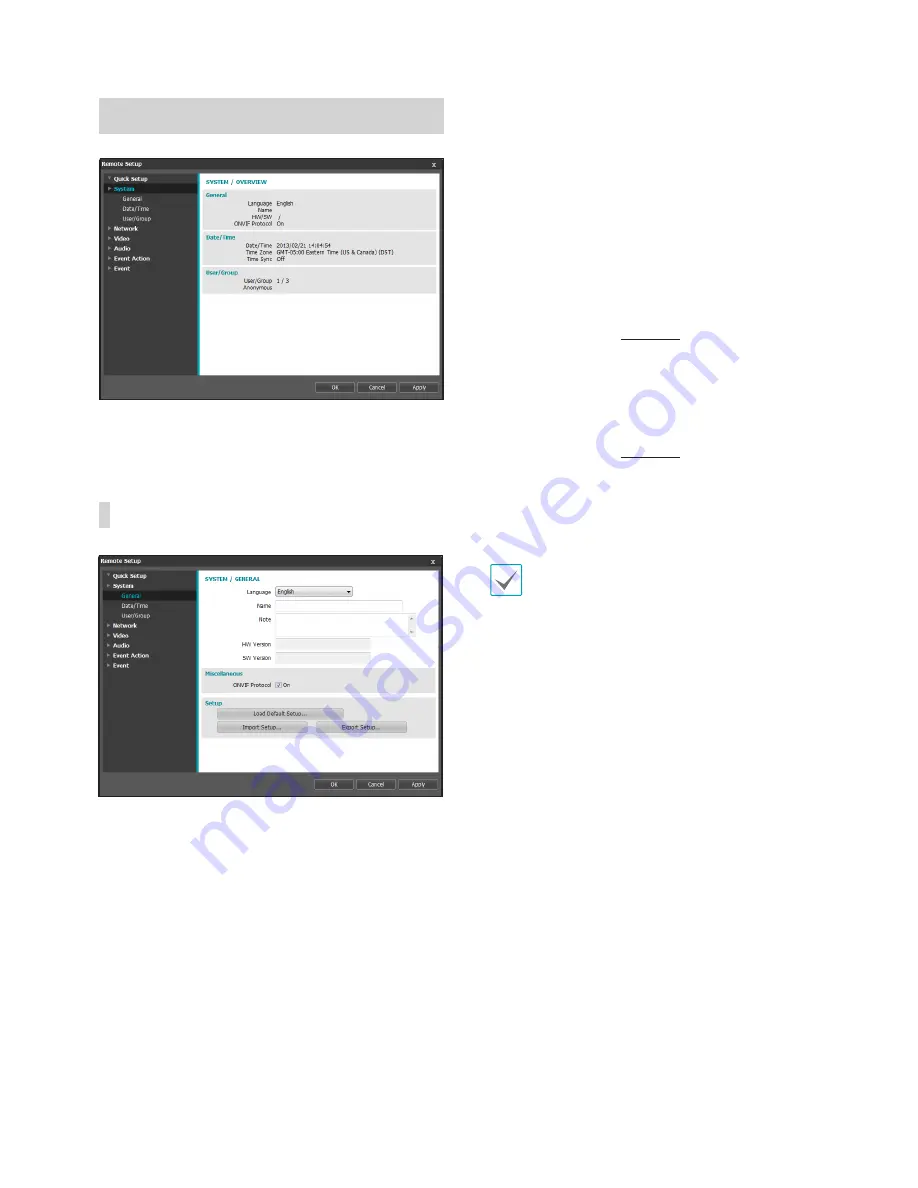
SYSTEM/GENERAL
-
Language
: Select the language you wish to use
for remote setup.
-
Name
: Enter a name for the camera. (Up to 31
alphanumeric characters, including spaces)
-
Note
: Enter a description for the camera.
-
HW Version/SW Version
: Indicates the camera's
hardware and software versions.
•
Miscellaneous
-
ONVIF Protocol
: Select to enable ONVIF
protocol use. However, ONVIF Protocol is
available only to users belonging to the standard
user groups (
Administrator
,
Operator
, and
User
).
•
Setup
-
Load Default Setup
: Restores all settings other
than Date/Time to their factory defaults. Select
Include Network Setup to load default network
settings as well. For more information on network
setup, refer to the
Network
on page 22.
-
Import Setup
: Open a setup file and apply its
settings to the camera. Click on the button and
then select a setup file. Select Include Network
Setup to apply the file's network setup settings
(exc. FEN). For more information on network
setup, refer to the
Network
on page 22.
-
Export Setup
: Export the current settings as a
.dat file. Click on the button and then enter a file
name.
•
Load Default Setup
and
Import Setup
options are available only to users belonging to
the
Administrator
group.
•
When applying the settings of a setup file, do
not select the
Include Network Setup
option
if the network settings contained in the selected
file is currently being used by a different camera.
Doing so can interfere with establishing a
connection with the other camera.
•
If IP Address, Admin Port, and/or SSL settings
have been changed, Remote Setup will
terminate after applying the current settings.


