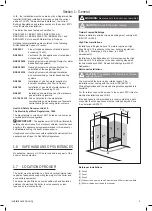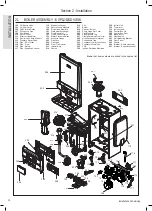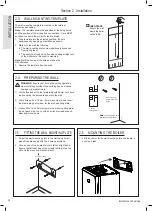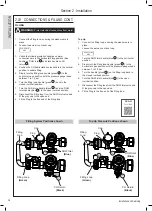
2.14 FITTING THE FLUE SLEEVE
16
17
6
7
8
9
10
11
12
13
14
15
1
2
3
4
5
1
1
6
6
7
Boundary
Boundary
600
300
300 c.
300 b.
600 d.
300
a. < 1000
3
2
1
600
3
4
5
1
2
2000
Opening in adjacent
building
14
3
1
2
300
At an angle to the
boundary
15
2
Parallel to the
boundary
16
Facing the
boundary
8
600
1
300
3
All measurements : mm
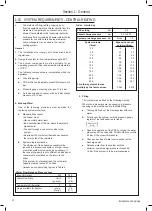
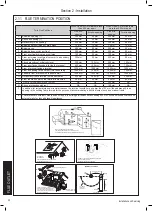
2.15 HORIZONTAL FLUE POSITIONS
Flue Sleeve
Flue Pipe
Flue
Terminal
Flexible
Wall
Seal
Wall
Plate
Flue Sleeve Flange
1. Cut hole in wall.
2. Measure wall thickness.
3. Cut sleeve length to match wall thickness & remove
burrs.
4. Grout sleeve into wall with flange on external face.
5. Slide flue pipe into sleeve, checking it is free to slide.
6. Slide Flexible wall seal over flue pipe and push centre
ring up to sleeve flange when cold.
7. Locate wall plate over flexible wall seal and clamp in
place using the raw plug pack.
8. Affix flue terminal.
9. During boiler test check that the flue end is free to
expand and contract with flexible wall seal.
22
Installation and Servicing
FLUE OUTLET
Section 2 - Installation


