The
Ethernet
option
displays
the
operational
states
of
the
Ethernet
port.
Verifying
the
SAN
Volume
Controller
installation
Once
the
SAN
Volume
Controller
is
installed,
you
can
verify
the
installation.
Check
the
speed
at
which
the
SAN
Volume
Controller
nodes
are
to
be
operated
(usually
2
Gbps)
in
the
configuration
data
table
that
is
provided
by
the
customer.
This
task
shows
you
how
to
verify
the
installation
after
you
install
the
SAN
Volume
Controller
in
the
rack
and
connect
it
to
both
the
uninterruptible
power
supply
and
the
SAN.
Perform
the
following
steps
to
verify
installation:
1.
Press
the
SAN
Volume
Controller
power
switch.
Verify
that
the
green
power
light
is
on.
If
the
light
is
not
on
go
to
MAP
5000:
Start
to
repair
the
problem.
Note:
You
do
not
need
to
install
any
software.
The
node
boots
automatically.
Verify
that
the
node
is
booting
without
error:
v
If
it
boots
without
error,
the
Charging
message
is
displayed
in
line
1
of
the
front
panel
display.
A
progress
bar
is
displayed
in
line
2
of
the
front
panel
display.
Battery
charging
can
take
up
to
3
hours
until
the
battery
is
fully
charged.
When
the
battery
is
charged
enough,
Cluster:
is
displayed
in
line
1
of
the
front
panel
display;
line
2
is
blank.
2.
Press
and
hold
the
select
button
for
five
seconds.
The
check
light
comes
on
and
a
display
test
is
performed.
When
the
display
test
is
complete
the
check
light
goes
off
and
a
button
test
is
started.
3.
Press
the
up,
down,
left,
and
right
buttons
to
verify
that
they
are
working.
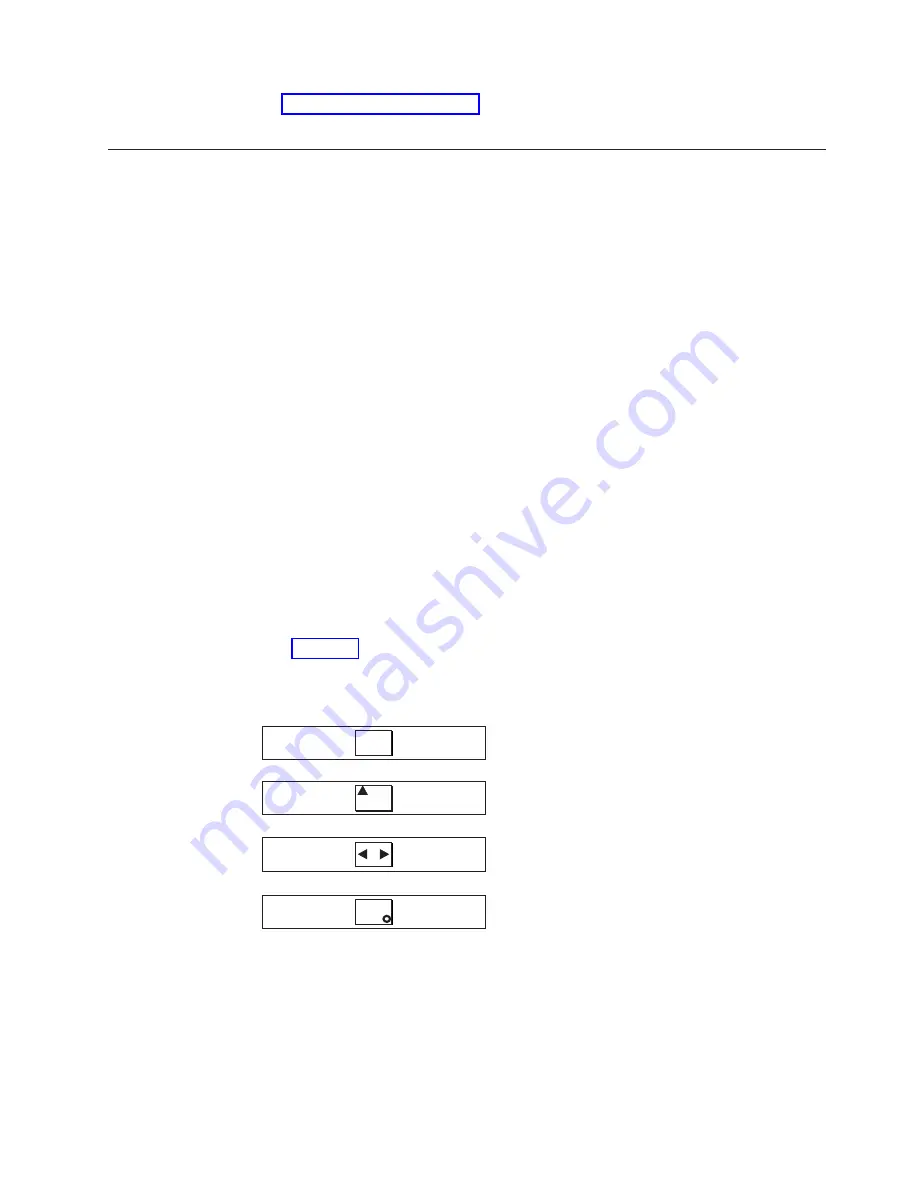
shows
four
examples
of
what
the
front
panel
should
display
when
you
press
the
buttons.
When
you
have
finished
testing
the
buttons,
press
and
hold
the
select
button
for
five
seconds
to
exit
the
test.
4.
If
the
Charging
message
is
displayed
on
the
front
panel
display,
press
the
select
button
to
switch
to
the
menu.
The
menu
continues
to
be
displayed
while
you
press
the
buttons
on
the
front
panel.
If
you
do
not
press
any
buttons
within
60
seconds,
the
menu
changes
to
display
the
charging
progress.
You
can
switch
the
front
panel
display
to
the
menu
at
any
time
by
pressing
the
select
button
again.
No button pressed (border only)
Up button pressed
Left and Right button pressed
Select button pressed
Figure
31.
Front
panel
display
when
push
buttons
are
pressed
Chapter
3.
Installing
the
uninterruptible
power
supply
and
the
SAN
Volume
Controller
57
Summary of Contents for TotalStorage SAN Volume Controller
Page 1: ...IBM TotalStorage SAN Volume Controller Installation Guide V ersion 2 1 0 SC26 7541 04...
Page 2: ......
Page 3: ...IBM TotalStorage SAN Volume Controller Installation Guide V ersion 2 1 0 SC26 7541 04...
Page 8: ...vi IBM TotalStorage SAN Volume Controller Installation Guide...
Page 10: ...viii IBM TotalStorage SAN Volume Controller Installation Guide...
Page 11: ...Tables 1 Uninterruptible power supply support guidelines 17 Copyright IBM Corp 2003 2005 ix...
Page 12: ...x IBM TotalStorage SAN Volume Controller Installation Guide...
Page 30: ...xxviii IBM TotalStorage SAN Volume Controller Installation Guide...
Page 44: ...14 IBM TotalStorage SAN Volume Controller Installation Guide...
Page 62: ...32 IBM TotalStorage SAN Volume Controller Installation Guide...
Page 102: ...72 IBM TotalStorage SAN Volume Controller Installation Guide...
Page 108: ...78 IBM TotalStorage SAN Volume Controller Installation Guide...
Page 114: ...84 IBM TotalStorage SAN Volume Controller Installation Guide...
Page 121: ......
Page 122: ...Part Number 64P8289 Printed in USA SC26 7541 04 1P P N 64P8289...
Page 123: ...Spine information IBM TotalStorage SAN Volume Controller Installation Guide Version 2 1 0...


