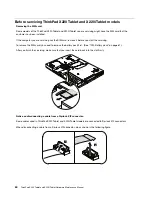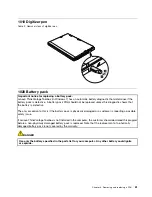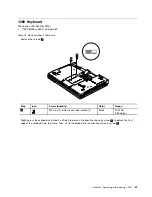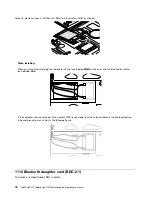
Table 15. Removal steps of palm rest (continued)
When installing:
When you attach the palm rest, do as follows:
1. Attach the touch pad connector firmly to the system board.
2. Press the left and right top edges of the palm rest to fit it into place.
3. Push the front side of the palm rest until it clicks into place.
4. Close the LCD cover and turn the computer over. And then fasten the five screws to secure the palm rest.
1080 Backup battery
DANGER
Use only the battery specified in the parts list for your computer. Any other battery could ignite
or explode.
For access, remove these FRUs in order:
•
“1020 Battery pack” on page 61
•
“1060 Keyboard” on page 67
•
“1070 Palm rest” on page 70
72
ThinkPad X220 Tablet and X220i Tablet Hardware Maintenance Manual
Summary of Contents for ThinkPad X220
Page 1: ...ThinkPad X220 Tablet and X220i Tablet Hardware Maintenance Manual ...
Page 6: ...iv ThinkPad X220 Tablet and X220i Tablet Hardware Maintenance Manual ...
Page 18: ...12 ThinkPad X220 Tablet and X220i Tablet Hardware Maintenance Manual ...
Page 19: ...Chapter 1 Safety information 13 ...
Page 23: ...Chapter 1 Safety information 17 ...
Page 24: ...18 ThinkPad X220 Tablet and X220i Tablet Hardware Maintenance Manual ...
Page 25: ...Chapter 1 Safety information 19 ...
Page 26: ...20 ThinkPad X220 Tablet and X220i Tablet Hardware Maintenance Manual ...
Page 27: ...Chapter 1 Safety information 21 ...
Page 28: ...22 ThinkPad X220 Tablet and X220i Tablet Hardware Maintenance Manual ...
Page 42: ...36 ThinkPad X220 Tablet and X220i Tablet Hardware Maintenance Manual ...
Page 64: ...58 ThinkPad X220 Tablet and X220i Tablet Hardware Maintenance Manual ...
Page 79: ...Table 16 Removal steps of backup battery Chapter 8 Removing and replacing a FRU 73 ...
Page 112: ...106 ThinkPad X220 Tablet and X220i Tablet Hardware Maintenance Manual ...
Page 118: ...112 ThinkPad X220 Tablet and X220i Tablet Hardware Maintenance Manual ...
Page 144: ...138 ThinkPad X220 Tablet and X220i Tablet Hardware Maintenance Manual ...
Page 145: ......
Page 146: ...Part Number 0A60175_01 Printed in China 1P P N 0A60175_01 0A60175_01 ...


