Attention:
v
A startup (boot) microprocessor must always be installed in microprocessor
connector 1 on the system board.
v
To ensure correct server operation, use microprocessors that have the same
cache size and type, front-side bus frequency, and clock speed. Microprocessor
internal and external clock frequencies must be identical.
v
If you are installing a microprocessor that has been removed, make sure that it is
paired with its original heat sink or a new replacement heat sink. Do not reuse a
heat sink from another microprocessor; the thermal grease distribution might be
different and might affect conductivity.
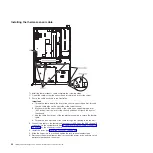
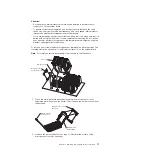
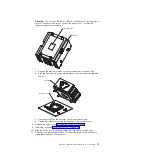
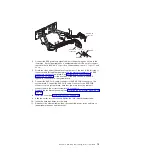
To install a new or replacement microprocessor, complete the following steps. The
following illustration shows how to install microprocessor 2 on the system board.
Note:
For simplicity, certain components are not shown in this illustration.
Microprocessor
socket dust cover
Microprocessor
Heat-sink
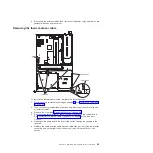
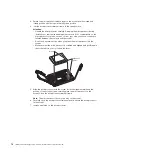
1. Touch the static-protective package containing the microprocessor to any
unpainted metal surface on the server. Then, remove the microprocessor from
the package.
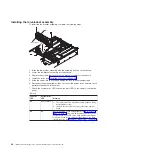
Microprocessor
release lever
Microprocessor socket
dust cover
Microprocessor
bracket frame
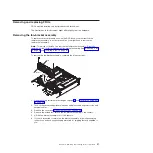
2. Remove the protective dust cover, tape, or label from the surface of the
microprocessor socket, if present.
Chapter 4. Removing and replacing server components
71
Summary of Contents for System x3610
Page 1: ...IBM System x3610 Type 7942 Problem Determination and Service Guide...
Page 2: ......
Page 3: ...IBM System x3610 Type 7942 Problem Determination and Service Guide...
Page 8: ...vi IBM System x3610 Type 7942 Problem Determination and Service Guide...
Page 32: ...14 IBM System x3610 Type 7942 Problem Determination and Service Guide...
Page 54: ...36 IBM System x3610 Type 7942 Problem Determination and Service Guide...
Page 143: ......
Page 144: ...Part Number 49Y0084 Printed in USA 1P P N 49Y0084...

