Attention:
The following situations might prevent the installation of the cable management
bracket:
- The cable management bracket cannot be installed in the 25-EIA rack model (7014-S25) due
to insufficient clearance space between the bracket shelf and door.
- The cable management bracket cannot be installed with IBM features that require the same
physical space, such as the earthquake kit.
- The cable management bracket might not be able to be installed in racks containing
additional customer hardware.
v
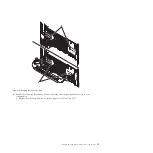
Use the retention brackets to secure the 5802 or 5877 expansion unit to the rack when the use of
the cable management bracket is restricted or not desired.
i.
Select one of the following options:
v
If you are installing the cable management bracket, continue with step 7j.
v
If you are installing the retention brackets, continue with step 7m on page 13.
j.
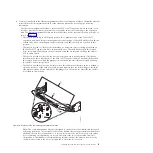
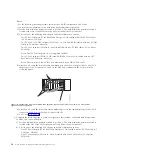
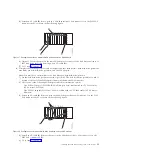
The cable management bracket must be assembled before it can be installed. To assemble the cable
management bracket, complete the following steps:
1)
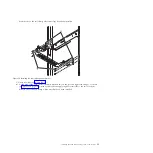
Locate the center shelf section
(B)
shown in the following figure, and identify the attachment
hole that appears at each end of the piece.
2)
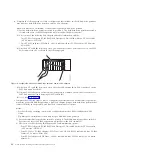
Choose one of the bracket side pieces
(C)
, and identify the attachment point at its rounded tip.
Use the previous figure to determine the end of the center shelf section to which it attaches.
3)
Align the attachment point of the bracket side piece to the inner side of the attachment hole of
the center shelf section. Use one of the provided thumb screws
(A)
to secure the bracket side
piece to the center shelf section.
4)
Use the remaining thumb screw to attach the second bracket side piece to the center shelf
section.
k.
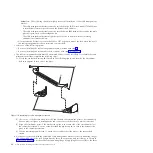
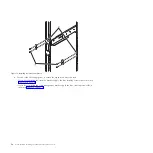
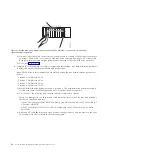
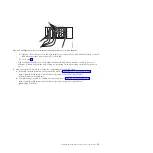
At the rear of the rack, hold the assembled cable management bracket so that its mounting flanges
(A)
align with holes in the rack flanges directly above the expansion unit rail clamps, as shown in
Figure 12 on page 13. Attach each bracket mounting flange by applying M5 screws
(B)
to the three
Figure 11. Assembling the cable management bracket
12
Power Systems: Installing the 5802 and 5877 expansion units
Summary of Contents for Power System 5802
Page 1: ...Power Systems Installing the 5802 and 5877 expansion units GI11 4307 09...
Page 2: ......
Page 3: ...Power Systems Installing the 5802 and 5877 expansion units GI11 4307 09...
Page 6: ...iv Power Systems Installing the 5802 and 5877 expansion units...
Page 38: ...26 Power Systems Installing the 5802 and 5877 expansion units...
Page 52: ...40 Power Systems Installing the 5802 and 5877 expansion units...
Page 62: ...50 Power Systems Installing the 5802 and 5877 expansion units...
Page 63: ......
Page 64: ...Part Number 00L5079 Printed in USA GI11 4307 09 1P P N 00L5079...


