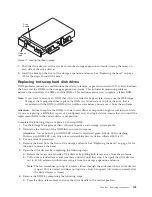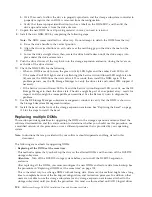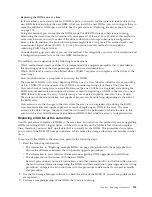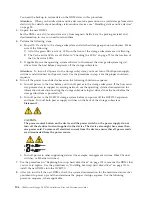
Attention:
v
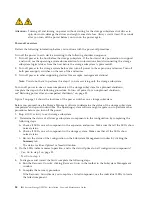
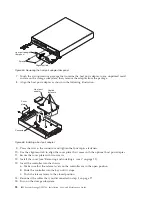
If you are replacing a failed controller with a replacement controller from IBM Service, check to ensure
that you have ordered the replacement controller that contains the same amount of cache memory that
is installed in the failed controller. Also, transfer the cache backup battery and cache backup flash
memory module to the replacement controller. Transfer the battery and flash memory exactly as
described in this procedure; failure to remove and insert these items in the correct sequence can
damage the controller.
Procedure
1.
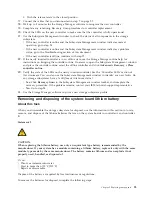
Read the "Safety" information and "Best practices" information found in the prolog and Chapter 1 of
this document.
2.
Use the Storage Manager software to print a storage subsystem profile. Move logical drive
ownership to the other controller. If the controller that you are replacing has failed but is still
operating, move the failed controller to the Offline state.
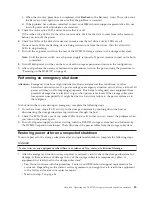
Attention:
Never remove a controller unless the OK to remove LED is lit. Doing so can result in a
loss of data.
3.
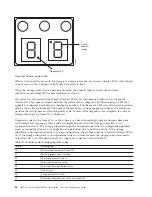
Locate the failed controller by checking the amber LEDs on the controllers in the storage system.
4.
Is the OK to remove LED lit?
v
Yes:
Go to step 5.
v
No:
Another component might require attention before you can remove the controller. Use the
Recovery Guru in the Subsystem Management window to identify and correct any additional
failures. If there are none, proceed with step 5 to replace the controller.
Attention:
Static electricity can damage the storage subsystem and other electronic devices. To
avoid damage, keep static-sensitive devices in their static-protective packages until you are ready to
install them.
5.
Unpack the new controller. Save all packing materials in case you have to return the new controller.
6.
Determine whether the replacement controller will be controller A or controller B (controller A is
installed in slot SBB A; controller B is installed in slot SBB B), and then apply the controller labels for
host ports and drive expansion ports to the replacement controller. The controller labels and
instructions are included with the replacement controller. Make sure that the labels are aligned
correctly and do not cover any connectors or LEDs.
Attention:
Handle and install cables correctly to avoid degraded performance or loss of
communication with devices. See Chapter 3 "Cabling the DCS3700" for more information.
7.
Disconnect all attached interface cables from the failed controller. Be sure to label each cable so that
you can reconnect it correctly to the new controller.
8.
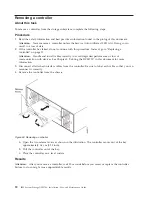
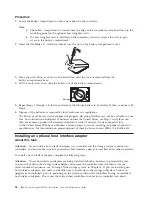
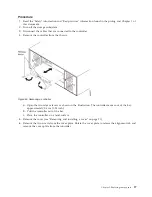
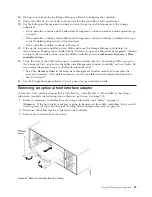
Remove the controller from the chassis
92
IBM System Storage DCS3700: Installation, User, and Maintenance Guide
Summary of Contents for DCS3700
Page 1: ...IBM System Storage DCS3700 Installation User and Maintenance Guide...
Page 2: ......
Page 3: ...IBM System Storage DCS3700 Installation User and Maintenance Guide...
Page 8: ...vi IBM System Storage DCS3700 Installation User and Maintenance Guide...
Page 12: ...x IBM System Storage DCS3700 Installation User and Maintenance Guide...
Page 18: ...xvi IBM System Storage DCS3700 Installation User and Maintenance Guide...
Page 22: ...xx IBM System Storage DCS3700 Installation User and Maintenance Guide...
Page 62: ...40 IBM System Storage DCS3700 Installation User and Maintenance Guide...
Page 75: ...Figure 34 Single Expansion Enclosures Chapter 3 Cabling the DCS3700 53...
Page 88: ...66 IBM System Storage DCS3700 Installation User and Maintenance Guide...
Page 150: ...128 IBM System Storage DCS3700 Installation User and Maintenance Guide...
Page 168: ...146 IBM System Storage DCS3700 Installation User and Maintenance Guide...
Page 178: ...156 IBM System Storage DCS3700 Installation User and Maintenance Guide...
Page 180: ...158 IBM System Storage DCS3700 Installation User and Maintenance Guide...
Page 188: ...166 IBM System Storage DCS3700 Installation User and Maintenance Guide...
Page 198: ...176 IBM System Storage DCS3700 Installation User and Maintenance Guide...
Page 201: ......
Page 202: ...Part Number 90Y8588 Printed in USA 1P P N 90Y8588...


