Figure
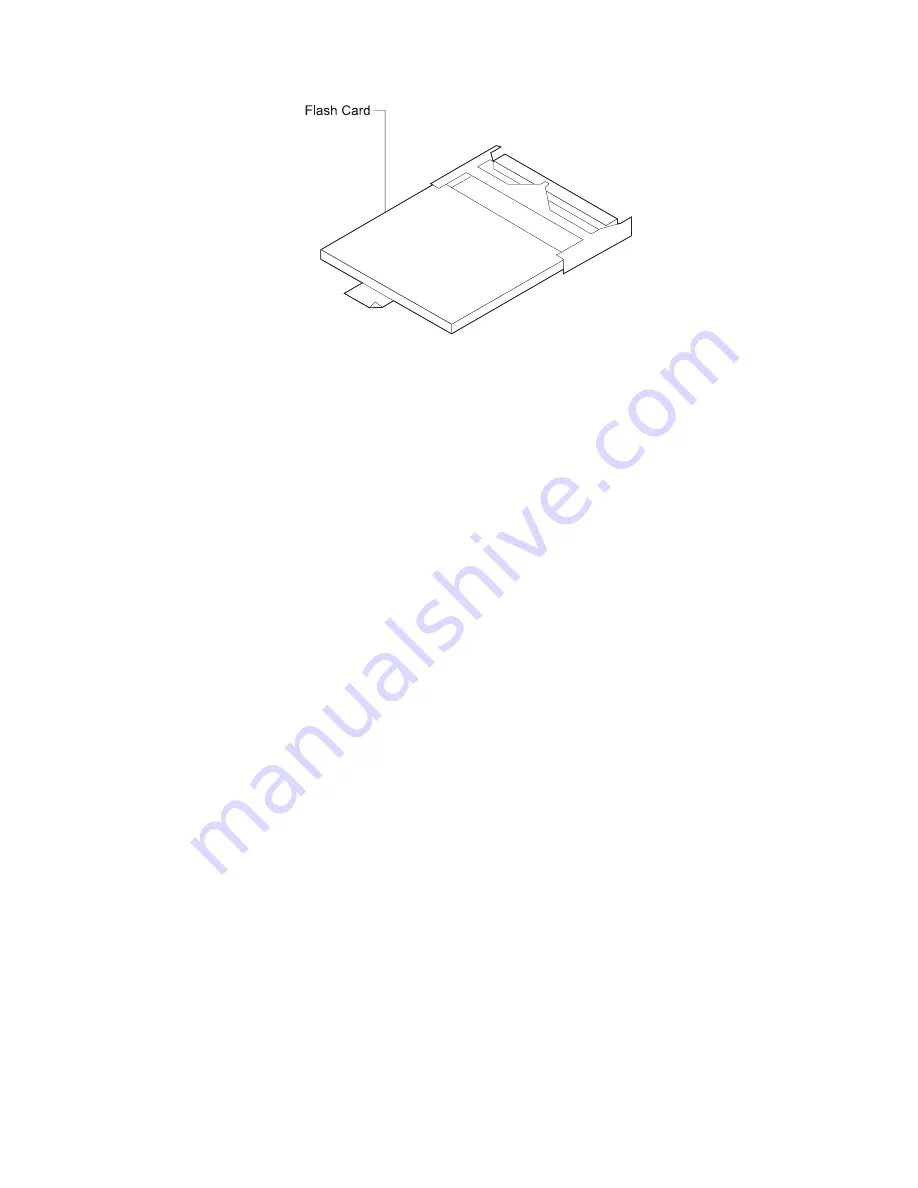
2-19. Compact Flash Feature
4. Remove the cables from the system card. You may want to label each cable as
you disconnect it for ease of reconnection.
5. The system card is secured with two levers. To remove this adapter, release
both levers by pushing outward on them.
Remove the card from the IBM 2212.
6. Depending on the compact flash model, the compact flash may have a wire
latch securing the compact flash feature. Raise the wire latch securing the
compact flash feature.
7. Grasp the tab attached to the compact flash feature and pull the card from its
socket.
8. Remove from the top of the blower the 2 screws that attach the blower to the
chassis. Depending on the blower model, the blower may have a wired
connector on one screw. Remove the screw and washer from the connector.
Lift out the screws and washers, and set aside.
9. Lift out the blower and set it on top of the power supply.
10. Connect the hard drive IDE (flat ribbon) cable to the backplane. Route the hard
drive cable so it lies flat under the blower. (See Figure 2-18 on page 2-36.)
11. Reinstall the blower to the chassis with the screws and washers. If the blower
has a connector, reattach the connector to the screw before reinstalling the
blower.
12. Verify that the new hard drive jumper is set to master. See the labeling on the
hard drive for help on verifying that the jumper is set to master.
13. Connect the new hard drive to the IDE cable and the power cable.
14. Attach the hard drive to the base of the chassis with its four screws.
15. Reinstall the cover on the chassis using the instructions in “Reinstalling the
Cover” on page 2-5.
16. Install the system card and adapters.
17. Attach an ASCII terminal to the IBM 2212 as described in Chapter 3,
“Accessing the IBM 2212” on page 3-1.
18. Power on the IBM 2212 by plugging in the power cord.
Chapter 2. Removal and Replacement Procedures
2-37
Summary of Contents for Cloud Object Storage System Slicestor 2212...
Page 1: ...2212 Access Utility Service and Maintenance Manual GY27 0362 02...
Page 8: ...viii 2212 Service and Maintenance...
Page 28: ...1 20 2212 Service and Maintenance...
Page 86: ...3 8 2212 Service and Maintenance...
Page 98: ...5 4 2212 Service and Maintenance...
Page 110: ...Testing the Adapters 6 12 2212 Service and Maintenance...
Page 112: ...Assembly 1 Final Assembly IBM 2212 Models 10x A 2 2212 Service and Maintenance...
Page 114: ...Assembly 2 Final Assembly IBM 2212 Models 15x A 4 2212 Service and Maintenance...
Page 116: ...Assembly 3 Final Assembly IBM 2212 Models 1xx A 6 2212 Service and Maintenance...
Page 118: ...Assembly 4 Final Assembly IBM 2212 Models 1xx A 8 2212 Service and Maintenance...
Page 120: ...Assembly 5 Final Assembly IBM 2212 Models 40x A 10 2212 Service and Maintenance...
Page 122: ...Assembly 6 Final Assembly IBM 2212 Models 45x A 12 2212 Service and Maintenance...
Page 124: ...Assembly 7 Final Assembly IBM 2212 Models 4xx A 14 2212 Service and Maintenance...
Page 126: ...Assembly 8 Final Assembly IBM 2212 Models 4xx A 16 2212 Service and Maintenance...
Page 130: ...A 20 2212 Service and Maintenance...
Page 138: ...D 2 2212 Service and Maintenance...
Page 166: ...E 28 2212 Service and Maintenance...
Page 195: ......
Page 197: ...Spine information 2212 Access Utility Service and Maintenance Manual...


