background image

Operation

57

Operation

56

Operation

Operation

7.7

PVR(Personal Video Record)

͎

DURATION : Press  /

button to set the duration time for record. You can change the

duration time for 10 minute interval.

͏

KEEP TIME : Press  /

button to set keep time among “24hour, 48hour, 1week,

1month, forever”. 

You can keep programs until the date you set in “Keep time”, but the date
passes, the programs will be deleted automatically. 

* Keep time is set to “forever” as default.

If you press menu or other functions alike, 

icon will appear on upper left corner to

remind you recording is in progress.

* Note : If you want to watch another channel while recording, you can watch it but it has

to be in the same TP as the program you are recording. (You can see the channels
you can watch in pop up message).

2) Stop(

)

During recording, Press 

button, you will see a picture as shown below.

This pop up message is shown the record information.

͈

Press “ENTER” button to stop recording.

͉

Press “EXIT” buttons to return to the previous status.

VOL

VOL

VOL

VOL

7.7

PVR(Personal Video Record)

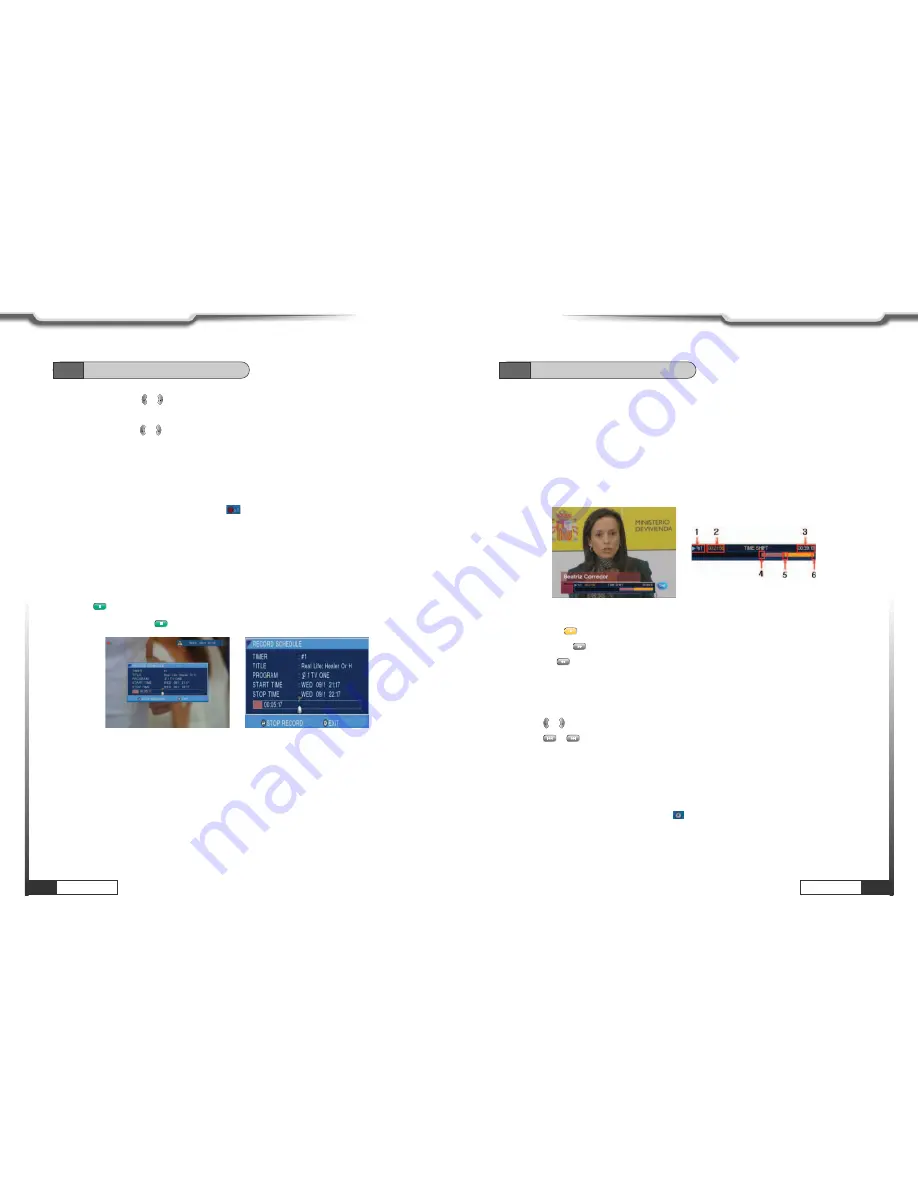
2. TIME SHIFT

MENU>SERVICE>TIME SHIFT or Press “T-SHIFT” button to start/stop time shift.
While watching the channel, you can reverse or pause it by pressing trick buttons as if
playing back a recorded program. 
When you are using the time shift feature, the channel you are watching is being recorded
temporarily, and user use trick play to pause, rewind, fast forward, and etc.
(If you press info button during timeshift function, timeshift window will appear.)

͈

Status : current playback status.
- Playback(

) : Normal mode(x1) playback.

- FastFoward(

) : x2, x5, x20, x50, x300 times.

- Rewind(

) : x1, x2, x5, x20, x50, x300 times.

͉

Play time : Current playback time. 

(-00:10:00 means you watching the scene which falls 10 minutes behind from the live
channel.)  
Press  /

buttons to jump backward or forward by about 3 ~ 10s. 

Press 

buttons to jump backward or forward by about 1min. 

͊

Record time : Up to now, total recorded time of time shift. 

͋

Total recorded position of time shift.

͌

Current playback position. 

͍

Live channel position.

If you press menu or other functions alike, 

icon will apper on upper left corner to remind

you timeshift is in progress.

VOL

VOL

Summary of Contents for AH-3110

Page 1: ...ōōōōōō 13 5 1 Batteries ōōōōōōōōōōōōōōōōōōōōōōōōōōōōōōōōōōōōōōōō 13 5 2 Range of Operation ōōōōōōōōōōōōōōōōōōōōōōōōōōōōōōōōōō 13 6 How To Connect ōōōōōōōōōōōōōōōōōōōōōōōōōōōōōōōōōōōōō 14 7 Operation ōōōōōōōōōōōōōōōōōōōōōōōōōōōōōōōōōōōōōōōōō 17 7 1 SERVICEōōōōōōōōōōōōōōōōōōōōōōōōōōōōōōōōōōōōōōōōō 17 7 1 1 TIME SHIFT ōōōōōōōōōōōōōōōōōōōōōōōōōōōōōōōōōōōōō 17 7 1 2 SUBTITLE ōōōōōōōōōōōōōōōōōōōōōōōōōōō...

Page 2: ...layback Press OK ōōōōōōōōōōōōōōōōōōōōōōōōōōōōōō 42 8 Return Press MENU ōōōōōōōōōōōōōōōōōōōōōōōōōōōōōōōōō 42 7 4 2 FOLDER NAVIGATORōōōōōōōōōōōōōōōōōōōōōōōōōōōōōōōō 43 1 Sort Press RED ōōōōōōōōōōōōōōōōōōōōōōōōōōōōōōōōōōōō 43 2 Rename Press GREEN ōōōōōōōōōōōōōōōōōōōōōōōōōōōōōōō 43 3 Send Press YELLOW ōōōōōōōōōōōōōōōōōōōōōōōōōōōōōōōōō 44 4 Delete Press BLUE ōōōōōōōōōōōōōōōōōōōōōōōōōōōōōōōōōō 44 5 Pict...

Page 3: ...d for DVB S S2 and DVB T signals reception Enjoy the wide choice of more than 8 000 different channels broadcasting a large range of culture sports cinema news events etc This receiver is a technical masterpiece assembled with the high quality electronic parts Ȟ Fully compliant with MPEG 2 H 264 AAC and DVB standards Ȟ Combined Reception for DVB S S2 and DVB T Signals Ȟ Pre programmed for Optus D1...

Page 4: ...es greater than 35V peak a c or d c having no protection against splashing water according to annex A the instructions for use shall state that the apparatus shall not be exposed to dripping or splashing and that no objects filled with liquids such as vases shall be placed on the apparatus When installing the unit Accessories of the Unit Optional accessory Install the unit horizontally Uneven inst...

Page 5: ... off BLUE LED This LED is illuminated blue to indicate that the STB is in standby mode and off to indicate that the STB is in power on mode REMOTE SENSOR Receives signal from remote control VFD Display Displays information such as time program number name and etc For more information refer to page10 VOLUME To adjust the volume level or change the value CHANNEL To change channel or move up down on ...

Page 6: ... 19 RS 232C DB 9 Low speed serial port 20 USB Host USB Connect USB storage read write 2 12 4 7 10 15 16 17 20 9 6 13 1 3 5 8 11 14 18 19 POWER To turn the receiver on or standby mode MUTE To turn the sound on off V FORMAT To select the Resolution When TV type is PAL Resolution changes to 1080i 720p 576p 576i When TV type is NTSC Resolution changes to 1080i 720p 480p 480i TV RADIO To switch between...

Page 7: ...rom the receiver Notes for handling If exposed to heat or water the main body and the remote control may be damaged so be careful 5 2 Range of Operation 4 4 Remote Control Unit To move the cursor up down or left right To change the value of a selected item OK To select an item or to confirm a menu To choose a channel from the channel list mode INFO To view parameters of current channel EXIT To ret...

Page 8: ...4 How To Connect HowtoConnect 6 3 When Connecting IRD to Digital TV with SCART Cable 6 4 When Conneting IRD to Digital TV with Component Cable 6 1 When Connecting IRD to the Antenna 6 2 When Connecting IRD to Digital TV with AV Cable ...

Page 9: ...lizing to time shift 2 SUBTITLE MENU SERVICE SUBTITLE or Press Subtitle button You can set the subtitle among TXT DVB or Off You can also press subtitle button It is available only if the channel providers support this function 7 1 Service Caution 1 In order for time shift function to work properly current local time should be set correctly 2 Maximum recording time is 90minutes so you can record o...

Page 10: ...ted automatically Mode You can set timer option among ONCE DAILY or WEEKLY If you select WEEKLY you can select specific days of the week ҫ Note 1 If you haven t set the local time this function cannot work properly 2 Even if the receiver is in standby mode all scheduled timer will proceed The scheduled timer is done the receiver will go to standby mode automatically 3 If you want to record on your...

Page 11: ...de These cards are loaded with a 4 digit code or PIN code Personal Identification Number Normally PIN code is set to 0000 or 1234 PIN code is necessary for the additional service offered by the service provider 7 1 Service 8 CI MODULE You can check the status of CAM and smart card inserted in their slots If you want detailed information of the selected CAM select slot number 1 or slot number 2 wit...

Page 12: ...COMPONENT or RGB and press button to select CH CH CH CH 7 2 Setup 2 DISPLAY MODE You can change the video resolution Press buttons to change the display mode and press to select ҫ Note PAL 1080i 720p 576p 576i NTSC 1080i 720p 480p 480i or press V FORMAT button while watching the channel 3 ASPECT RATIO You can change the aspect ratio according to your TV Press buttons to change among three options ...

Page 13: ...your TV is compatible with NTSC PAL dual mode PAL When your TV is only for PAL reception Regardless of the satellite signal it will display in PAL format The resolution can change 1080i 720p 576P 576i NTSC When your TV is only for NTSC reception Regardless of the satellite signal it will display in NTSC format The resolution can change 1080i 720p 480p 480i 7 2 Setup 2 AUDIO MENU SETUP AUDIO 1 DIGI...

Page 14: ...n active antenna Press buttons to select and press button CH CH 7 2 Setup 4 SATELLITE 1 LNB MENU SETUP SATELLITE LNB Since your receiver has basic data of most satellites and channels you can receive programs just by plugging in But depending on the status of your antenna setup you may have to modify the basic data of the satellites and or channels EDIT SATELLITE If you select a satellite and pres...

Page 15: ...nd antenna VOL VOL VOL VOL VOL VOL VOL VOL VOL VOL VOL VOL 7 2 Setup a Scan Press BLUE from LNB window You can get all channels in the pre programmed TPs This function can also be used to get the latest channel data while receiver is in use Through this function the receiver searches for all available channels and saves them Scan Mode Press buttons to switch Free or Free Scrambled channels a Free ...

Page 16: ... current position as the reference position V Go to Reference Position If you press button Antenna will move to the reference position VOL VOL VOL VOL VOL VOL 7 2 Setup b USALS I Satellite Angle Enter the angle using the numerical buttons and set the direction to East West by using buttons II My Longitude Enter the longitude using the numerical buttons and set direction to East West by using butto...

Page 17: ... the transponder will be deleted 7 2 Setup Move Press RED AND ORANGE You can change satellite search order by this function Firstly press RED button to select a satellite that you want to move the selected satellite is shadowed and secondly locate the cursor where you want to put the selected satellite Lastly press ORANGE button then the satellite will be relocated Transponder Press WHITE Press WH...

Page 18: ... Modulation FEC Pilot mentioned above are very important for optimal satellite signal reception We recommend you to get professional advice available D Delete Press BLUE You can delete a transponder If you enter the password correctly the transponder will be deleted E New TP Press ORANGE You can add a new transponder Press ORANGE button Edit window will pop up After you put transponder information...

Page 19: ...site http ultrapower co nz or HDT website http www hdt co kr 2 Download AH 3110 firmware in your USB memory 7 2 Setup 4 EXPORT IMPORT CH LIST MENU SETUP SYSTEM EXPORT IMPORT CH LIST EXPORT CHANNEL LIST Export the channel list to USB memory a Insert USB memory to front panel USB port b Select EXPORT CHANNEL LIST and pop up message will appear c Press button to start the export of all channel list F...

Page 20: ... are over 8 years old 12 over 12 years old 15 over 15years old 18 over 18years old 7 3 Parental Guide 2 USE PASSWORD This option enables you to lock Setup menu or Lock Program Press to enable the lock If you check SETUP you will need to type in the password before entering the setup menu If you check LOCK PROGRAM you will need to type in the password before locking the channel 3 MODIFY PASSWORD Ch...

Page 21: ... keyboard that appears on the screen when you press GREEN 7 4 Contents 3 Imageview Listview Press YELLOW Press YELLOW button to switch to Imageview Listview Imageview Program title will be shown with thumbnail image ҫ Note For a file that hasn t been played before only question mark is shown instead of thumbnail image Listview Program title will be shown without thumbnail image 4 Delete Press BLUE...

Page 22: ... bar 7 Start Playback Press OK Start playback 8 Return Press MENU Return to previous status 7 4 Contents 2 FOLDER NAVIGATOR MENU CONTENTS FOLDER NAVIGATOR When USB Memory HDD is connected you can explore the disk memory If you want to make a new folder locate cursor on Then press Red button to create a new folder You can name the new folder using virtual keyboard that appears when you press RED bu...

Page 23: ...s to set the TIME INTERVAL of the SLIDE SHOW ҫ Note Time interval will be increased decreased by 5 seconds press buttons b Press button to start the AUTO SLIDE SHOW c Press button to stop the slide show d Press MENU button to exit the slide show Press button to hide menu bar Press MENU button to return to file explorer 6 Music When you select MP3 file you will see a picture as shown below Press bu...

Page 24: ...Hard Disk You must make sure that the receiver is connected to the external HDD ҫ Note 1 If you initialize HDD all of the stored data will be erased and recovering those data will be impossible 2 Initializing HDD by receiver is in accordance with EXT 3 Linux file system This file system is not supported MS windows If you want to playback recorded program on your PC you have to format NTFS file sys...

Page 25: ... all transponders each transponder using buttons When you find the channel you want press button to go to the channel list 3 RETURN Press MENU button to Return to previous status 2 RADIO PROGRAM LIST Please refer to 7 5 1 TV PROGRAM LIST VOL VOL VOL VOL VOL VOL VOL VOL CH CH VOL VOL CH CH 7 5 Program List 3 FAVORITE PROGRAM LIST MENU PROGRAM LIST FAVORITE GROUP LIST or Press FAV button You can see...

Page 26: ...tton to move to TV Program List In the Schedule List Press buttons to select and program information of each program will be shown If you press button in the schedule list you can reserve automatic timer of the receiver ҫ Note Please refer to 7 1 7 TIMER CH CH CH CH 7 6 Edit Program You can edit TV RADIO PROGRAM LIST 1 EDIT TV PROGRAM MENU EDIT PROGRAM EDIT TV PROGRAM You can edit TV PROGRAM LIST ...

Page 27: ...ns a Unselect Under the selected channel Press button to unselect the selected channel CH CH 7 6 Edit Program b Move м Press buttons to move up and down н Press WHITE button Selected channels will move to the chosen location о After moving the selected channels will be unselected c Delete If you Press BLUE button the selected channel will be deleted Once you delete the channel you cannot restore t...

Page 28: ... press START TIME Press button to set start time VOL VOL CH CH VOL VOL 7 6 Edit Program B Move i Press buttons to move up and down ii Press WHITE button Selected channels will move to the chosen location iii After moving the selected channels will be unselected C Delete If you Press BLUE button the selected channel will be deleted Press MENU button to go back to the previous menu 7 Tune Press butt...

Page 29: ... previous status VOL VOL VOL VOL 7 7 PVR Personal Video Record 2 TIME SHIFT MENU SERVICE TIME SHIFT or Press T SHIFT button to start stop time shift While watching the channel you can reverse or pause it by pressing trick buttons as if playing back a recorded program When you are using the time shift feature the channel you are watching is being recorded temporarily and user use trick play to paus...

Page 30: ...rd time Total recorded time Bookmark Icon Blue icon is a bookmark a While watching the recorded program press BOOKMARK button at a desired scene to add a bookmark Then you will see a small blue mark at the bottom of progress bar b You can see book marked image and 2second later playback position will jump to the selected bookmark by pressing JUMP button VOL VOL c If you want to remove the book mar...

Page 31: ... 9 Problem Possible causes Remedy LED or VFD on front panel does not light and display AC power cord disconnected Connect power cord properly into the power socket No Picture or sound Wrong connection of the video audio output to TV input terminal Wrong connection of satellite antenna cable Wrong direction of satellite antenna No signal or weak signal Wrong setting of channel information in MENU s...

Page 32: ...y 47 63 Hz Rear panel Video out 1 x RCA cinch for CVBS Connectors 3 x RCA cinch for Component 15p D sub female for VGA Audio out 4 x RCA cinch Digital audio out 1 x RCA cinch coaxial 1 x Optical Digital multimedia out 1 x HDMI Serial data 9pin D sub Terrestrial ant input IEC 169 2 type female Loop out IEC 169 2 type mail LNB input IEC 169 24 type female Loop out IEC 169 24 type female TV SCART CVB...

Reviews: