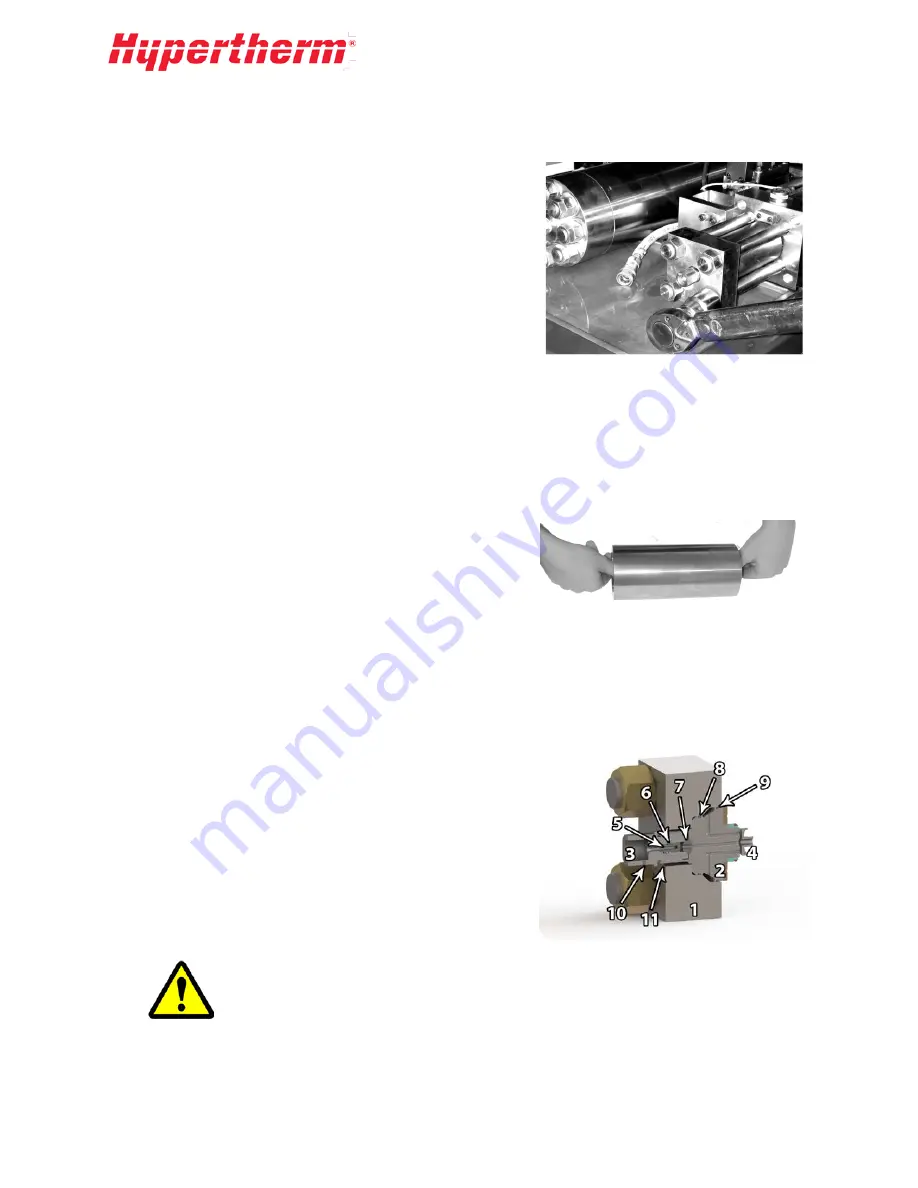
Reinstalling the High-Pressure Ends
1.
Push the HP cylinder onto the plunger.
2.
Place the HP end cap over the studs and make sure it
guides smoothly onto the check valve body making
sure to not unseat the O-rings on the check valve
body.
3.
Grease the stud threads with multi-purpose lithium
grease such as Lubriplate No. 1552.
4.
Using two 1 in. nuts located diagonally lightly torque
the HP end cap so that it is bottomed onto the HP
cylinder.
5.
Torque the 1 in. nuts to 125 ft-lb. Then, using a cross pattern, increase torque in 50 ft-lb
increments to 275 ft-lb.
6.
Reattach the high pressure and low-pressure plumbing.
7.
Turn the inlet water ON and open a cutting head. Allow the pump to cycle slowly at low pressure
for a few minutes to ensure that the seals seat properly before returning to operating pressure.
High-Pressure Cylinder
During normal use the inner surfaces at the ends of the HP
cylinder may become worn. To clean this area roll polish the
ID (Inside Diameter) of the cylinder ends on a table. First use
180 grit or finer abrasive paper, then finish with a Scotch-
Brite pad.
HP cylinders may eventually fail due to fatigue leading to a crack or the ends may open or bell out so
that the cylinder does not hold the seal and hoop properly. If the cylinder is cracked it will be hot and
water may squirt with each stroke. This failure may appear to be a seal failure. A belled out cylinder end
will cause the premature failure of the seal and cause the hoop to break.
7.4
Check Valve Assembly
Check valve replacement and reconditioning is the second
most common intensifier maintenance. The low-pressure
check valve allows inlet water to enter the HP cylinder and
the HP poppet lets the pressurized water from the HP
cylinder exit the intensifier. Over time the faces of the
poppet, seat, and check valve body may become worn.
The check valve repair process involves replacing the HP
poppet (
5
), HP seat (
7
), poppet spring (
6
), and LP poppet (
4
),
as well as lapping the face of the check valve body.
Check valve repair may be necessary when the HP end cap area becomes hot to
the touch or the intensifier strokes faster in one direction without seal leakage.
41
Summary of Contents for HyPrecision 100D
Page 1: ...Instruction Manual 808310 Revision 0 English Original instructions ...
Page 2: ...Instruction Manual 808310 Revision 0 English March 2014 Hypertherm Inc Hanover NH 03755 USA ...
Page 16: ...14 ...
Page 24: ...22 ...
Page 27: ...25 ...
Page 34: ...32 ...
Page 58: ...56 ...
Page 74: ...72 ...
Page 75: ...12 Drawings and Parts Lists 73 ...
Page 76: ...74 ...
Page 77: ...13 Controls Manual 75 ...


