10
Step 14.
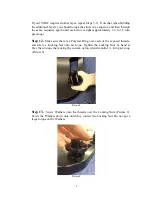
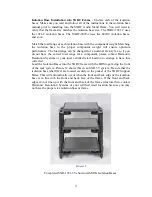
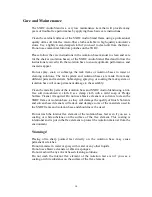
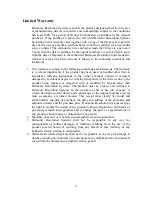
Screw the Stand Points onto the threads (Picture 10). As with the
washers, tighten the Stand Points by hand until they contact the Washers. Do not
over-torque the Stand Points.
Picture 10
Step 15.
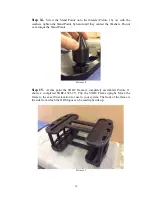
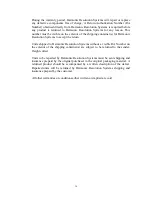
At this point the SXRC Frame is completely assembled. Picture 11
shows a completed SXRC-1921-2V. Flip the SXRC Frame upright. Move the
frame to the exact final location for use in your system. The front of the frame is
the side from which the HRS logos can be read right side up.
Picture 11


