3.
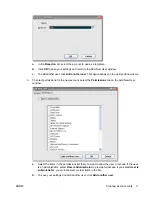
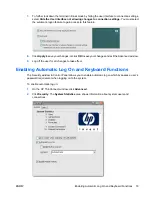
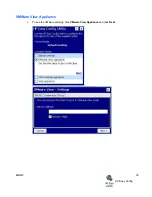
On the
System
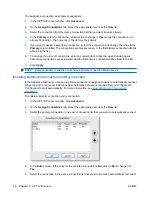
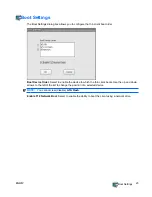
tab, select
Automatic Log On
so the user does not have to enter a password to
log in to the local machine. You can set up automatic log on for one user per terminal. The default
is no password. You must select
Automatic Log On
to gain access to the
Single Button Log
On
check box and the
Account
list.
4.
If you want to lock the terminal when pressing
Ctrl
+
Alt
+
Delete
, select
Lock screen when pressing
Ctrl+Alt+Delete
. This feature allows users to quickly lock their terminal and prevent unauthorized
access. When the terminal is locked, press
Ctrl
+
Alt
+
Delete
again to type your password to regain
access to the terminal.
5.
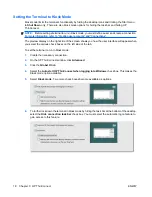
If you want to activate the single button connect feature, select
Single Button Log On
. This feature
invokes a dialog box that requires the terminal operator to press
Enter
or click the
Logon
button
on the dialog box to log in. If someone other than the auto logon user wants to log onto the terminal,
press
Esc
or
Alt
+
F4
.
6.
From the
Account
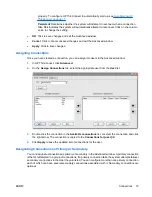
list, select the account that the system will use to log on the terminal operator.
7.
Select
Enable Reset Hotkey
to allow the terminal to be reset to factory defaults (registry and
shortcuts) by pressing and holding
F9
key during boot.
CAUTION:
If you disable the F9 reset function and then change monitors or change display
settings resulting in your monitor becoming unable to display, the only way to recover the client will
be to reflash it.
8.
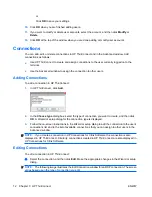
Click
OK
at the top of the window to save your changes.
Switching to a Different User
To switch to a different user when booting:
1.
Press the power button to start the system.
2.
Press
Esc
or
Alt
+
F4
before the automatic logon countdown completes.
3.
Log on as the user of your choice.
20
Chapter 3 HP ThinConnect
ENWW

