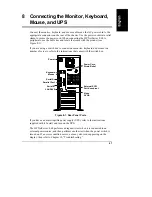
Chapter 7
Installing a Second Processor
42
CAUTION
Wear a wrist strap and use a static-dissipating work surface
connected to the chassis when handling components. Ensure
that the metal of the wrist strap contacts your skin.
Determine Where to Place the Processor Module
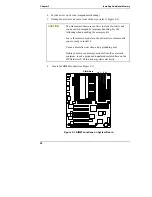
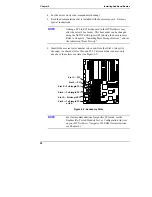
1. Locate the processor cage on the system board (see Figure 7-3).
2. Check the processor clock switch settings and determine the clock speed
of the processor module already on the system board (see Figure 7-1).
NOTE
HP recommends that the system switch settings always be set
to match the processor speed, even though some processor
modules do not read the system switch settings (instead
relying on settings internal to the CPU). These processors will
still perform at their normal rated speed in the NetServer E 60
regardless of the system switch settings.
On
Off
Off = KBD Power On
Unused
On = Clear Password
400MHz
450MHz
500MHz
Figure 7-1. System Switch Settings
3. Check your upgrade kit to ensure that the additional processor module is
the same clock rate as the installed processor.
4. If necessary, use a miniature screwdriver to reset the processor clock
switch.
Install the Processor Module
CAUTION
The processor module is sensitive to static electricity and can
be easily damaged by improper handling. Do the following
when handling the accessory kit:

