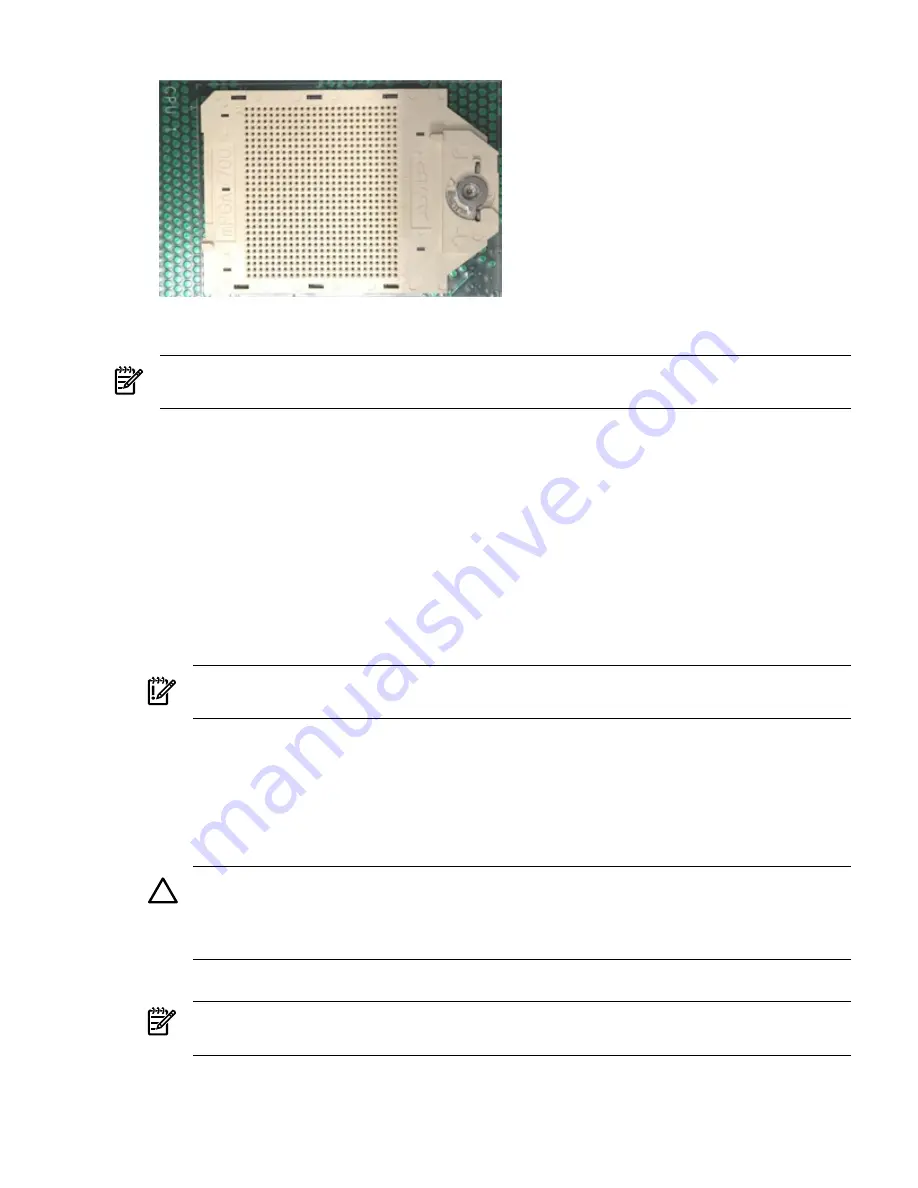
Figure 6-32 ZIF Socket
Installing a Processor
NOTE:
Prior to installing a processor into the server, read the following instructions carefully
and refer to the figures in this chapter for a complete understanding of this process.
To install a processor, follow these steps:
1.
Power off the server and disconnect the power cables. See
“Powering On and Powering Off
the Server” (page 78)
.
2.
If rack mounted, slide the server out from the rack until it stops. See
“Extending the Server
from the Rack” (page 143)
.
3.
Remove the top cover. See
“Removing the Top Cover” (page 144)
.
4.
Remove the airflow guide (if not already done). See
“Removing the Airflow Guide” (page 146)
.
5.
Open the processor cage (if not already done). See
Figure 6-28
.
a.
Grasp the processor cage handle, and apply adequate force to rotate the handle upward.
b.
Use the handle to rotate the cage closure approximately 90 degrees toward the front of
the assembly until it stops. See
Figure 6-29
.
IMPORTANT:
Ensure the processor slot is entirely exposed. The processor must clear the
cage enclosure for proper installation.
6.
Locate the appropriate processor slot (CPU 0 or CPU 1) for the processor installation. See
Figure 6-31
for the slot locations on the system board.
7.
Remove the plastic airflow blocker covering the processor slot (if necessary).
8.
Remove the protective dust cover from the processor socket (if necessary).
9.
Ensure the cam on the processor ZIF socket is in the unlocked, counterclockwise position.
See
Figure 6-32
.
CAUTION:
The processor zero insertion force (ZIF) socket is locked and unlocked by
turning the processor tool half of a full turn. The counter-clockwise 180 degree rotation (half
turn) unlocks the socket. A clockwise 180 degree rotation locks the socket. Attempting to
turn the locking mechanism more than 180 degrees can severely damage the socket.
10. Remove any protective packaging from the processor.
NOTE:
Protective covers are installed to protect connector pins. Save the covers for future
use.
11. Inspect the processor pins, and verify the pins are not bent.
Removing and Replacing a Processor
181


