


To add a target appliance
1.
Click
Add Target Appliance
.
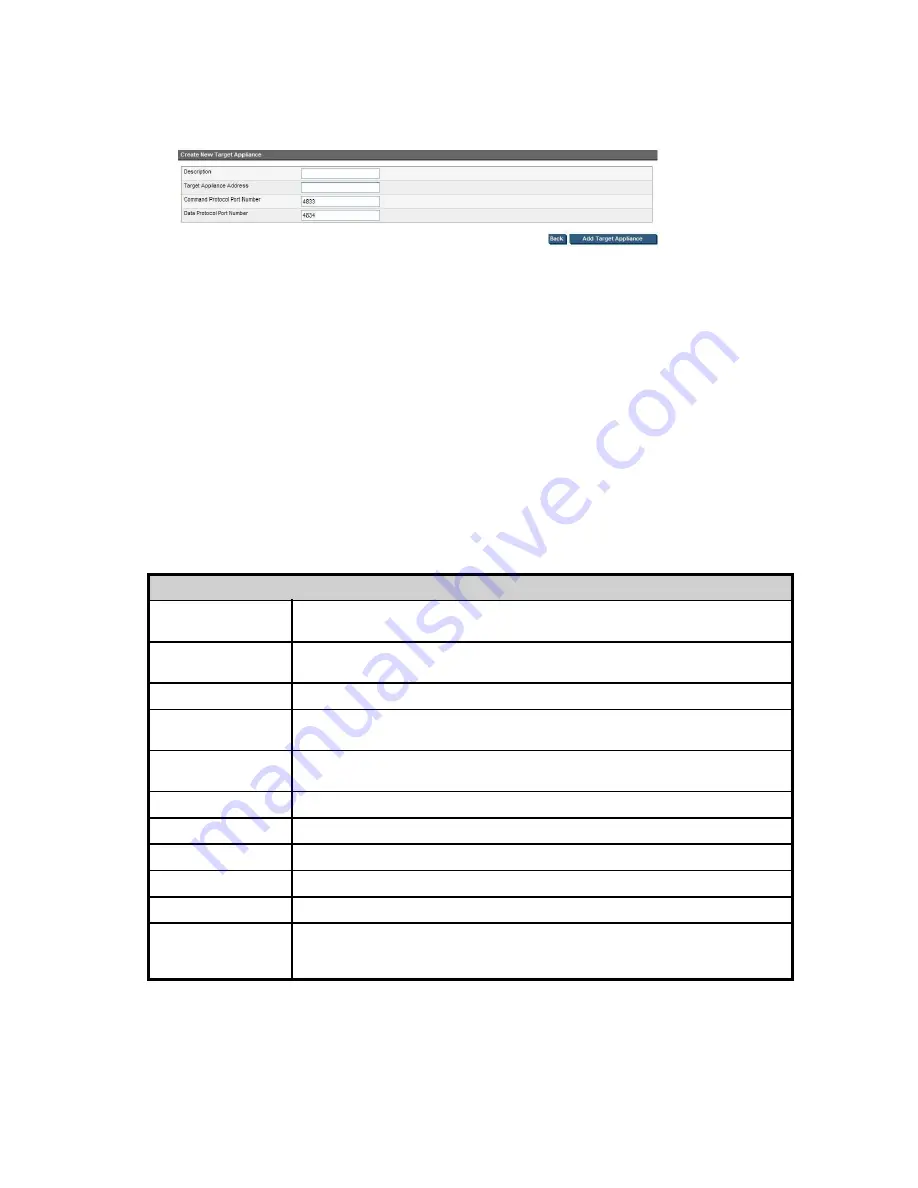
Figure 52 Create new target appliance
2.
Enter the
Target Appliance Address
.
3.
The default values for the Command and Data Protocol Port Numbers are usually acceptable, but
may be edited if there is a con
fl
ict.
4.
Click
Add Target Appliance
.
To edit or remove a Target Appliance
•
Select the appliance and click
Edit
to edit the Appliance Name, IP address and protocol port
details of the target appliance.
•
Select the appliance and click
Delete
to remove an appliance from the list of Target Appliances
available to that source.
Target and Source Appliance parameters
Table 15 Target appliance parameters
Target Appliance tab
Some
fi
elds are editable.
Appliance Name
This is the name that is used to identify the Target Appliance. You specify it when
you add the Target Appliance and may edit it later.
Appliance Address
This is the IP address of the Target Appliance. You specify it when you add the
Target Appliance and may edit it later.
Serial Number
This is the serial number of the Target Appliance; it cannot be edited.
Command Protocol
Port Number
This is the port number that will be used for command protocol.
Data Protocol Port
Number
This is the port number that will be used for data protocol.
Available
This
fi
eld indicates whether the Target Appliance is available.
Replication protocol
This identi
fi
es the replication protocol in use.
Capacity
This shows the capacity of the Target Appliance.
Free Space
This shows the amount of free space on the Target Appliance.
Firmware version
This shows the
fi
rmware version of the Target Appliance.
Weekly calendar
This section shows the hours on which the Target Appliance is available for
replication during the week. Any blackout windows that have been speci
fi
ed will
be re
fl
ected in this calendar.
D2D Backup System HP D2D2503
111
Summary of Contents for D2D100
Page 16: ...16 About this guide ...
Page 26: ...26 Before you start ...
Page 56: ...56 Advanced installation ...
Page 86: ...86 Configuring and using replication ...
Page 150: ...150 Restore processes without replication ...
Page 156: ...156 Troubleshooting ...
Page 172: ...172 Hard disk replacement ...


