


Honeywell
59
1. Select a scenario under “My favorite scenario” and click
, the following figure is
displayed:
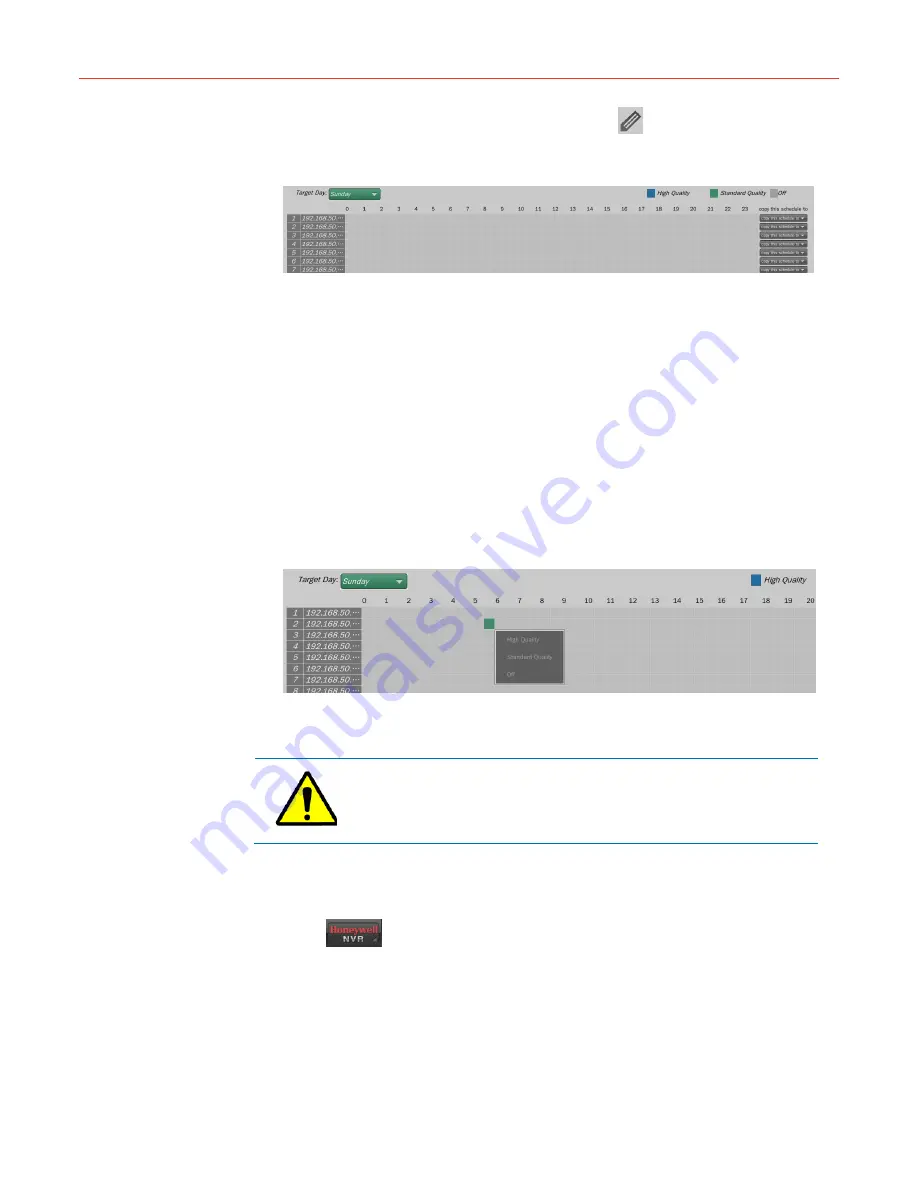
Figure 5-58 Scenario Mode
Target Day
—Selects the day to be set in the dropdown list.
0~23
—Represents 24 hours. Each square is for half an hour.
1~7
—Represents cameras.
Copy this schedule to
—Select the target day to which the schedule is going to be
copied to in the dropdown list.
High Quality
—Enables main stream recording to ensure high resolution image but with
larger size, colored in blue.
Standard Quality
—Enables auxiliary stream recording to ensure small size image but
with low resolution, colored in green.
Off
—Cancel the schedule.
2. Click on the corresponding square or drag an area and select “
High Quality
” / “
Low
Quality
” / “
Off
” in the popped up menu as the figure below:
Figure 5-59 Recording Mode Selection
The green square in the above figure represents “the selected camera will start
recording with low quality mode at 5:30~6:00 on Monday”. Replicate this method to set
the other cameras. When finished, click
Save&Back
to return to
Figure 5-57
.
To select the recording mode, user should first add the corresponding
recording stream to the camera, see
Figure 5-9
.
Trigger Profiles (Alarm Recording)
When specific events occur, the system will launch related cameras into recording.
Navigate to
Record Setup
Trigger Profiles
and the below figure is displayed: