


Configuration
Rev 3.01
77
Document 900.0258
10/05
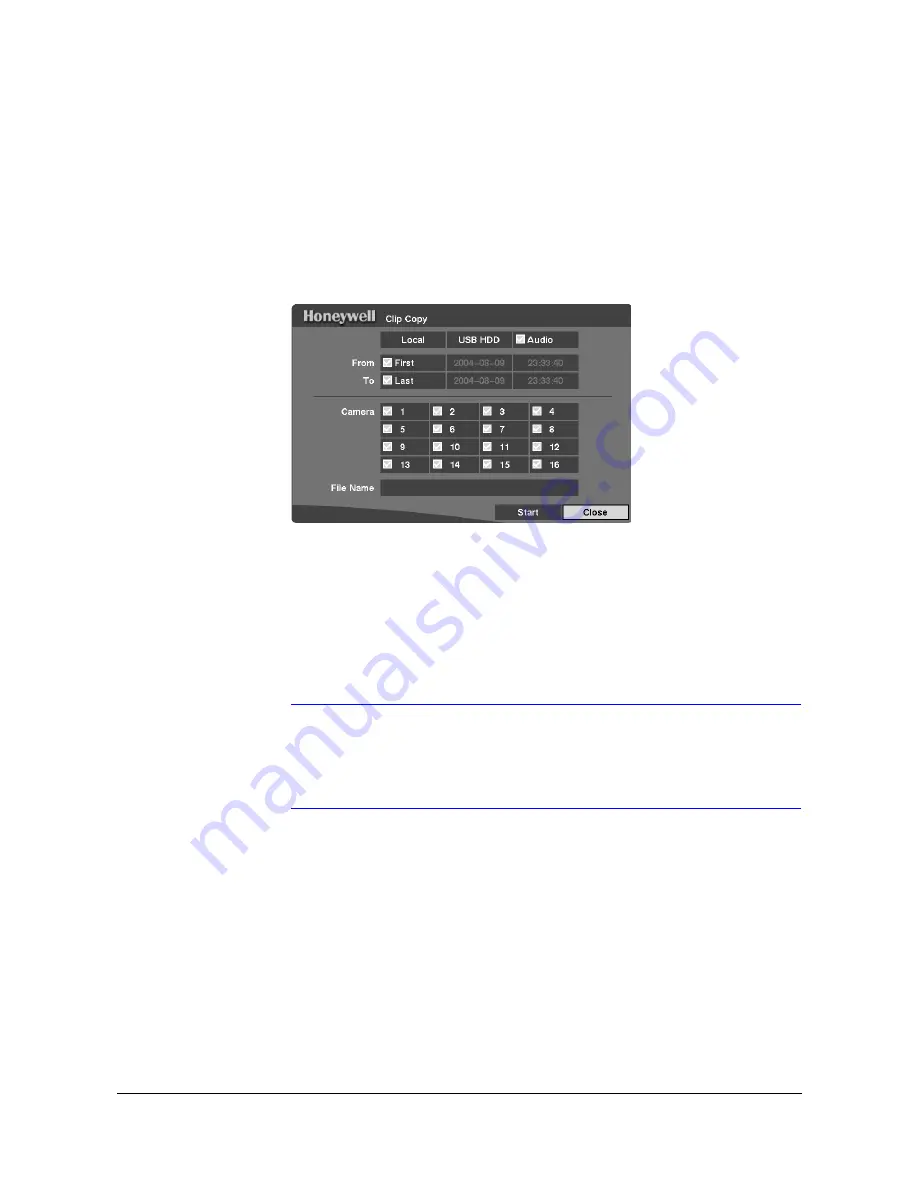
Clip Copy
Use the Clip Copy screen (MENU
➤
Configuration
➤
Clip Copy) to copy video clips
to an internal CD-RW drive, or external USB hard disk drive, CD-RW drive or Flash drive.
The copied clip images can be viewed on computers running Microsoft Windows 98,
ME, 2000 or XP. Refer to
Appendix A, USB Hard Disk Drive Preparation
for information
on preparing the external drive for clip copy.
Figure 3-57
Clip Copy Screen
To select the data source to back up, highlight the first box on the top and then press
#
. A drop-down list of available data sources displays. You can select Local or Archive.
To select the type of drive to use for clip copy, highlight the second box on the top and
then press
#
. A drop-down list of available drives displays. You can select from IDE
CD-RW, USB HDD, or USB Flash Memory. Place a check mark in the Audio box to
copy recorded audio with video.
Note
To copy clips using the USB CD-RW, there must be two or fewer
external SCSI hard drives connected to the DVR. To copy clips
using the internal CD-RW drive, there must be three or fewer
external SCSI hard drives connected to the DVR.
You can define how much video to copy by changing the start and end times and dates.
You can also select which camera you wish to copy.
Highlight the File Name box and then press
#
. A virtual keyboard displays (see
Figure 3-7
). Enter a file name for the video you are copying and select Close. The DVR
automatically adds the camera number (for example, 01) and .exe to the file name. If
you want to save the file in a specific folder, enter the folder name followed by a / (for
example, folder/filename).
After you have given the video a file name, highlight Start and then press
#
to start clip
copy. When you select IDE CD-RW or USB-CD-RW, the DVR displays the drive
capacity, the clip size, and asks if you want to continue.
Summary of Contents for HRHD16+
Page 6: ......
Page 10: ...Contents Rev 3 01 iv Document 900 0258 10 05 ...
Page 14: ...Figures Rev 3 01 viii Document 900 0258 10 05 ...
Page 16: ...Tables Rev 3 01 x Document 900 0258 10 05 ...
Page 24: ...Introduction Rev 3 01 4 Document 900 0258 10 05 ...
Page 114: ...Operation Rev 3 01 94 Document 900 0258 10 05 ...
Page 118: ...Solutions Rev 3 01 98 Document 900 0258 10 05 ...
Page 121: ...Map of Screens Rev 3 01 101 Document 900 0258 10 05 D Map of Screens Figure D 1 Screen Map ...
Page 122: ...Map of Screens Rev 3 01 102 Document 900 0258 10 05 ...
Page 130: ...Rev 3 01 6 Document 900 0258 10 05 ...
Page 131: ......


