


Installation and Setup Guide
5-8
PROMPT
VALID ENTRIES
EXPLANATION
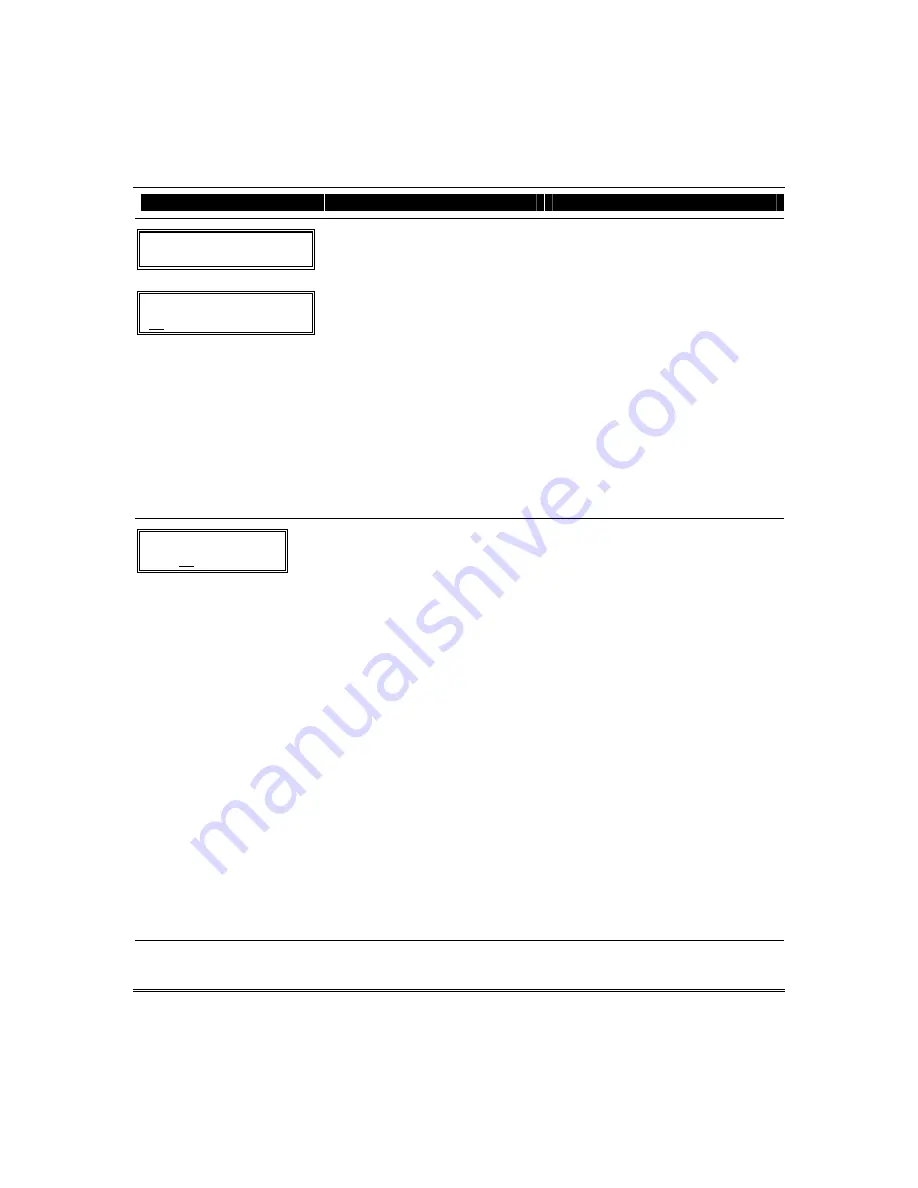
Zn ZT P RC HW: RT
01 09 1 10 EL 1
Zn
ZT P RC IN: L
10 – – – : –
Summary Screen
01-06, 9-24, 49-64 = zone number
00 = quit
[
∗
] to continue
OR
[D] to go to prompts for wireless key
programming templates
A summary screen will appear, showing
zone 1’s currently programmed (or
default) values.
Enter the zone number being
programmed, then press [
∗
], which
displays a summary screen for that
zone. See next prompt (in this example,
zone 10 is being entered).
If programming a wireless key, press
the [D] key then skip to the Wireless
Key Programming Templates section
following this section. When [D] is
pressed, you can choose from a series of
preset templates for easy programming
of wireless key zones.
When all zones have been programmed,
press “00” at this prompt to quit this
menu mode.
Zn
ZT P RC IN: L
10 00 1 10 RF
1
Zone Programming
ZT = see Zone Type chart
shown in *56 Menu Mode
“Zone Type” prompt
P = partition 1, 2, 3 (common)
RC = 0-9
(cannot enter hex report
codes; use *56 mode to
enter hex codes)
IN = input type
L =
loop number
[
∗
] to continue
A summary screen with the selected zone’s current
programming appears.
Begin programming zone information as follows:
•
Enter Zone Type (ZT), Partition (P), Report
Code (RC), and Input Device Type (IN)*
sequentially, but not the Loop No. (L).
NOTE: Hexadecimal report codes A through F
cannot be entered in the Expert Mode.
Hexadecimal report codes of A through F can
only be entered using the Zone Programming
Procedure (*56 Menu mode).
•
Use the [A] (Advance) and [B] (Back) keys on
the keypad to move the cursor within the
screen.
•
Use the [C] key to copy the previous zone’s
attributes.
Press [
∗
] to save the programming and continue to
the serial number/loop number prompt. If needed,
you can press the [#] key to back up without
saving.
*
If HW (basic wired) or AW (Auxiliary) is entered
for Input Device Type, the next screen will be
similar to the prompt shown, except that HW or
AW will be displayed under “IN”.
If RF, BR, or UR is entered, a prompt for Serial
and Loop number will be displayed, as follows.
Summary of Contents for Ademco Vista-12D
Page 2: ...Installation and Setup Guide ii ...
Page 8: ...Installation and Setup Guide 1 4 ...
Page 36: ...Installation and Setup Guide 3 10 ...
Page 100: ...Installation and Setup Guide 7 4 ...
Page 106: ...Installation and Setup Guide 8 6 ...


