2) Adjustment
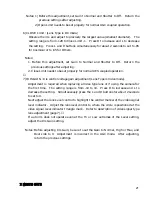
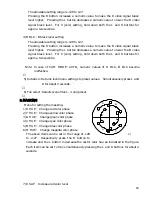
Hold the U button depressed and press Setup for about 2 seconds to display the Special Set
menu. Change to the Lens screen and check the Lens Type setting. If DC, change this to
Video.
㪭㫀㪻㪼㫆㩷㫃㪼㫍㪼㫃㩷㫀㫅㪻㫀㪺㪸㫋㫆㫉
ع
ENS
LE NS TYPE :VIDE O
IRIS GAIN : 0
RE FERENCE
H
L
(1) Set the lens ALC control fully toward the average (Av ) position.
(2) If auto iris hunting occurs, reduce the Iris Gain setting.
(3) Adjust the lens level control to where the center circle is positioned at the video
signal level indicator triangle mark.
If the camera video signal detection level is optimum
㧘
the triangle mark is center. If
larger than optimum
㧘
the triangle marker to the right of H is moved and if lower
㧘
the triangle mark to the left of L is moved.
3) Lens adjustment difficult or impossible
(1) Video signal level indication unstable
Unstable indication can occur if the light source has
㨍
flicker component
㧔
e. g.,
fluorescent or mercury lighting
㧕
, change the electronic shutter mode ( Sub- menu 1
shutter or Variable ) to reduce the flicker.
(2) Lens Level control fully at Hi, but auto iris inoperative Reduce the Iris Gain setting.
(3) Lens Level control fully at Low, but auto iris inoperative Increase the Iris Gain
setting.
(4) Auto iris operates, but scene is dark. Even if lens Level control is adjusted
㧘
the
triangle mark to the left of the H mark is moved.
Boost the gain. Set main menu Gain to 1
㧙
24 dB in order to raise the sensitivity.
Note: The video signal level indicator sensitivity is high in order to increase lens
adjustment accuracy. Operate the lens Level control slowly.
8


