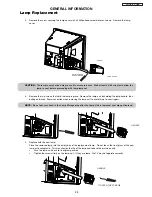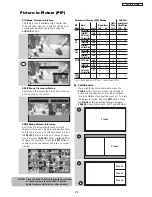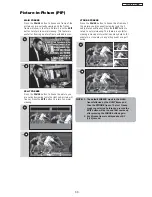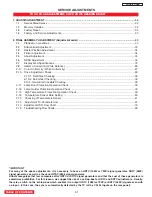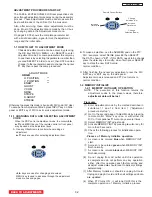
TIGHTEN THE SCREWS
HANDLE
3.
Remove the screw securing the lamp cover with a Phillips head screw driver as shown. Remove the lamp
cover.
CAUTION:
The lamp is very hot and may cause fire or severe burns. Wait at least 30~45 minutes to allow the
lamp to cool before proceeding with lamp removal.
4.
Remove the two screws that hold the lamp in place. Remove the lamp unit by holding the lamp handle, then
pulling outwards. Exercise caution when removing the lamp unit to avoid injury to your fingers.
NOTE:
Do not put your hand in the Lamp Storage area after the Lamp Unit is removed, your may get burned.
5.
Replace with the new lamp.
Place the removed lamp into the empty box of the replacement lamp. Do not touch the front glass of the new
lamp or its receptacle. This may shorten the life of the lamp and reduce the picture quality.
•
Push the lamp unit back to its original position.
•
Tighten the screws firmly on the lamp unit. If they are loose, the TV may not operate correctly.
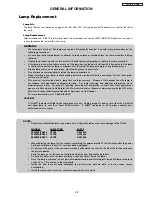
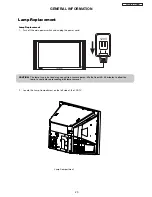
Lamp Replacement
SCREW
LAMP COVER
PHILLIPS HEAD
SCREW DRIVER
LC58/LC58E
GENERAL INFORMATION
24
HANDLE
Summary of Contents for 50VF820 - 50" Rear Projection TV
Page 96: ...LC58 LC58E CIRCUIT BLOCK DIAGRAM TABLE OF CONTENTS 96 ...
Page 97: ...LC58 LC58E POWER SUPPLY BLOCK DIAGRAM TABLE OF CONTENTS 97 ...
Page 98: ...CONNECTION DIAGRAM TABLE OF CONTENTS LC58 LC58E 98 ...
Page 105: ...LC58 chassis Model 50VF820 55VF820 60VF820 1 FRONT PANEL 2 REAR PANEL LC58 LC58E 105 ...
Page 106: ...LC58E chassis Model 50VG825 55VG825 60VG825 1 FRONT PANEL 2 REAR PANEL LC58 LC58E 106 ...
Page 155: ...SIGNAL PWB Solder side PRINTED CIRCUIT BOARDS BACK TO TABLE OF CONTENTS LC58 LC58E 155 ...
Page 159: ...PRINTED CIRCUIT BOARDS POWER PWB Solder side BACK TO TABLE OF CONTENTS LC58 LC58E 159 ...
Page 190: ......

