


Digital Video Recorder User Manual
146
12.1
Configuring General Settings
Purpose:
Network settings must be properly configured before you operate DVR over network.
Steps:
1.
Enter the Network Settings interface.
Menu > Configuration > Network
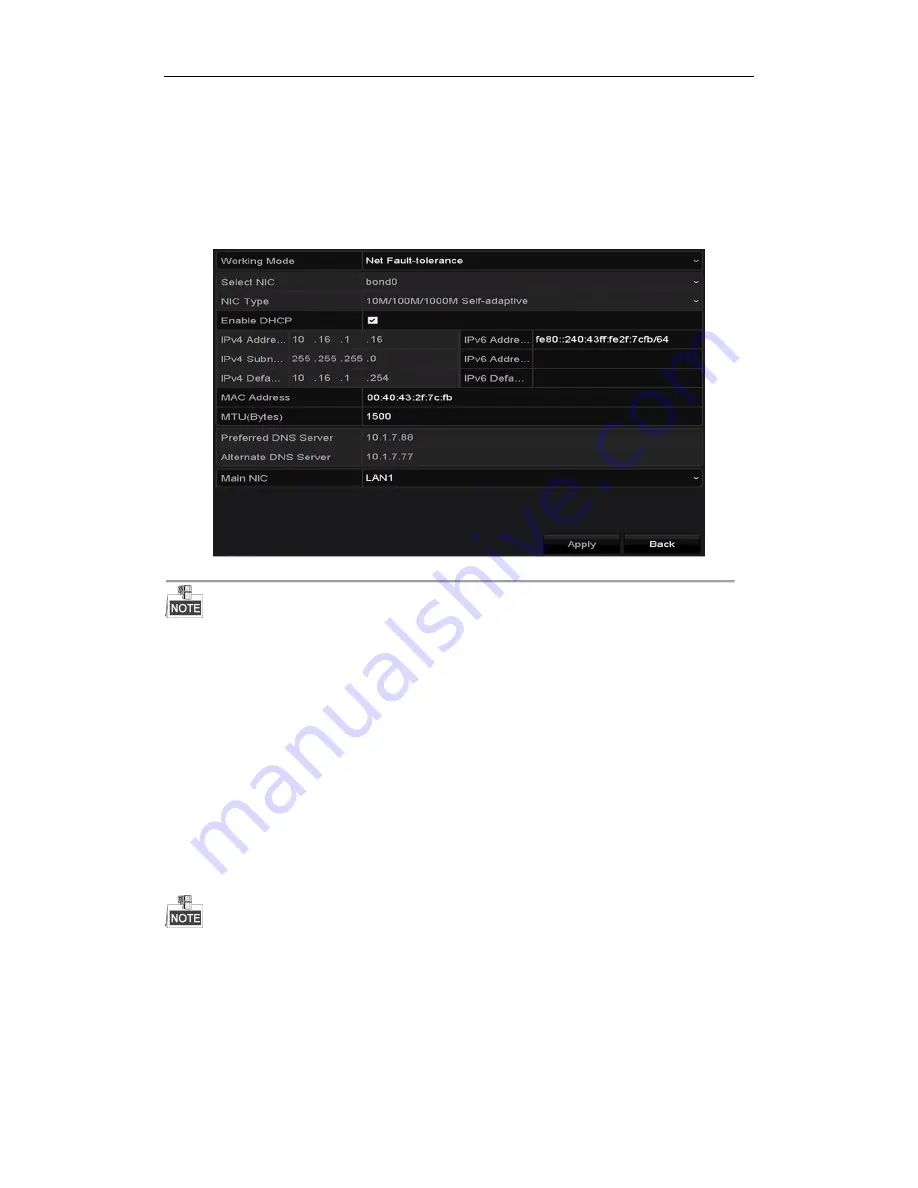
Figure 12. 1
Network Settings Interface
2 self-adaptive 10M/100M/1000M network interfaces for DS-8100HQHI-F/N series, with three working modes
configurable: multi-address, load balance, network fault tolerance; and 1 self-adaptive 10M/100M/1000M network
interface or 1 self-adaptive 10M/100Mbps network interface provided for other models.
2.
Select the
General
tab.
3.
In the
General Settings
interface, you can configure the following settings: Working Mode (applicable for
DS-8100 only), NIC Type, IPv4 Address, IPv4 Gateway, MTU and DNS Server.
Working Mode
There are two 10M/100M/1000M NIC cards provided by the DS-8100HQHI-F/N series devices, and it
allows the device to work in the Multi-address, Load Balance and Net-fault Tolerance modes.
Multi-address Mode:
The parameters of the two NIC cards can be configured independently. You can select
LAN1 or LAN2 in the NIC type field for parameter settings.
You can select one NIC card as default route. And then the system is connecting with the extranet the data
will be forwarded through the default route.
Net-fault Tolerance Mode:
The two NIC cards use the same IP address, and you can select the Main NIC to
LAN1 or LAN2. By this way, in case of one NIC card failure, the device will automatically enable the other
standby NIC card so as to ensure the normal running of the whole system.
Load Balance Mode:
By using the same IP address and two NIC cards share the load of the total bandwidth,
which enables the system to provide two Gigabit network capacity.
The valid value of MTU is from 500 to 1500.
If the DHCP server is available, you can check the checkbox of
DHCP
to automatically obtain an IP address
and other network settings from that server.
4.
After having configured the general settings, click the
Apply
button to save the settings.
Summary of Contents for UD01394B
Page 1: ...Digital Video Recorder User Manual UD01394B...
Page 13: ...Digital Video Recorder User Manual 12 Chapter 1 Introduction...
Page 29: ...Digital Video Recorder User Manual 28 Chapter 2 Getting Started...
Page 46: ...Digital Video Recorder User Manual 45 Chapter 3 Live View...
Page 55: ...Digital Video Recorder User Manual 54 Chapter 4 PTZ Controls...
Page 65: ...Digital Video Recorder User Manual 64 Chapter 5 Recording Settings...
Page 86: ...Digital Video Recorder User Manual 85 Chapter 6 Playback...
Page 100: ...Digital Video Recorder User Manual 99 Chapter 7 Backup...
Page 106: ...Digital Video Recorder User Manual 105 Chapter 8 Alarm Settings...
Page 111: ...Digital Video Recorder User Manual 110 Figure 8 9 Copy Settings of Alarm Input...
Page 120: ...Digital Video Recorder User Manual 119 Chapter 9 POS Configuration...
Page 124: ...Digital Video Recorder User Manual 123 Figure 9 10 Copy POS Settings...
Page 128: ...Digital Video Recorder User Manual 127 Chapter 10 VCAAlarm...
Page 139: ...Digital Video Recorder User Manual 138 Chapter 11 VCA Search...
Page 146: ...Digital Video Recorder User Manual 145 Chapter 12 Network Settings...
Page 163: ...Digital Video Recorder User Manual 162 Chapter 13 HDD Management...
Page 176: ...Digital Video Recorder User Manual 175 Chapter 14 Camera Settings...
Page 180: ...Digital Video Recorder User Manual 179 Chapter 15 DVR Management and Maintenance...
Page 188: ...Digital Video Recorder User Manual 187 Chapter 16 Others...
Page 197: ...Digital Video Recorder User Manual 196 Chapter 17 Appendix...


