


DS-PR1-60 User Manual
UM DS-PR1-60 090920NA
55
2.
Select
Open Mode
,
Shrub Mode
, or
Expert Mode
as the radar sensitivity mode.
•
Open Mode:
There are no large objects in the radar detection area.
•
Shrub Mode:
There are shrubs and other objects that are likely to swing in the radar detection area.
The shrub mode can also used to decrease the interference of rainstorm.
•
Expert Mode (Custom Mode):
You can set tracking sensitivity, swing sensitivity, signal sensitivity and
dwell time according to actual scenario requirements.
When adjusting the sensitivity, the higher the value, the higher the detection sensitivity.
3.
Click
Save
to complete.
9.4
Set Frequency Range Settings
1.
Select the radar and click
in the client software, or enter the IP address of the radar in the address bar
of the web browser. Click
Radar Settings
→
Frequency Range Settings
to enter the page.
2.
The radar supports two frequency bands, you can select one according to needs.
When multiple radars cover the same area, co-frequency interference can be reduced by
setting different frequency bands.
Try to avoid overlapping radar detection areas.
3.
Click
Save
.
9.5
Track Settings
1.
In the client software, click
Device Management
. Select a radar in the device list. Click
→ Radar Settings
→
Track Settings
to enter the page.
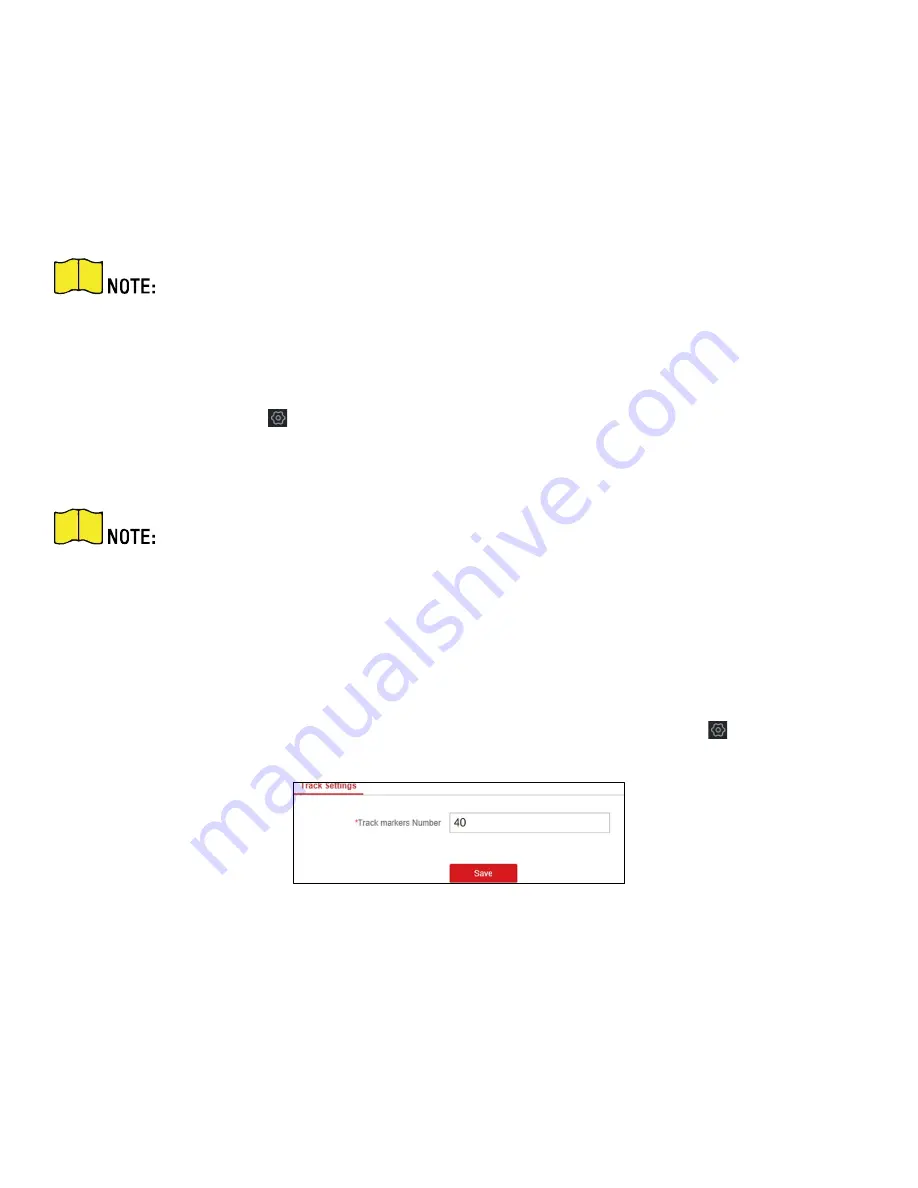
Figure 9-2 Track Settings
2.
Enter
Track Marker Number
. Edit the track marker number to control the track length. The default is 40.
3.
Click
Save
.
Summary of Contents for DS-PR1-60
Page 1: ...DS PR1 60 Security Radar User Manual...
Page 42: ...DS PR1 60 User Manual UM DS PR1 60 090920NA 42...
Page 69: ...DS PR1 60 User Manual UM DS PR1 60 090920NA 69...
Page 70: ...DS PR1 60 User Manual UM DS PR1 60 090920NA 70...
Page 71: ...DS PR1 60 User Manual UM DS PR1 60 090920NA 71 UD13649B...