10
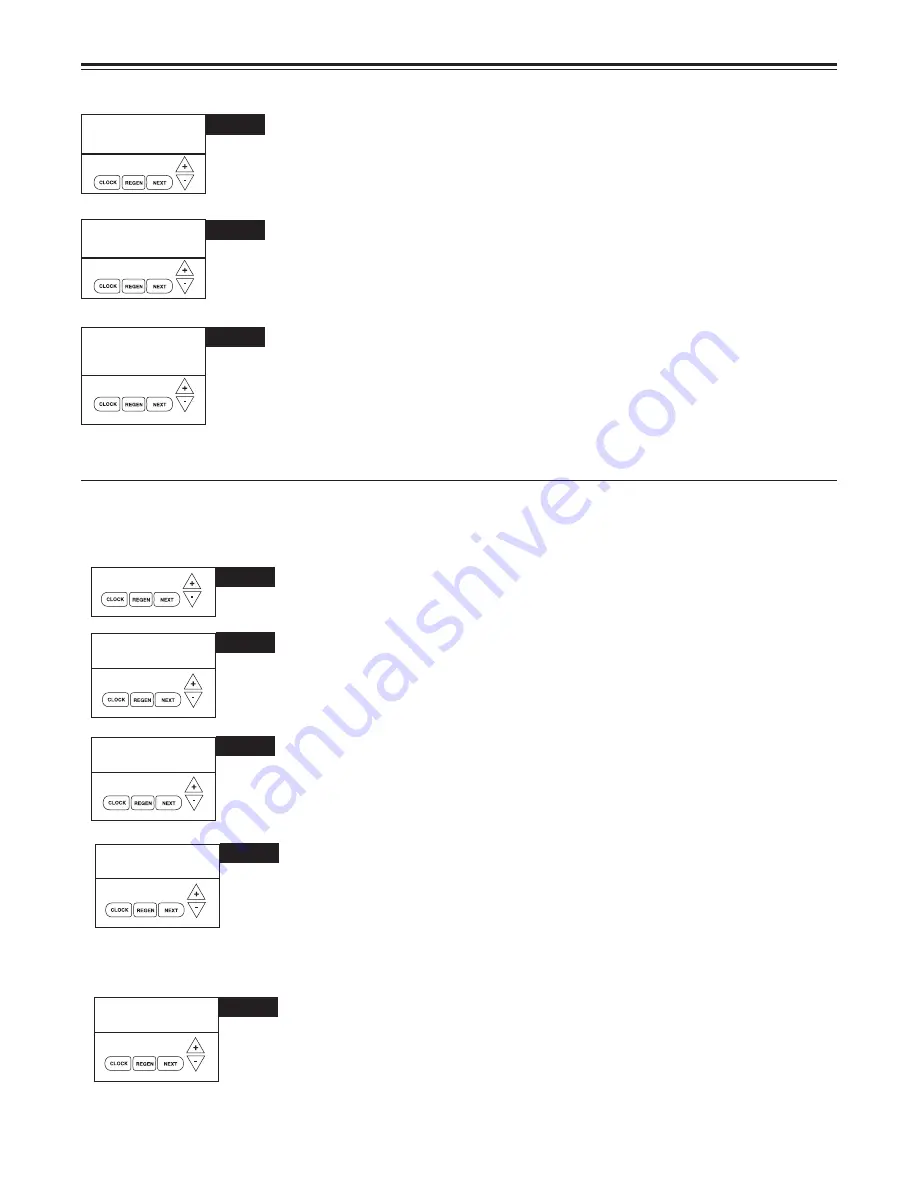
STEP 1D – Press
or
simultaneously for three seconds. If screen in step 2D does not ap-
pear in 5 seconds the lock on the valve is activated.
STEP 2D – Days, since last regeneration: This display shows the days since the last regen-
eration occurred. Press the NEXT button to go to Step 3D. Press REGEN to exit Diagnostics.
STEP 3D – Volume, since last regeneration: This display shows gallons of water that has
been treated since the last regeneration. This display will equal zero if a water meter is not
installed. Press the NEXT button to go to Step 4D. Press REGEN to return to previous step.
STEP 4D – Volume of reserve capacity used for last 7 days: If the unit is set up as a soft-
ener, a meter is installed and Set Volume Capacity is set to "Auto", this display shows 0 day
(for today) and the reserve capacity. Pressing the
button will show day 1 (which would be
yesterday) and displays the reserve capacity. Pressing the
button again will show day 2
(the day before yesterday) and the reserve capacity. Keep pressing the
button to show the
capacity for days 3, 4, 5 and 6. The
button can be pressed to move backwards in the day
series. Press NEXT button at any time to go to Step 5D. Press REGEN to return to previous
step.
STEP 5D – Volume of water used, 63-day usage history: This display shows day 0 (for today)
and 1 (for yesterday) will show day 2 (which would be the day before yesterday) and flashes the
volume of water treated on that day. Continue to press the
button to show the volume of
water treated for the last 63 days. If a regeneration occurred on the day the "letter R" will also
be displayed. This display will show dashes if a water meter is not installed. Press the NEXT
button at any time to go to Step 6 D. Press REGEN to return to the previous step.
DIAGNOSTICS
STEP 1D
STEP 2D
2
➔
DAYS SINCE REGEN
DAY
STEP 3D
342
➔
GAL
SINCE LAST REGEN
STEP 4D
0 160
➔
GAL
RESERVE HISTORY
DAY
STEP 5D
➔
USAGE HISTORY
DAY
108
GAL
1
To reset diagnostic data push "Next" &
button until TYPE appears in window, then press "
&
"
button simultaneously for 3 seconds
until screens return to rotating display.
SERVICE REMINDER
SERVICE ALARM
SET
BOTH
STEP 21S
SCHEDULED SERVICE
➔
SET
0.25
STEP 22S
YR
SCHEDULED SERVICE
➔
SET
80000
STEP 23S
GAL
RETURN TO NORMAL MODE
STEP 21S – Set scheduled service display using
or
buttons. Available options are OFF,
TIME, ON GAL or BOTH. Selecting OFF disables this feature. If OFF is selected, press NEXT to
exit System Setup. If TIME, ON GAL or BOTH is selected, press NEXT to select the TIME and/
or ON GAL values. See Steps 22S and/or 23S. This can also activate relay if Service Alarm is
selected on Step 16S. Press REGEN to return to the previous step.
STEP 22S – Service alarm for TIME ranges from 0.25 to 9.75 years. Press
and
buttons
together until "set" appears to select value. Press NEXT to either exit System Setup or if BOTH
was selected go to Step 23S. Press REGEN to return to the previous step. When time selected
and # of days drops below 1 year, the display in OEM program will show "scheduled service in
XXX days" right after screen where service reminder is programmed.
STEP 23S – Service alarm for ON GAL ranges from 100 to 9,999,900 gallons. Press
and
buttons together until "set" appears, use arrows to select value. Press NEXT to exit System
Setup. Press REGEN to return to the previous step.
Reset service reminder by holding down up and down arrows together when reminder is displayed.
➔
Summary of Contents for ProMate-6.0
Page 27: ...27 NOTES...


