MediaDeck 7000 component replacement
17
MediaDeck Component Replacement Guide
NOTE:
To maintain proper system cooling, all externally accessible drive bays must be
populated with a drive carrier.
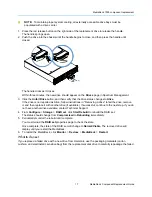
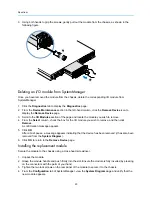
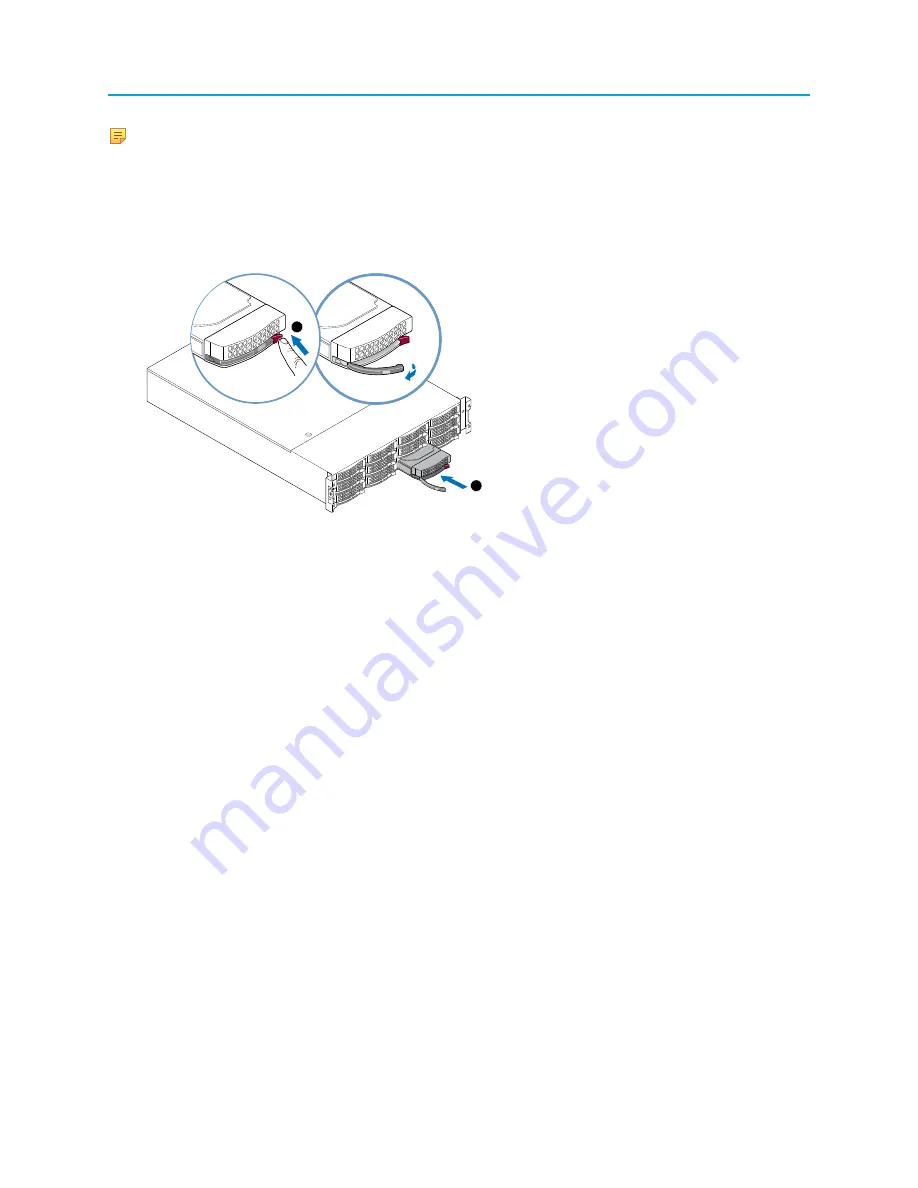
1. Press the red release button on the right side of the replacement drive to release the handle.
The handle springs open.
2. Push the drive into the chassis until the handle begins to close, and then press the handle until
closed.
3
2
1
2
The handle clicks as it closes.
Within three minutes, the new drive should appear on the
Drives
page in Spectrum Management.
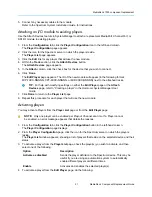
3. Click the
Unfail Drive
button, and then verify that the drive status changes to
Alive
.
If the drive is not reported as Alive, follow instructions in "Removing a drive" to fail the drive, remove
it, and then replace it with another drive (if available). If successful, continue to the next step. If you do
not have another drive available, contact Technical Support.
4. From
Configure
>
Storage
>
RAID set
, click
Start Rebuild
to rebuild the RAID set.
The status should change from
Compromised
to
Rebuilding
immediately.
5. Periodically monitor the rebuild until complete.
You must reload the
RAID set
properties page to check the state.
Once complete, the state of the RAID set will change to
Normal/Viable
. The removed drive will
display until you restart the MediaDeck.
6. To restart the MediaDeck, click
Monitor
>
Devices
>
MediaDeck
>
Restart
.
What to do next
If you replaced a failed drive with a new drive from Harmonic, use the packaging materials (carton,
cushion, and electrostatic sensitive bag) from the replacement disk drive to carefully repackage the failed

