Spectrum
14
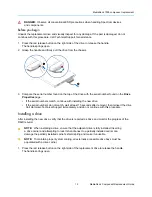
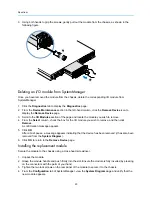
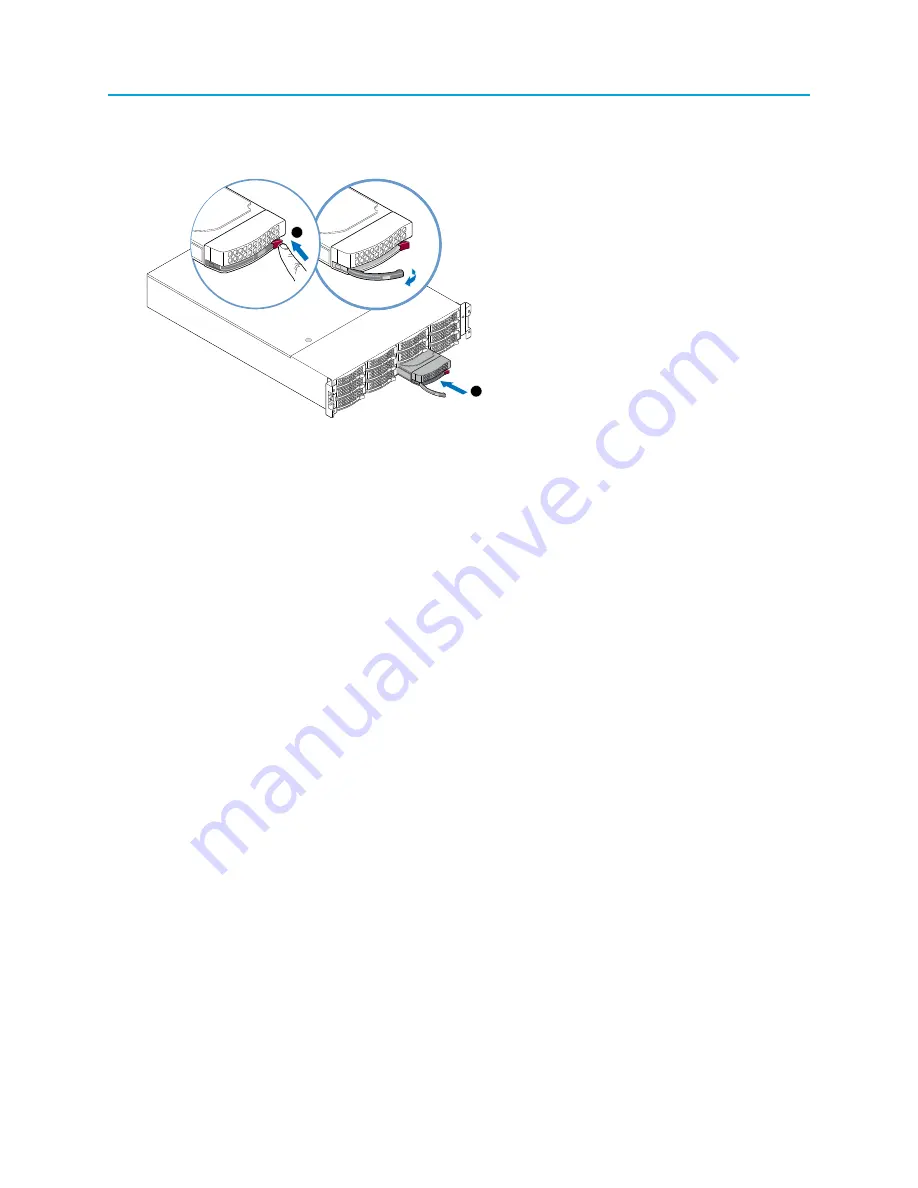
2. Push the drive into the chassis until the handle begins to close, and then press the handle until
closed.
3
2
1
2
The handle clicks as it closes.
Within three minutes, the new drive should appear on the
Disk Utilities
page in SystemManager.
3. From the
Disk Utilities
page, verify that the drive is reported as
Alive
by the MediaCenter.
• If it is reported as
Alive
, you may continue to the next step.
• If the drive is not reported as
Alive
and another drive is available, bypass the first drive. Follow
instructions in "Removing a failed drive", then repeat Step 1 through Step 3 using the second
drive. If successful, continue to the next step. If unsuccessful, contact Technical Support for
assistance.
• If the drive is not reported as
Alive
and you do not have another drive available, contact Technical
Support.
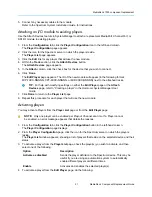
4. On the
RAID Utilities
page, monitor the status of the RAID set.
The status should change from
Compromised
to
Rebuilding
immediately. If it does not, start the
rebuild manually by clicking
Start Rebuild
.
5. Periodically monitor the rebuild until complete.
Once complete, the RAID status changes to
Normal, Attached, Viable
.
What to do next
If you replaced a failed drive with a new drive from Harmonic, use the packaging materials (carton,
cushion, and electrostatic sensitive bag) from the replacement disk drive to carefully repackage the failed


