Archive Service
50
Vision
2
Instruction Manual
7.
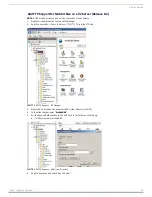
In the next dialog, click Find Now, and select Administrators from the list that appears. Click OK to close this dialog, and click
OK again to close the Select Groups dialog.
8.
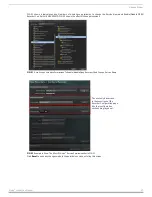
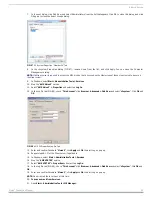
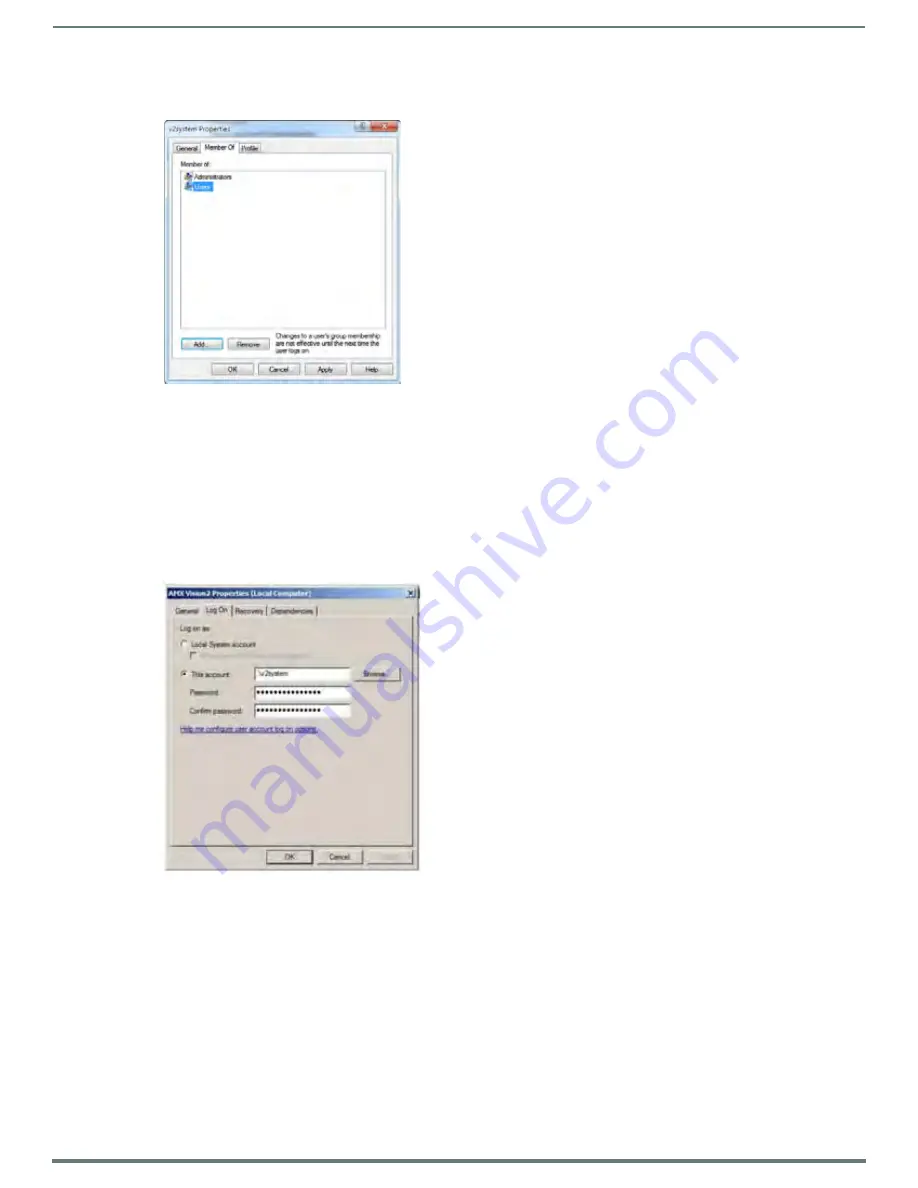
In the v2system Properties dialog (FIG. 67), remove Users from the list, and click Apply. You can close the Computer
Management dialog.
NOTE: If a
Client
server is required to access the NAS archive that is licensed on the Master, repeat these steps to create a user on
the
Client
server.
9.
In Windows, select Start > Administrative Tools > Services.
10. Stop the “AMX Vision2” service.
11. Select “AMX Vision2” > Properties and select tab Log On.
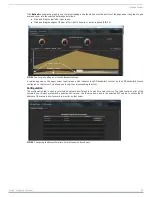
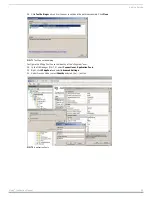
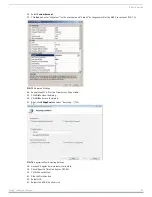
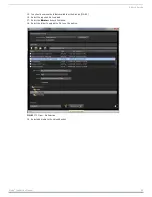
12. In the Log On tab (FIG. 68), check “This Account” click Browse > Advanced > Find Now and select “v2system”. Click OK and
OK.
13.
Enter and confirm Password “Vision2”, click Apply and OK the alert Log on pop up.
14.
Repeat steps 9-13 for the
Client
server if applicable.
15.
In Windows, select Start > Administrative Tools > Services.
16.
Stop the “AMX V2RTSP” service.
17.
Select “AMX V2RTSP” > Properties and select tab Log On.
18.
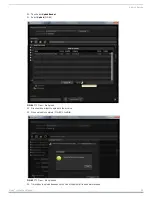
In the Log On tab (FIG.
68), check “This Account” click Browse > Advanced > Find Now and select “v2system”. Click OK and
OK.
19.
Enter and confirm Password “Vision2”, click Apply and OK the alert Log on pop up.
NOTE: Do not restart these services at this time.
20.
You can now exit from Services.
21.
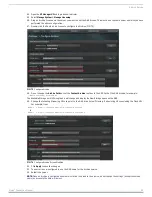
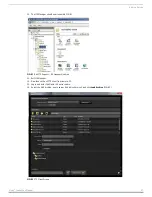
Open Start > Administrative Tools > IIS Manager.
FIG. 67
V2 System Properties "Member Of" Tab
FIG. 68
AMX V2 Propertied Log On Tab

