using speaker mode
50_
using speaker mode
4.
If you dial <
User ID
> on your VoIP phone and speak, it will be received by and played on the speaker.
The <
Status Detail
> of the <
User ID
> account will display as "Running, Conversation," and if you hang
up the phone, it will change to "Disconnected." If you refresh the web screen, the status will be converted
to "Registered" and maintained.
5.
<
Local host
> is provided as a default, and it can be used in both <
speaker mode
> and <
Controller
mode
> speakers.
For <
Local host
>, playing audio is possible when the account linked with the IP PBX server is additionally
registered or when there is only the VoIP phone without being linked to the IP PBX server. For example, if
it is sent from the VoIP phone on the same network to <
>, it is connected to the SIP
of the local host.
M
`
For the <
Speaker mode
> speaker, its volume can be controlled in the <
Operation Setting
>
➔
<
DSP Setting
>
➔
<
Output Volume
Setting
> menu.
`
For the <
Control mode
> speaker, its volume can be controlled in the <
Operate
>
➔
<
Device Monitoring
>
➔
<
Output Device
> menu.
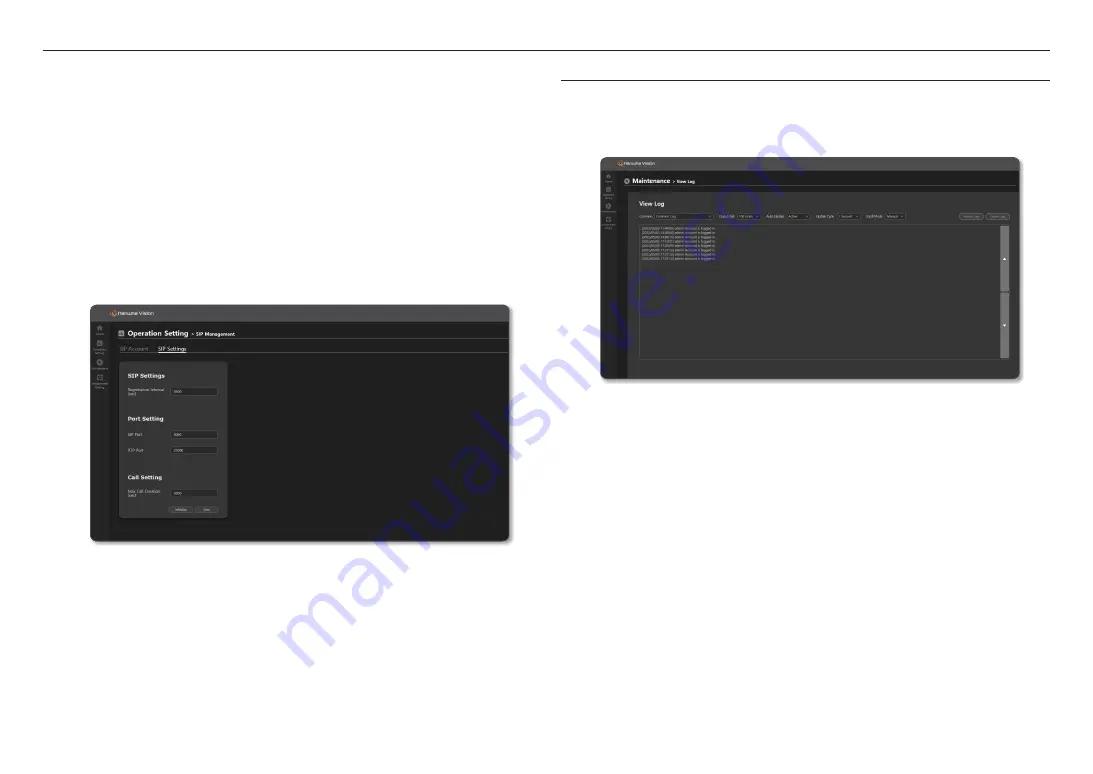
SIP Settings
1.
Enter <
SIP Settings
> items.
~
Registration Interval: Enter the SIP registration period. (Default: 3600)
2.
Enter <
Port Setting
> items.
~
SIP Port: Set up the port to operate SIP communication. (Default: 5060)
~
RTP Port: Set the RTP port. (Default: 35000)
3.
Enter <
Call Setting
> items.
~
Max Call Duration: Set the waiting time when a call ends abnormally.
4.
<
SIP Settings
> information can be initialized/saved.
MAINTENANCE
View Log
You can check logs generated in the product.
The log items are different for each product, and they are recorded when the log operation occurs.
1.
On the Home screen, click <
Maintenance
>
➔
<
View Log
>.
2.
The action log history for the device is shown by item.
Log Menu appears on View Log when its function is activated.
~
The logs of each menu are queried up to 1000 lines, and if they exceed 1000 lines, the oldest logs are
deleted first.
3.
If you click the [
Receive Logs
] button, a file can be downloaded in HTML format.
Check HTML files via Google Chrome.
~
As the log information will be deleted when the product's system is initialized, please download it in
advance.
4.
If you click the [
Delete Logs
] button, all logs displayed on the screen will be deleted.
5.
Output Unit, Auto Update, Update Period, and Scroll Mode can be set.
If you activate <
Auto Update
>, logs will be displayed according to the <
Update Cycle
>.
~
If you auto-select <
Scroll Mode
>, the screen will be moved downward to show recent logs.
~
Press the [
Top/Bottom
] button to view the upper and lower logs.
Summary of Contents for SPA-C100W
Page 52: ......


