


English _
15
!
INST
ALLA
TION & CONNECTION
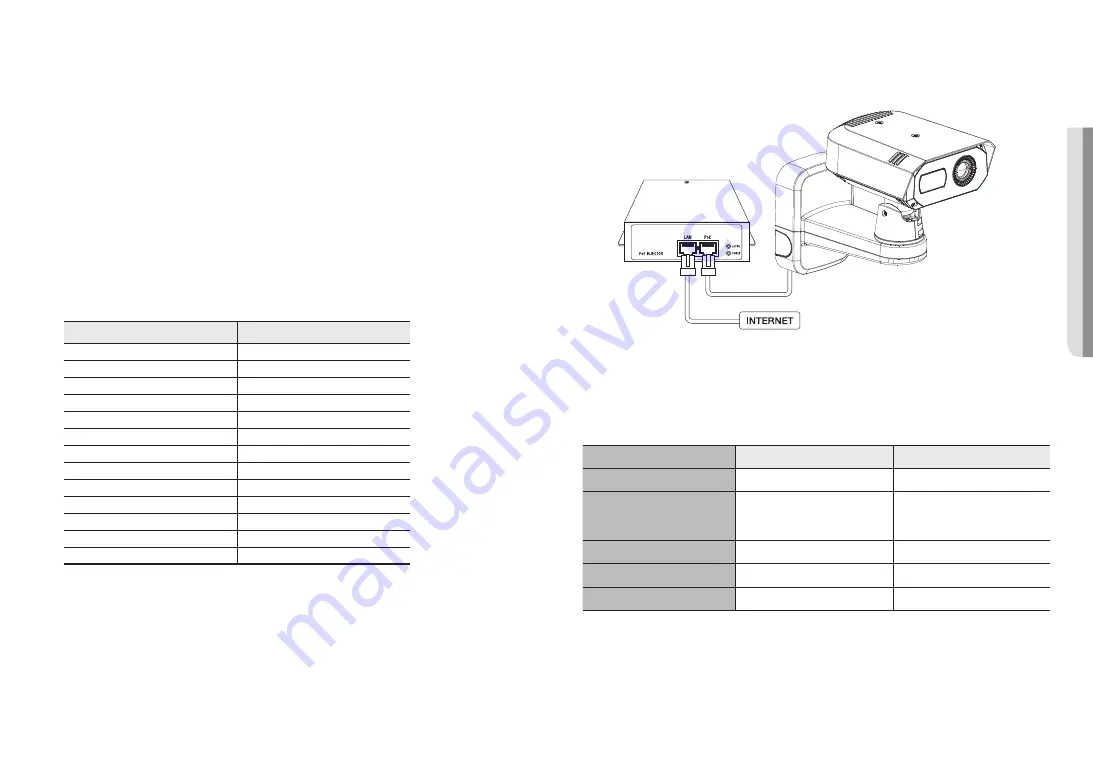
Ethernet Connection
Connect the Ethernet cable to the local network or to the Internet.
Connect to WiFi dongle
Camera Setup
1.
Connect an OTG adapter (5-pin) and a WiFi dongle to the micro USB port.
Smartphone Setup
1.
Install the Wisenet Installation application.
2.
Select the camera SSID after turning on the WiFi.
3.
Run the Wisenet Installation application.
4.
When you log in to the camera, the video will be displayed.
`
When connecting for the first time, the video runs without logging in.
5.
You can adjust angle of view while watching the video on the smartphone.
Recommended dongle manufacturer and its model name
Manufacturer
Model
NETIS
WF2123 n300
EDIMAX
EW-7811Un V2(New ver.)
IP Time
N100mini
IP Time
N105L
TP-LINK
TL-WN823N V1
TP-LINK
TL-WN725N
TP-LINK
T2U Nano
ASUS
USB-N13
ASUS
USB-N10 NANO
NETGEAR
WNA3100M
IODATA
WN-G150UMW
IODATA
WN-S150UM
TOTOLINK
N300UM
Powering and networking
Connect a PoE+ device to the PoE+ port on the lower part of the mount on the camera.
J
`
Connect to a router capable of PoE+ and use it.
`
Use a device that supports the IEEE 802.3at standard.
`
If you connect a router capable of PoE+ to the PoE+ port, you can use the camera without a separate power source (DC 12V).
Network Cable Specification
Item
Contents
Remark
Connector
RJ45(10/100/1000BASE-T)
Ethernet
10/100/1000BASE-T
To operate it with 1000BASE-T, it is
necessary to use a Category 6 or higher
cable on the hub for appliances.
Cable
Category 5e or higher
Max Distance
100 m
DC Resistance ≤ 0.125 Ω/m
PoE+ Support
IEEE 802.3at


