34
Ver 1.2
5.2.1. Display
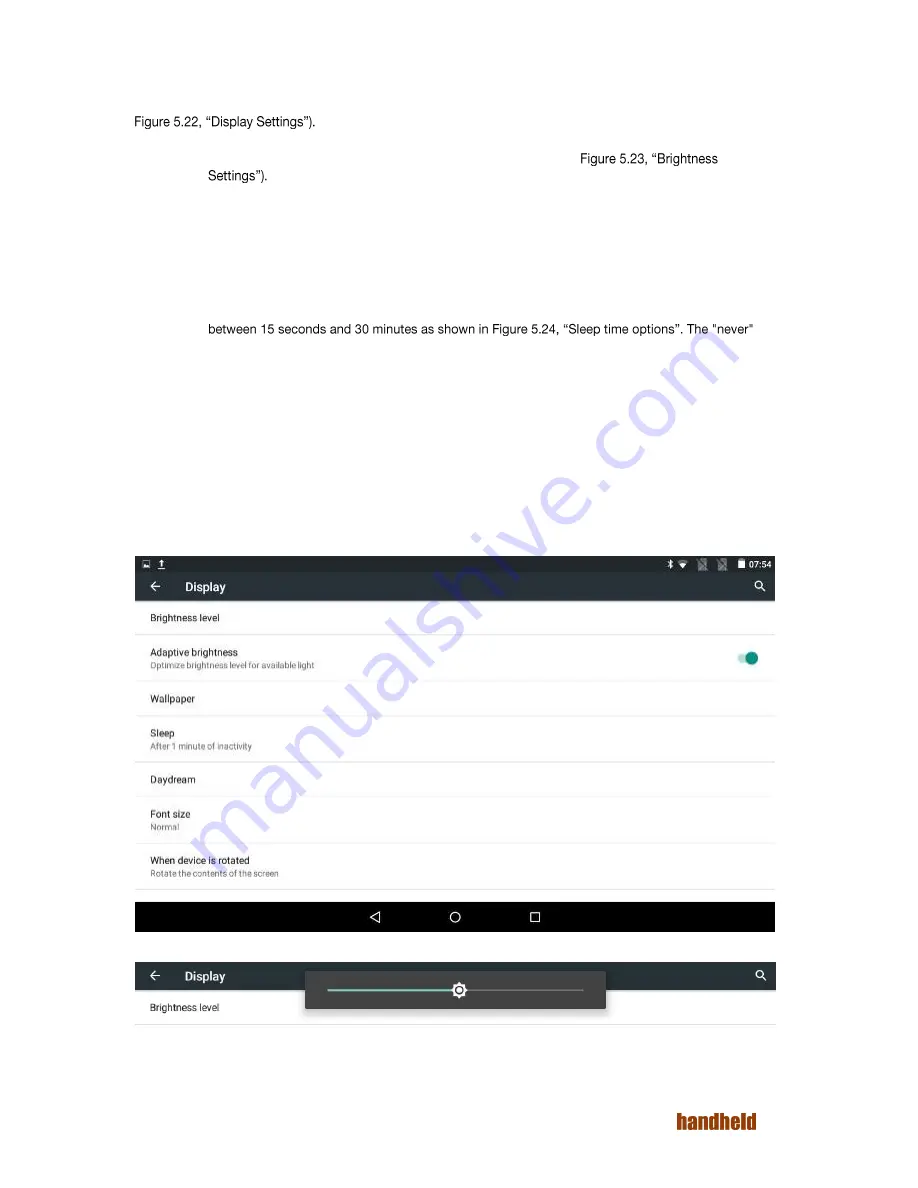
The "Display" option under Device settings allows you to set below display properties for your tablet (shown in
1.
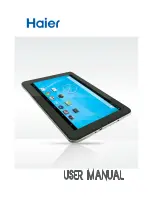
Brightness level - Adjust the slider to set the brightness level (see
2.
Adaptive brightness - Enabling this option sets the brightness level of the screen appropriately for
the available light. The adaptive brightness function uses a very low backlight level in pitch
darkness, reasonable level in typical indoor office lighting, and maximum brightness while using the
tablet outdoors or in direct sunlight. Using this option gives reasonable power savings, and is
recommended.
3.
Wallpaper - Personalize your device. You may select an image from Gallery, Live Wallpapers or
Wallpapers.
4.
Sleep - This sets the idle timeout after which the device goes to sleep. You may set a value
setting may be used when you do not want the screen to go to sleep automatically. This is typically
used for benchmarking the device. Using this option can drain the battery faster than normal. If very
long operation times are required, then we recommend that you keep the charger connected.
5.
Daydream - to control what happens when the phone is docked and/or sleeping. You can set clock,
colors, and photo frame or photo table as daydream. Using menu you can specify when to
daydream (while docked, while charging or either).
6.
Font size - to the set the font size to small, normal, large or huge. Larger sizes make for easier
reading, at the cost of showing less content on screen.
7.
When device is rotated - to set what should happen for the content of the screen when screen is
rotated. You can set rotate the contents or stay in current orientation.
8.
Cast screen - by enabling wireless display option in menu, you may mirror the tablet display onto
another display that is connected to a Miracast dongle.
FIGURE 5.22. DISPLAY SETTINGS
FIGURE 5.23. BRIGHTNESS SETTINGS
Summary of Contents for ALGIZ RT7
Page 1: ...ALGIZ RT7 MANUAL ...
Page 5: ...5 Ver 1 2 10 2 Arcontia RFID Module eTicket version only 56 11 Barcode Scanner 58 12 USB 59 ...
Page 10: ...10 Ver 1 2 ...
Page 27: ...27 Ver 1 2 Figure 5 11 Paired devices list FIGURE 5 12 BLUETOOTH SETTINGS MENU ...
Page 29: ...29 Ver 1 2 FIGURE 5 14 SELECT POWER CLASS FIGURE 5 15 BLUETOOTH STATUS ...
Page 32: ...32 Ver 1 2 FIGURE 5 19 STATIC IP CONFIGURATION DIALOG FIGURE 5 20 ETHERNET PROPERTIES ...
Page 60: ......


