28
2-Point Buck-In on Machine Tool Axis (Straightness)
A laser beam is often used as a "straight edge" to measure straightness. Examples are machine tool ways
or bore straightness measurement. The laser beam must be adjusted to be parallel to or coincident with an
edge or centerline. The process of making that adjustment is called "bucking in." This section describes
two types of buck-in methods: close (simple) and remote (more difficult).
Two points in space define a unique straight line; therefore, two reference points are needed in order to
relate the position of a laser beam to a surface or centerline. Any two points may be chosen (the suitability
of the points cannot be judged until after the measurement has been done). The points are usually selected
near the extreme ends of the job for the sake of convenience. A 2-Point Buck-In makes the laser beam
parallel with these two points. It is best to place the laser source in a position that is as close to the near
target position as possible. Orient the laser so that either the long axis of the base or the short axis of the
base is parallel to the near and the far target positions.
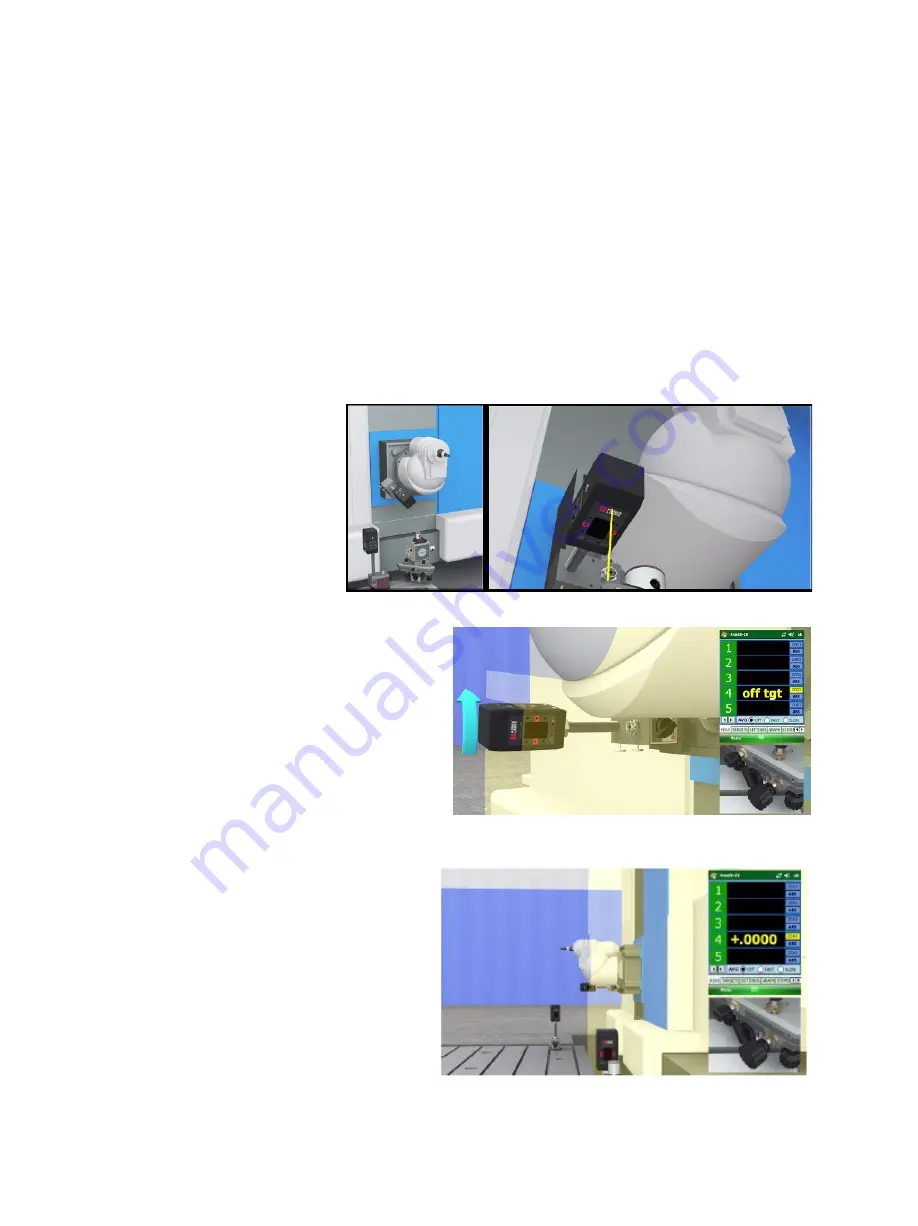
Aligning the Laser to the X-Axis Travel
1.
Mount Target #4 on the
ram, move the spindle
and adjust the target
height.
2.
Power on the laser and zero the target in
the Read9 PDA. Move the column down
to the end of the X-Axis travel and rotate
the target head to point towards the laser.
3.
Turn the Yaw-Axis adjustment knob to
center the laser to zero on the target.
Summary of Contents for STEALTH Series
Page 1: ......
Page 69: ...65 Appendix A Equipment Drawings L 733 Precision Geometry Laser...
Page 70: ...66 L 743 Ultra Precision Geometry Laser...
Page 71: ...67 A 1519 A 1520 Universal Wireless Targets...
Page 72: ...68...
Page 73: ...69...
Page 74: ...70...
Page 75: ...71...
Page 76: ...72...


