


8
Warning – Data Loss
•
Always remove the removable storage
medium using the eject function of your
operating system.
•
If you do not do this, data may be lost.
6. Charging with the Save2Data
SecureKey
The
Save2Data SecureKey
allows you to
charge your terminal device (iPhone/iPad) using a
computer/notebook or a USB plug-in power supply.
•
Connect the
Save2Data SecureKey
to an
unused USB port on a computer/notebook or
USB plug-in power supply.
•
Connect your terminal device (iPhone/iPad) to
your
Save2Data SecureKey
.
Your terminal device will now begin charging.
Note – Using the Save2Data
SecureKey during charging
•
If the
Save2Data SecureKey
is
connected to a PC/notebook
and
to
a terminal device, the
Save2Data
SecureKey
can be accessed only with
the device you connected
first
(USB =
PC/notebook or Lightning = iPhone/iPad).
7. Starting up the Save2Data SecureKey
•
Download Hama’s
Save2Data Pro
app from
the Apple App Store.
•
Connect the
Save2Data SecureKey
flash drive
to your terminal device (iPhone/iPad) using the
Lightning connector.
•
Start the
Save2Data Pro
app.
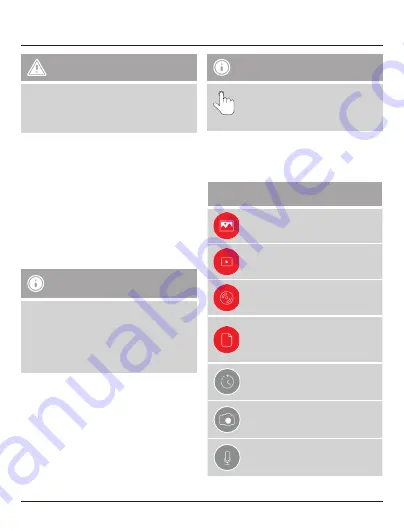
Note – Symbol
This symbol is used to indicate when
you must tap the screen at a particular
place in order to perform an action or
open a menu.
7.1 Explanation of the most important
symbols and icons of the Save2Data
Pro app
Main Menu
Menu for displaying and
transferring pictures
Menu for playing back and
transferring videos
Menu for playing back music
Menu for accessing the folder
structure of the
Save2Data
SecureKey
and the terminal
device
Menu for backing up and restoring
data and contacts
Menu for taking pictures and
recording videos directly
Menu for recording audio


