


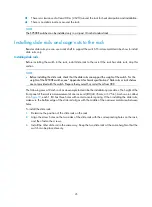


22
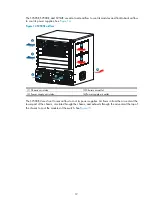
Figure 17
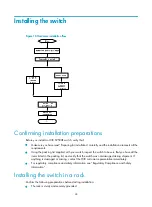
Rack depth
•
The rack is available with standard slide rails (or rack shelves), cage nuts, and screws.
•
The slide rails (or rack shelves) can support the weight of the switch chassis and its accessories.
•
The rack can be well grounded.
•
The rack has good cooling system, and the porosity of the front and back doors is greater than
50%.
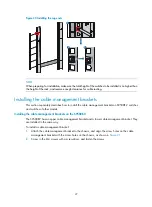
Installation tools
You can use the following tools for installation.
Accessories supplied by the switch
Item Quantity
Purpose
Console cable
1
Connecting the console port and the
configuration terminal for switch login
Grounding cable
1
Grounding the switch
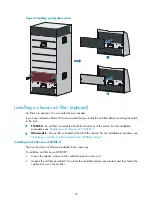
Mounting brackets
1 pair
Fixing the switch to the rack
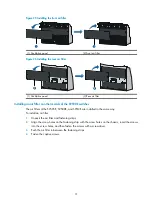
Cable management brackets
1 pair
Cable management
M4*8 screw
1 set
•
Fixing the mounting brackets to the switch
•
Fixing the cable management brackets to
the switch
M6*12 screw
1 set
Fixing the switch to the rack
M6 cage nut
1 set
>150
mm
>800
mm


