


DVMS 1600/800 Duplex Getting Started Guide
Document 900.0144 Rev 3.00
5
Connect remotely
Local installation
1.
Validate the proper configuration to accept the approved
modem or network card that will be used (MENU
➤
System Setup
➤
Remote Access
➤
Method field).
2.
Power down the DVMS 1600/800 unit.
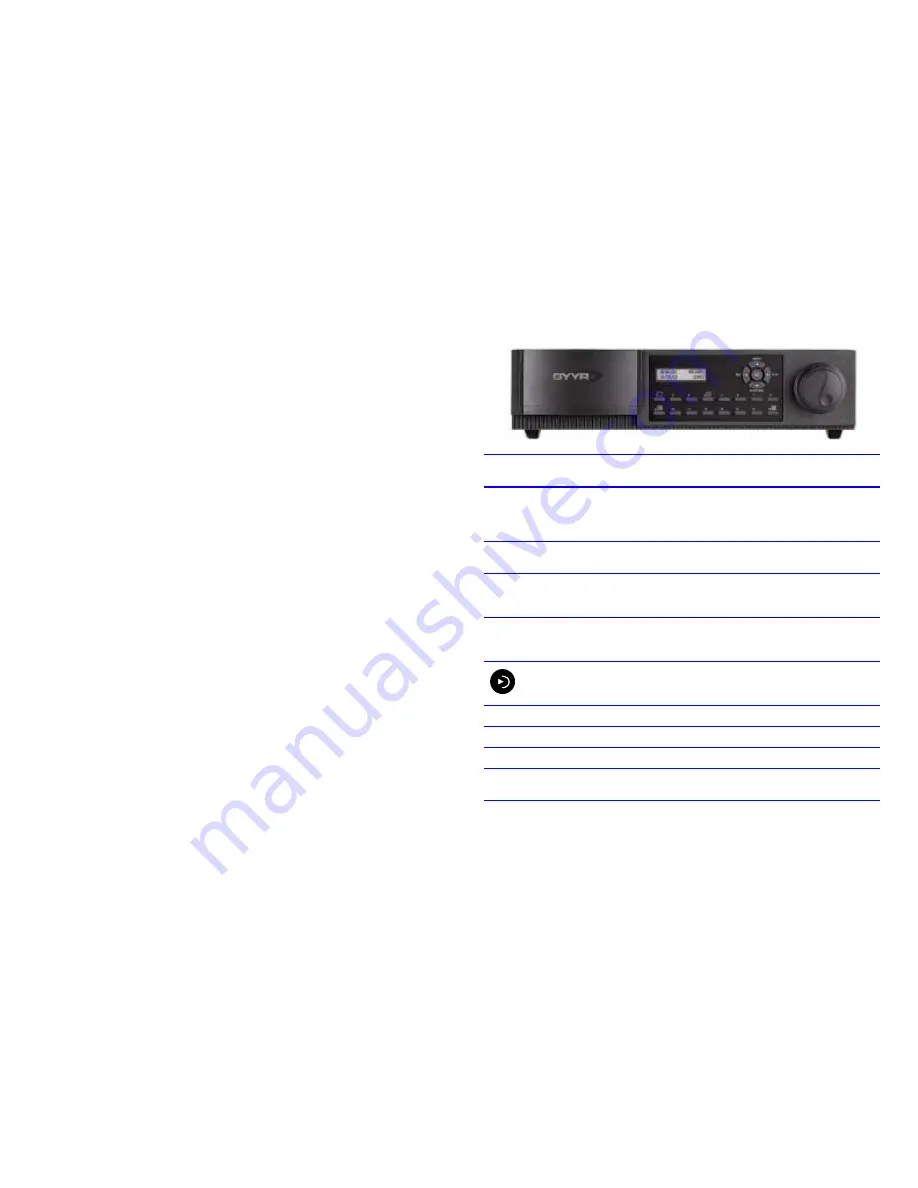
3.
Insert either an approved modem or network card into the
PCMCIA slot of the DVMS 1600/800 unit (see
Figure 1
).
4.
Power up the DVMS 1600/800 unit.
Remote installation
1.
Enable the DVMS 1600/800 unit for remote access (MENU
➤
System Setup
➤
Remote Access
➤
Method).
2.
Enable remote access for at least one user name (MENU
➤
User Permissions).
3.
Install RAS software.
4.
Connect to the DVMS 1600/800 unit using either an Ethernet
connection, dial-up modem connection, or a null modem
connection.
Refer to the DVMS 1600/800 Duplex DVMS Reference Guide for
complete procedures.
Programming
After your DVMS 1600/800 unit is connected to all the peripheral
equipment, you need to program your system. The following
sections describe how to complete the initial system setup tasks.
Note
The DVMS 1600/800 screens in this Getting Started
Guide show the factory default settings.
Navigating through the menus
Enter Program mode
1.
Press MENU.
Front panel
control button
Function
!
(MENU)
•
Move up through menus OR exit Program mode from the Main
Menu.
•
Increment to a larger value OR scroll through letters in a text
box.
"
(FUNCTION)
•
Move down through menus OR decrement to a smaller value.
•
Scroll through letters in a text box.
#
(RECORD)
•
Move left through menus.
•
At a menu selection, cycles value forward.
•
At a sub-menu title, enters sub-menu.
$
(PLAY)
•
Move right through the menus.
•
At a menu selection, cycles value backward.
•
Move to different letters in a text box.
Enter
•
Select a function for menu change.
•
Confirm a field change.
•
Leave Program mode.
Camera 1
Insert a letter.
Camera 2
Delete a letter.
Camera 3
Open a Text Entry screen.
jog wheel
•
Enter values.
•
Scroll through letters when changing text.


