Geophysical Survey Systems, Inc.
SIR® 20
Manual
MN92-078 Rev F
62
Fixing Missed Marks
If you try to process your data and get an error reading: Less than 26 End of Pass Marks Found, you will
have to edit your data and manually place the missing marks. RADAN will still ask to save the data file.
Click cancel and return to the raw data.
1
Right click the data file’s vertical scale bar. It is located at the left edge of your data window. Change
the horizontal scale to scans.
2
Scroll through your data file and find the location of the missing mark. It will be located between two
of the surface hyperbolas that occur at the beginning and end of each scan. Write down the scan
number that you want to tag the mark to. Any scan falling between two surface hyperbolas is fine.
3
Go to Edit > Edit Markers to open up the markers database. After a few seconds, a spreadsheet will
appear on the screen. Each of these rows (horizontal) represents a marker. Scroll all the way to the
bottom of the spreadsheet and you will see an empty row with an asterisk (*) at the left edge.
4
Type in the scan number where you want that marker to go and make sure that DistMark is checked.
Click Apply a few times and then close that window.
5
Re-run the processing on the data file.
Structure Scan Optical (Optical Scan)
Use StructureScan Optical Scan with only the 2.6 GHz, 1.6 GHz, 1.5 GHz, or 1 GHz antenna, the optical
minicart, and the bar coded paper mats. Optical Scan will allow you to collect 3D data that can be quickly
and easily imaged directly on the SIR 20 in RADAN. Optical Scan is best for those times when you either
have complicated layouts or dangerous materials in the slab and you need that added confidence of seeing
the whole picture before you cut or core.
Setup
1
Tape your scan pad securely to the survey surface. It
is important that the pad not move or shift during
survey.
2
Double-click the Optical Scan shortcut to launch the
Optical Scan program.
3
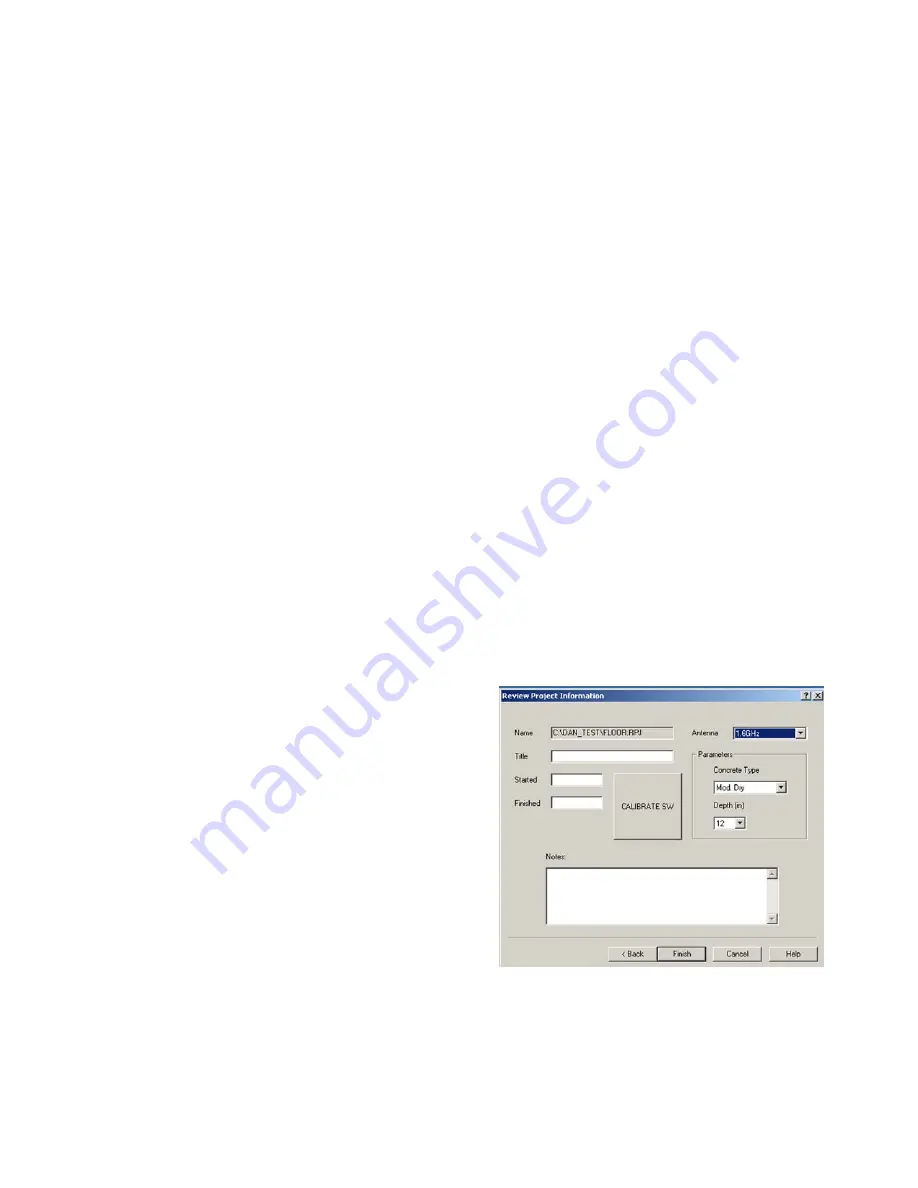
Go to File > New to define a new data collection
project. You will be asked to provide a project file
name. Keep this name to fewer than eight
characters. This will be the root name of the grid
folder in which this data will be stored. Click Next
when you are done.
Figure 66: Collection Parameters.
Summary of Contents for SIR 20
Page 1: ......
Page 4: ......
Page 6: ......
Page 12: ...Geophysical Survey Systems Inc SIR 20 Manual MN92 078 Rev F 6 ...
Page 56: ...Geophysical Survey Systems Inc SIR 20 Manual MN92 078 Rev F 50 ...
Page 88: ...Geophysical Survey Systems Inc SIR 20 Manual MN92 078 Rev F 82 ...
Page 96: ...Geophysical Survey Systems Inc SIR 20 Manual MN92 078 Rev F 90 ...


