


32
SOUND PLAYBACK
___________________________________________________________________
Audio dubbing
You can add an audio track to the video recording at a later date.
Connection
Connect the »
L AUDIO R
« sockets at the front of the video recorder with the
corresponding input sockets of the sound source (hifi system, CD player) using a
commercially available Cinch cable.
Preparation
Switch the TV set on.
Select the »AV« programme position for video playback on the TV set.
Insert the desired cassette.
Control
1
During playback, locate the place on the tape where the dubbing should
begin then press the »
II
« button.
2
Select the dubbing function with the »
DUB
« button.
3
Switch the sound source to playback then start dubbing with the »
II
« button.
– The original sound is retained on the hifi sound track, the new sound is
recorded on the longitudinal mono sound track.
4
End dubbing with the »
■
« button.
Note:
If you wish to hear the new sound, repeatedly press the »
AUDIO
« button until
»
L R
« disappears from the recorder’s display.
If you wish to hear the mono and hifi sound tracks, switch the video recorder
in the audio-mix mode.
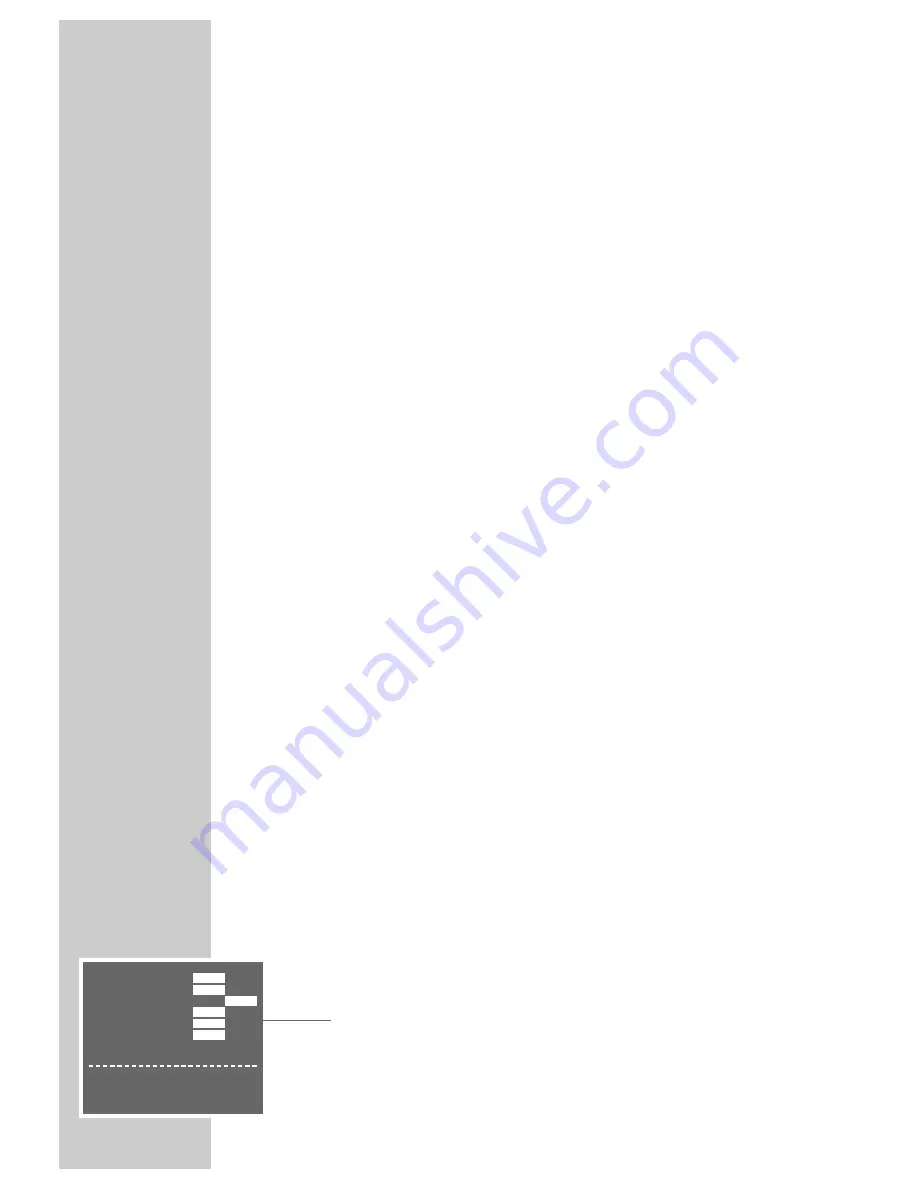
Audio-mix mode
Select this mode to play back dubbed video cassettes. If this function is activated,
the recorder plays back the hifi sound track as well as the new sound on the
mono track.
1
Press the »
i
INFO
« button to display the main menu.
2
Select the » MODE« line using the »
C
C
« or »
D
D
« button then activate it with
the »
OK
« button.
3
Select the » AUDIO MIX« line with the »
C
C
« or »
D
D
« button.
4
Select » ON« (or » OFF«) with the »
F
F
« or »
E
E
« button then confirm with
the »
OK
« button.
5
Press the »
i
INFO
« button to end the setting.
OSD-MODE
AUTO
OFF
VCR NO.
1
2
REPEAT
ON
OFF
16:9
AUTO
OFF
NICAM
AUTO
OFF
■
➔
AUDIO MIX
ON
OFF
w q
:SELECT
r e
:CHANGE
OK :ENTER
INFO:EXIT


