ENGLISH
73
13
Select »OK« with »
S
« or »
A
« and press »
OK
« to confirm
the recording data.
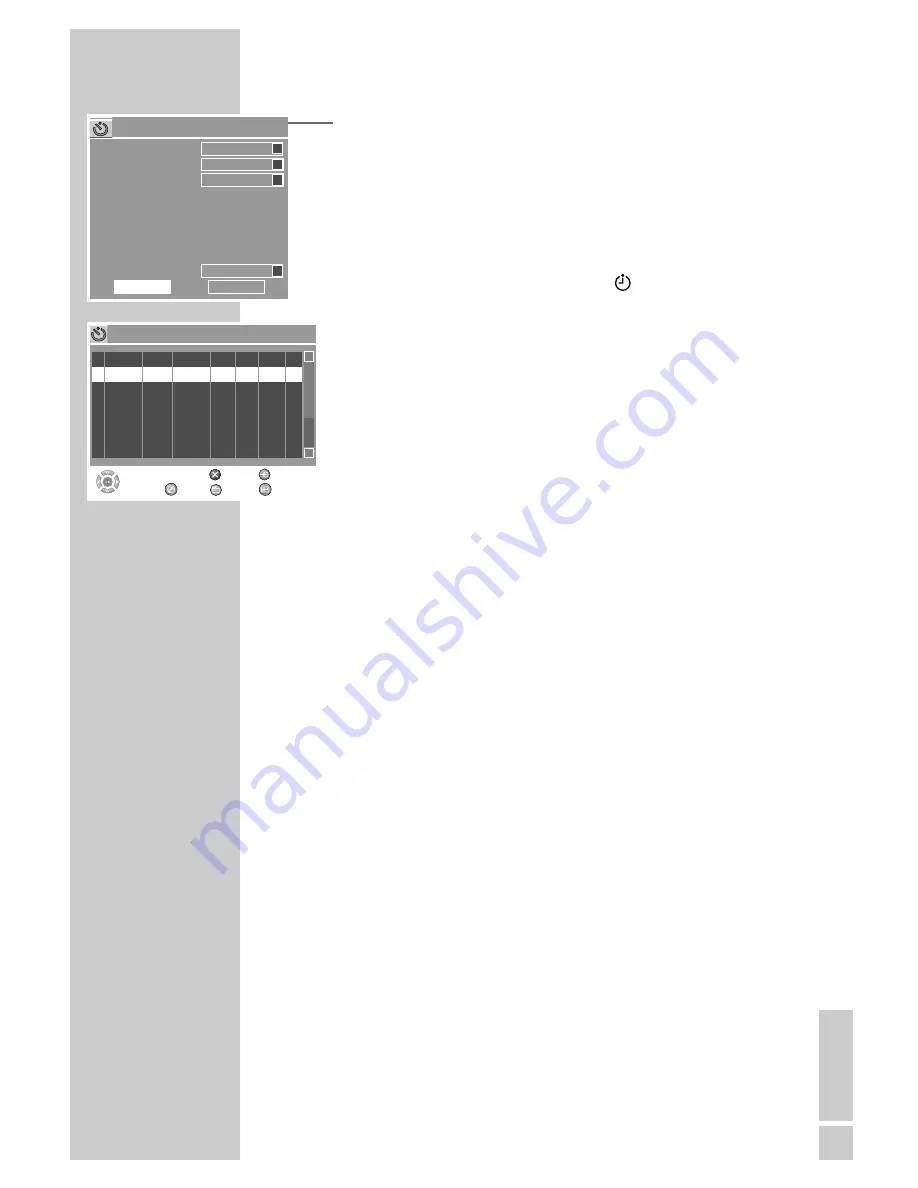
– The »Timer list« menu appears on the screeen.
Note:
If you do not want to save the timer data, select »Cancel« with
»
S
« or »
A
« and press »
OK
« to confirm.
14
To make further recordings, repeat the instructions from step
3
or exit the »Timer list« menu with »
« (green).
15
Switch the HDD DVD recorder to standby by pressing »
Ǽ
« on
the remote control.
– Display on the HDD DVD recorder: »
Ȅ
«.
Caution:
Remember that the HDD DVD recorder can only record after
you press »
Ǽ
« on the remote control to switch it to standby.
Note:
The timer recordings can be cancelled by pressing »
7
«.
Messages during or after programming a
recording
»Recording due to start – switch off the HDD DVD recorder«
A programmed recording is due to start shortly.
Press »
Ǽ
« to switch off the HDD DVD recorder.
»Timer starts in 3 minutes, press OK to start«
A programmed recording is due to start shortly. Press the
»
OK
« button.
»No recording possible. No disc in the disc compartment.«
There is no disc in the compartment, or the disc is unsuitable
for recording. Put in another disc.
»Recording due to start, please insert a disc with sufficient record-
ing capacity«
The disc is write-protected or there is not enough playing time
left on it.
Remove the write protection or put in another disc.
»Input error«
Check the recording data for the programme (date, start time
and stop time) and change if necessary.
»Input error. Clashes with another timer recording.«
The recording times of two programmes overlap.
Change the recording data for one of the programmes or
delete it.
TIMER RECORDING
__________________________________
Item editor
Time: 18:00:05
HDD
S
OFF
S
OK
Cancel
P001 ARD
S
SP
S
Source
Record To
Quality
Mode
Date
Start
End
Title
VPS
Once
01 / 12 / 06
20:15
21:45
MyTitle
Timer list
Source
Quality Date
Start
End
Record VPS
Select
and
Choose
S
A
1
P001
SP
01/12/06 20:15 21:45 HDD OFF
2
3
4
5
6
DVD
Delete
HDD
HDD Target
Exit


