ENGLISH
61
... subsquently, for several recordings
1
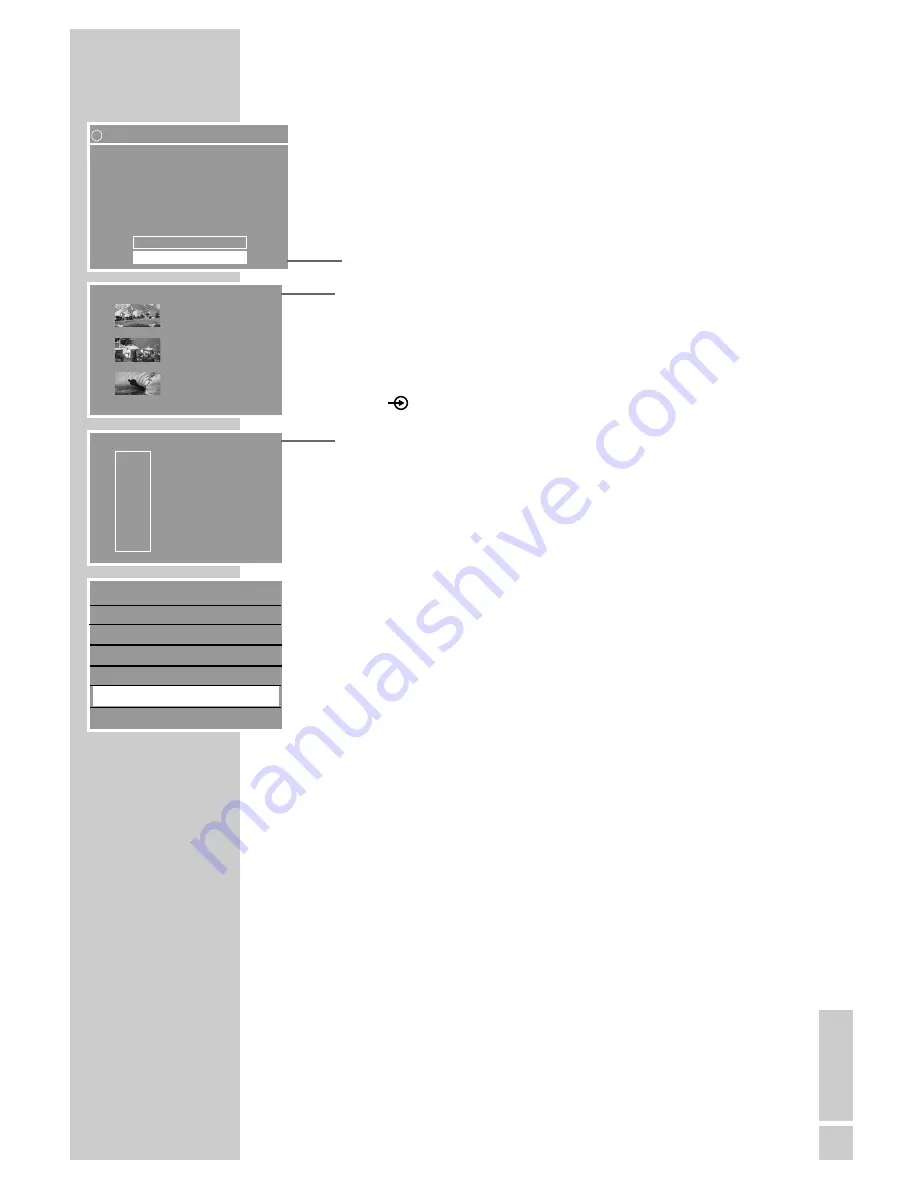
Activate the YesDVD function in the setup menu.
2
Make the recordings on the disc.
3
At the end of every recording a menu is displayed, requesting
you to activate the YesDVD function.
Select »No« with »
S
« or »
A
« and confirm with »
OK
«.
4
After the last recording with »
TOP MENU
.
« switch to the
disc mode.
Note:
If the last recording was switched to another mode (for example,
time shift), you must switch back to the disc mode by pressing
»
« (blue) and then »
TOP MENU
.
«.
5
Select the disc information »MY DVD« with »
S
« or »
A
« and
activate with »
s
«.
6
Select » Finalize as YesDVD« with »
S
« or »
A
« and confirm
with »
OK
«.
– The YesDVD disc is created. This can take some time, for
example, fifteen minutes for a two hour recording.
7
Confirm the message »Your YesDVD disc was ...« with »
OK
«,
remove the disc from the HDD DVD recorder and insert it into
the disc compartment of a PC.
8
Open the “Index” document and follow the instructions of the
program.
9
Print the cover for the disc.
YES DVD FUNCTION
_______________________________
! YesDVD
You can now create a YesDVD disc with chapter menus,
music videos, and a DVD jacket with pictures.
Do you want to create a YesDVD disc now?
Note: You cannot record on a YesDVD disc once it has
been created.
No
Yes, create YesDVD disc
s
Urlaub
01/08/2006
10:05:12
PAL
DVD
EDIT
s
1. TITLE
30/09/2004
10:05:12
SP 01:15:00
2. TITLE
30/09/2004
12:30:00
SP 00:45:00
3. TITLE
01/10/2004
21:00:00
SP 00:30:00
Play
Rename disc
Erase disc
Record title
Overwrite disc
Finalize as YesDVD
Lock disc
S
A


