-18-
Model G0787 (Mfd. Since 09/14)
Belt Sanding
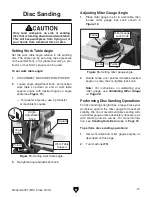
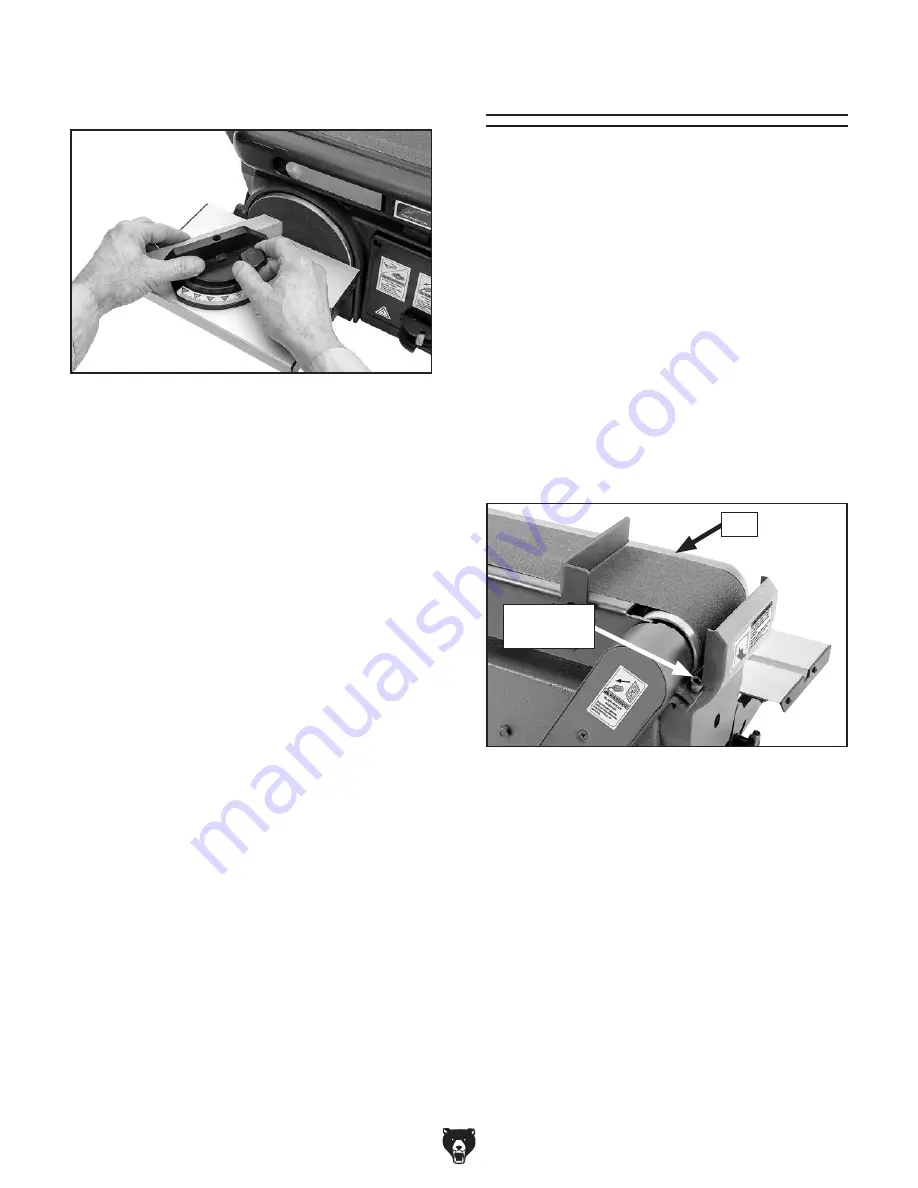
3. Place workpiece on work table and brace it
against miter gauge (see
Figure 17).
Figure 17. Disc sanding.
4. While keeping workpiece snug against miter
gauge fence, gently feed it into downward
spinning half of sanding disc.
5. Use light pressure, and slowly move work-
piece side to side along downward spinning
half of sanding disc to prevent burning work-
piece and excessive loading of sandpaper.
Sanding Outside Curves
To sand outside curves:
1. Remove miter gauge.
2. Turn machine ON.
3. Place workpiece on work table, and gently
feed it into downward spinning half of sanding
disc.
4. Using light pressure, slowly move workpiece
side to side along downward spinning half of
sanding disc to prevent burning workpiece
and excessive loading of sandpaper.
The Model G0787 disc sander can be used to
sand convex (outside) curves. Since the miter
gauge is not used for this operation, use both
hands to hold the workpiece.
The Model G0787 belt sander bed tilts from 0° –
90°, allowing for both horizontal and vertical belt
sanding.
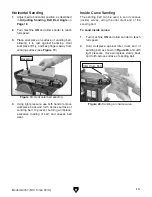
The horizontal position is generally used for sand-
ing with the grain along the length of a workpiece,
and for sanding inside curves.
The vertical position is best used with the work
table attached to the bed, for miter sanding and
sanding outside curves.
Adjusting Sanding Bed Angle
1. DISCONNECT MACHINE FROM POWER!
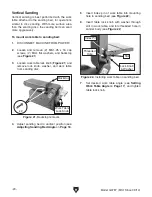
2. Loosen bed angle cap screw shown in Figure
18.
Figure 18. Bed angle adjustment.
3. Raise or lower bed to desired angle, then
re-tighten bed angle cap screw.
Bed Angle
Cap Screw
Bed
Summary of Contents for G0787
Page 40: ......


