11
Connecting a Tablet to the AirScout
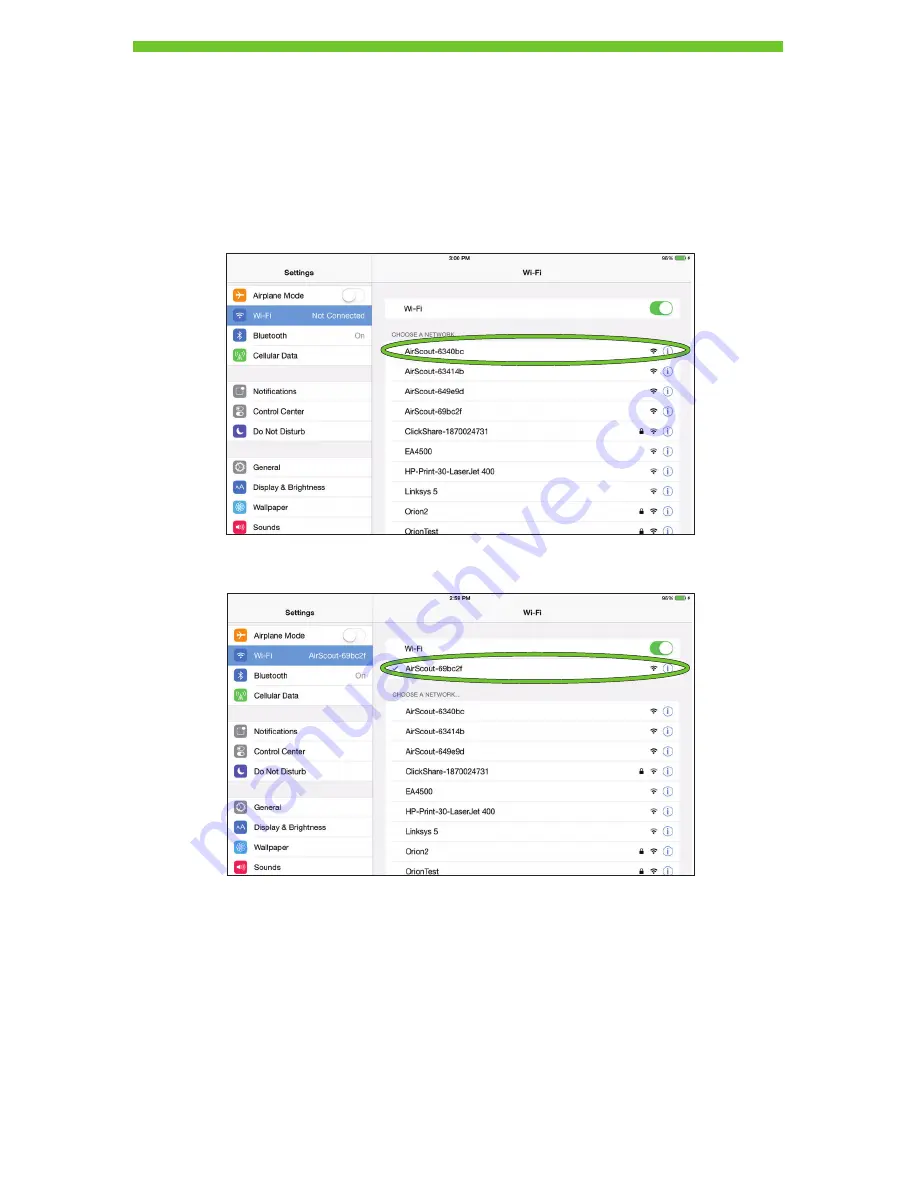
Prior to testing, the tablet must be connected to a master device. Refer to the rear label of
the master to identify the SSID and Password necessary to connect your tablet to AirScout.
1. On the tablet, navigate to the Wi-Fi settings menu.
2. Ensure Wi-Fi is enabled.
3. From the available networks select the SSID of the master.
4. Once the tablet is connected, the AirScout SSID appears in the connected list.
Note: During testing the AirScout master will temporarily disable its Wi-Fi connection to
the tablet. If the tablet is in the presence of an alternate known Wi-Fi network or a carrier
Wi-Fi hot spot, the tablet may switch connections without your knowledge, preventing the
AirScout from re-establishing a connection. When this happens, the AirScout master will
indicate it is trying to re-establish a connection and the application will inform the user that
the connection has been lost. To avoid this situation, navigate to the Wi-Fi settings menu
and “forget” known networks and disable auto connections to carrier Wi-Fi hot spots.


