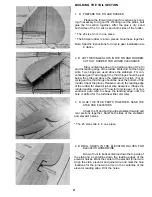
19. D PREPARE THE CENTER TRAILING EDGE PIECES
With the top of the wing panels up, draw a center-
line down the trailing edge of each wing panel. Prepare the
grooved center trailing edge pieces by notching them for
the servo arm torque rod clearance 3/8" or so in from the
wing center. See plans for location. Make right and left
pieces. Glue the aileron torque rods into the groove in the
center trailing edge pieces. Use vaseline at the ends of the
outer tube so only the tube is glued to the block. Notch the
trailing edge of the wing to permit forward movement of
the torque rod arms.
* The center trailing edge pieces for the 60 size model are
balsa. Cut a groove in the block for torque rod clearance.
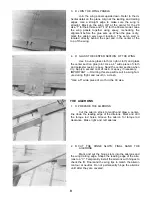
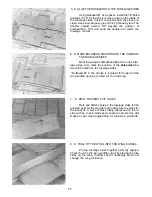
20. D GLUE THE CENTER TRAILING EDGE PIECES TO
THE WING PANELS
JOINING THE WING PANELS
1. D GLUE THE CENTER RIB TO THE LEFT WING
PANEL
Glue the wedge-shaped balsa center rib to the root
end of the left wing panel. Make sure the wider edge of the
center rib is down and the wing panel is up. Make sure that
the leading edge and trailing edge are centered on the
tapered rib. Use 5 minute epoxy.
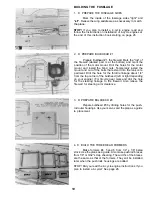
2. D SAND THE CENTER RIB TO THE WING PANEL
CONTOUR
Roughcut the center rib to the wing airfoil, leaving
it about 1/8" oversize. Sand the remainder away with a
sanding block so that the center rib edges are flush with
the wing sheeting surfaces.
8
Summary of Contents for Super Sportster 20
Page 33: ...33...
Page 34: ...34...
Page 35: ...35...
Page 36: ...36...
Page 37: ...37...
Page 41: ...Use trim MonoKote and these letters to create your trim scheme on your Sportster 41...
Page 43: ...PUSHROD LINKAGES 43...

