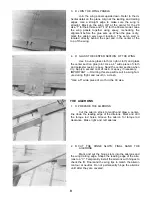
29. D INSTALL AND GLUE ON THE HOOD SIDE PIECES
Sand the bottom of the side pieces so they will
mate squarely with the fuselage sides. Glue the side
pieces from the front of former 3A/3B to beyond former 1A
in the following manner. To prevent a twisted fuselage,
glue both pieces at the same time, a little at a time starting
at former 3A/3B. The hood side pieces should extend out-
side former 3A/3B slightly so they can be sanded to con-
tour later.
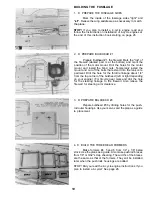
30. D SAND THE TOPS OF THE HOOD SIDE PIECES
Sand the top of the hood side pieces flush with
the top of the formers so the hood top will mate squarely.
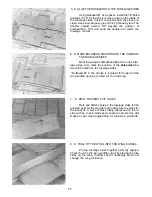
31. D GLUE ON THE HOOD TOP; SAND THE HOOD
SIDES AT THE COCKPIT.
Sand the angle at the rear of the hood top and
trial fit the hood top to the fuselage. Glue on the hood top.
After the glue is dry, sand the side pieces in the area of the
cockpit as shown on the plans.
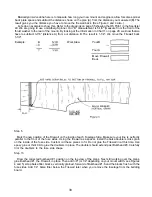
32. D ADD FORMER 6A/6B
Pin the stabilizer in place so the stab is aligned
with the back of the fuselage. Mark the position of former
6A/6B and glue it in place. Remove the stab before the glue
sets up.
17
Summary of Contents for Super Sportster 20
Page 33: ...33...
Page 34: ...34...
Page 35: ...35...
Page 36: ...36...
Page 37: ...37...
Page 41: ...Use trim MonoKote and these letters to create your trim scheme on your Sportster 41...
Page 43: ...PUSHROD LINKAGES 43...


