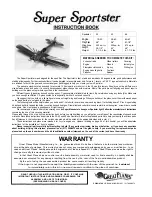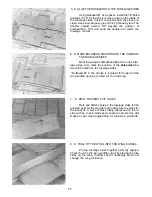
5. D GLUE THE DOUBLERS TO THE FUSELAGE SIDES
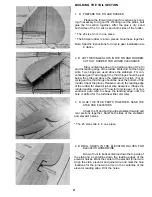
Using bulkhead #1 as a spacer, install the 1/8" balsa
doublers (1/16" for the 20 size) cross-grain on the inside of
the fuselage sides. Custom cut pieces from the stock pro-
vided. Use slow set epoxy glue or thick Cyanoacrylate. The
doubler should extend 5/8" beyond the position of
bulkhead #3. Trim and sand the doublers to match the
fuselage contour.
6. D MARK BULKHEAD POSITIONS ON THE INSIDE OF
THE FUSELAGE SIDES
Mark the positions of Bulkhead #2 and 3 on the fuse-
lage sides. Also mark the position of the balsa dash be-
tween #2 and #3 on the fuselage sides.
* Bulkhead #2 in the 20 size is located 1/8" forward of the
wing saddle opening to allow for the dowel jig.
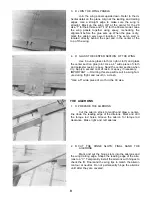
7. D DRILL PUSHROD EXIT HOLES
Mark and drill the holes in the fuselage sides for the
pushrod exits for the elevator and rudder. See the plans for
the locations. A piece of brass tubing sharpened on the in-
side with an X-acto blade and chucked in an electric drill
makes a neat, clean angled hole for tube-style pushrods.
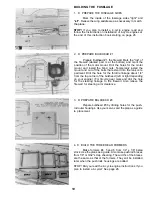
8. D TRIAL FIT THE WING INTO THE WING SADDLE
Pin the fuselage sides together perfectly aligned.
Check the fit to the wing saddle cutout by placing the fuse
sides on the wing. Custom sand if necessary but do not
change the wing incidence.
11
Summary of Contents for Super Sportster 20
Page 33: ...33...
Page 34: ...34...
Page 35: ...35...
Page 36: ...36...
Page 37: ...37...
Page 41: ...Use trim MonoKote and these letters to create your trim scheme on your Sportster 41...
Page 43: ...PUSHROD LINKAGES 43...

