17
INSTALL THE RADIO & ESC
❏
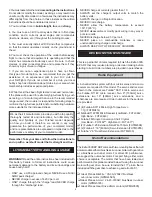
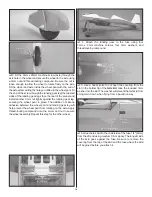
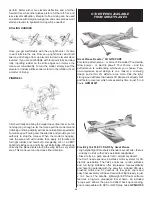
1. The ESC and receiver will be secured inside the plane
with double-sided servo tape. For better adhesion of the tape,
brush on a light coating of epoxy where the components will
be installed. As shown in the picture, we will install the ESC
to the underside of the top piece of the motor mounting box
and the receiver to the front of the wing spar. The ESC can
also be installed on the side of the motor mounting box. Also,
apply a coat of epoxy to the battery tray.
❏
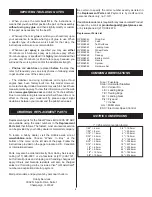
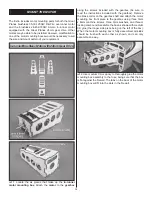
2. Connect the servo leads to the receiver. If you are
using a 4-channel receiver, you will also need a dual servo
extension or Y-harness for the aileron servos. Cut pieces of
double-sided servo tape to secure the ESC and receiver
where you applied epoxy in step #1. Connect the ESC to the
motor leads and receiver.
❏
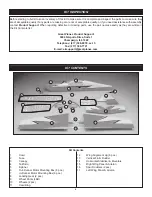
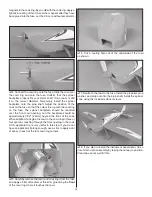
3. Route the receiver antenna out of the battery hatch and
down the underside of the fuse. Use clear tape to hold the
antenna in place. For a cleaner look, run the receiver antenna
through the inside of the fuse to the tail. The antenna exits
from a small hole drilled in the location shown. We used a
piece of leftover pushrod that we had in the shop and inserted
it through the hole in the tail of the plane and fi shed it through
the formers to the front. Tape the antenna to the pushrod and
draw it back through the fuse and out the hole.
❏
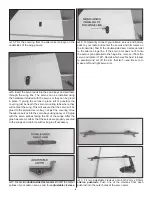
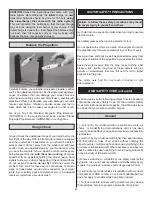
4. Make a hook and loop strap 8" [203mm] long by
overlapping two pieces and cutting it to length. Feed it through
the battery tray in the location shown. The strap can be glued
to the battery tray with medium CA to keep it in place.
❏
5. Test fi t your battery into place and adjust the length of
the strap as necessary. When you balance the model, the
exact position of the battery pack will be determined. When
you know where the pack will need to be to balance, mark
its position onto the battery tray and put a piece of adhesive-
backed hook and loop material onto the pack and battery
tray to hold it in place during fl ight.

