18 / 33
Binding
Binding the Transmitter
When binding, position the transmitter and receiver 3 feet (1 meter) apart.
Binding step by step:
1.
Switch on the transmitter
2.
Switch on the receiver
3.
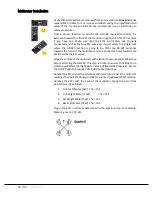
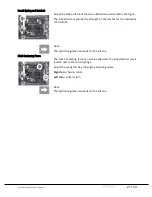
Put the receiver in bind mode by pressing the small
SET
button for
about 3 seconds on the flight controller
4.
Press the
MODE
button on the radio. When the bind process is
successful, the bind LED turns to yellow indicating a successful bind.
The receiver LED will change from red to green.
5.
After binding transmitter and receiver perform a range test.
Performing a Range Test
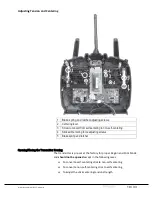
The range test is activated by simultaneously pressing the
MODE
and
ENTER
keys. This reduces the transmitter power.
The range test is active
for only 90 seconds.
After 90 seconds, the transmitter switches back to full
power.
Range test step by step:
1.
Place the model in a safe location. For copters, make sure that the
model is secured to a surface to avoid accidental takeoff.
2.
Turn on the transmitter
3.
Check control response.
4.
Press the
MODE
and
ENTER
keys simultaneously. The transmitter
will start beeping.
5.
Move away from the model while activating the sticks. An assistant
may be useful to help watch over the model.
6.
If an interruption in the model function is detected within 160 feet
(50 meters), correct the problem. For example, re-position the
antenna on your model.
7.
Make it a habit to do a range test before each flight
Terminate the range test function by pressing the
MODE
and
ENTER
keys
simultaneously for 2 seconds
Range Warning
Note
If a range test cannot be successfully performed, contact your nearest
Graupner
service center for additional support.
CAUTION
Never start a range test on the transmitter while the model is currently in
operation!

