WALL MOUNT
MULTI-MATERIAL CUTTER
G1089 1/22
Instruction Manual
Model F700-1
Logan Graphic Products Inc., 1100 Brown Street, Wauconda, IL 60084 847-526-5515 www.logangraphic.com
18
1. Retract handle.
2. Locate pressure adjustment screw (Fig. 57).
3. To adjust, tighten (turn right) screw to increase pressure or loosen
(turn left) screw to decrease pressure.
4. Adjust 1/2 turn at a time and retest.
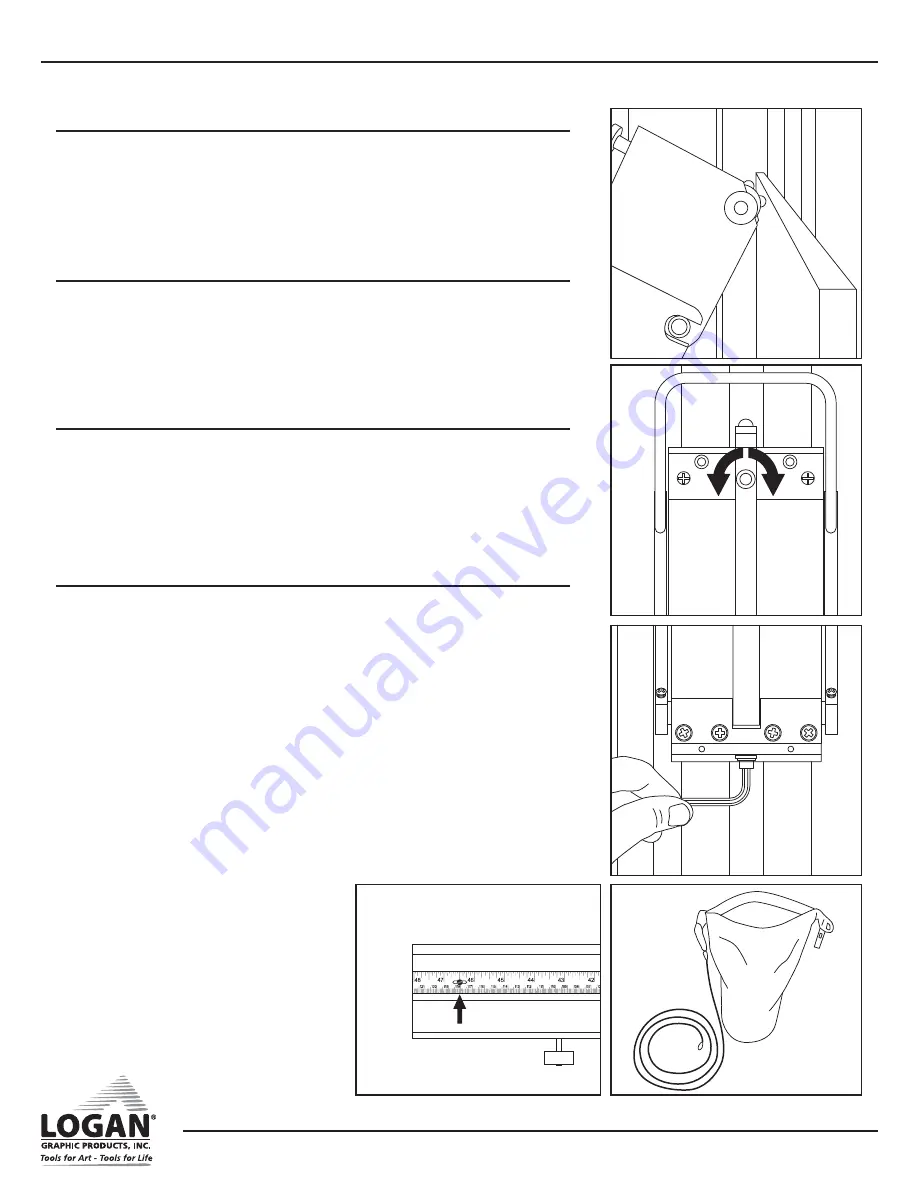
Glass Cutter Pressure Adjustment
1. When handle is retracted, glass wheel should touch top of glass in
middle of wheel (Fig. 55).
2. To adjust, tighten (turn right) to reduce depth, loosen (turn left) to
increase depth (Fig. 56).
3. Adjust 1/2 turn at a time and recheck.
Glass Cutter Depth Adjustment
Fig. 57
Fig. 55
Fig. 56
All three scales can be adjusted if they are not accurate. They are not
glued but held in place by screws (Fig. 58).
1. To adjust, use gusset wrench and loosen screw one full turn.
2. Adjust scale.
3. Retighten screw.
Adjusting Scales
If the cutting head is moving up or down when not in use then the
counter-weight is out of balance.
1. If cutting head is moving down then more weight needs to be added.
If cutting head moves up then weight will have to be removed.
2. Remove counter-weight bag by lowering cutting head to bottom of
machine.
3. Using step ladder, lift bag to loosen tension and unhook cable from
pulley and cable post on cutting head.
4. Open bag by unclipping and unrolling bag (Fig. 59).
5. Pour out sand to decrease weight or add sand or metal scrap like
nails, screws or washers to increase weight.
6. Close bag, replace cable and retest.
Adjusting Counter-Weight
Fig. 58
Fig. 59


