background image

308986

23

Operation

Pneumatic Pressure Relief Procedure
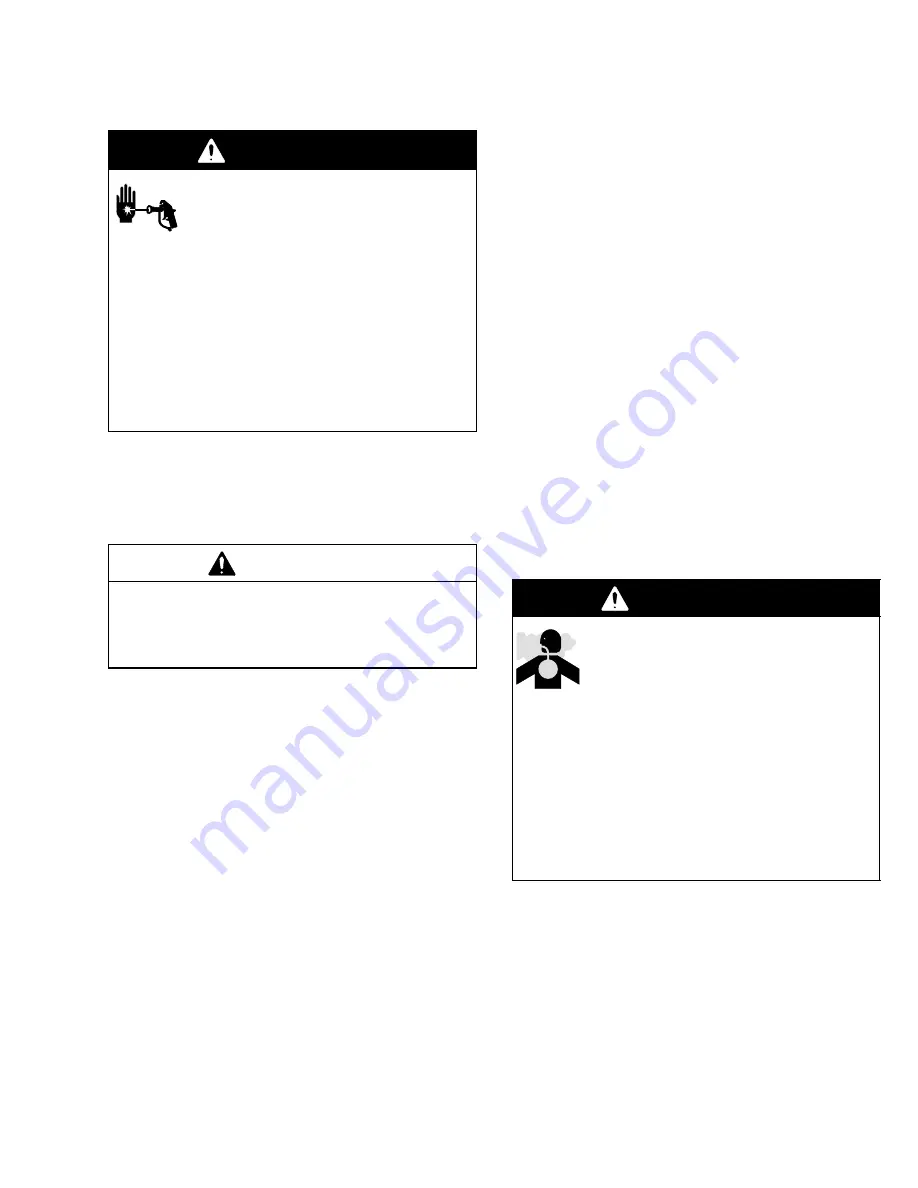
WARNING

INJECTION HAZARD

The system pressure must be manually
relieved to prevent the system from
starting or spraying accidentally. Fluid

under high pressure can be injected through the
skin and cause serious injury. To reduce the risk of
an injury from injection, splashing fluid, or moving
parts, follow the 

Pressure Relief Procedure

 if the

spray tip/nozzle clogs and whenever you:

D

are instructed to relieve the pressure,

D

stop spraying,

D

check or service any of the system equipment,

D

or install or clean the spray tip.

1.

Engage the dispensing valve safety latch.

2.

Shut off the feed pump and proportioning pump air
regulators and bleed-type master air valves.

CAUTION

If material is left in the heaters without fluid move-
ment, the material could “cook” and ruin the coating
as well as plug the heater. The heaters have a large
mass and take several minutes to cool.

3.

If the system has heaters, turn the power off to the
heaters 10 minutes prior to the completion of the
application.

4.

Flush the system immediately after completion of
the application.

5.

Disengage the dispensing valve safety latch.

6.

Hold a metal part of the dispensing valve firmly to
the side of a grounded metal pail, and trigger the
dispensing valve to relieve pressure.

7.

Engage the safety latch.

8.

Open the mixer manifold drain valves, having a
container ready to catch the drainage. Close the
valves immediately.

9.

Use the solvent pump to flush the mixer manifold
solvent valves and fluid line(s) to the applicator.

10. Ensure pump air pressure and main air valve are

closed.

11. If you suspect that the nozzle or hose is com-

pletely clogged, or that pressure has not been fully
relieved after following the steps above:

a.

Remove and clean tip from spray gun.

b.

Direct the gun into a grounded container and
slowly trigger the gun.

c.

If system is still plugged, very slowly loosen
the fitting at the mix manifold 1/4 turn, allow
liquid to run out until pressure is relieved.

d.

Remove and clean or replace plugged compo-
nent .

e.

Tighten any loosened fittings.

f.

Very slowly loosen the nozzle or hose end
coupling and relieve pressure gradually, then
loosen completely. Now clear the nozzle or
hose.

Handling Plural Component Fluid

WARNING

PLURAL COMPONENT FLUID
HAZARD

Be extremely cautious when handling
plural component materials and solvents
used with them. Some are extremely

toxic. See the 

Toxic Fluid Hazard 

warnings on

page 5. Read and follow the coating and solvent
manufacturer’s safety precautions and warnings.

Wear the proper protective clothing, eye protection,
gloves, and clean air breathing apparatus as
prescribed by the fluid manufacturers recommen-
dations, O.S.H.A. regulations and as approved by
N.O.I.S.H. for the chemicals being used.

Observe the Pot (Workable) Life Limit

Flush the mixed fluid out of the mixer, dispensing lines
and equipment before it hardens. Flush the complete
system when necessary to prevent the fluids from
hardening in the equipment and hoses. Check the fluid
manufacturer’s instructions for fluid shelf life, and flush
the entire system before this time is reached. Flush the
system with a compatible solvent as explained on 
page 21.

Summary of Contents for HYDRA-CAT FIXED RATIO

Page 1: ...reactive chemical materials that may be used in this equipment and is not responsible for their effects Because of the vast number of chemicals that could be used and their varying chemical reaction...

Page 2: ...raulic Displacement pump 36 Graco Warranty 40 Graco Phone Number 40 Related Manuals 10 1 Ratio BullDogR Pump 306821 KingR Air Motors 306968 PresidentR Air Motors 306982 BullDogR Air Motors 307049 Visc...

Page 3: ...el is also shown on the pump identification plate Be sure that all dispensing equipment and accessories are rated to withstand the maximum working pressure of your pump Do not exceed the maximum worki...

Page 4: ...or loose parts immediately Do not repair high pressure couplings you must replace the entire hose D Fluid hoses must have spring guards on both ends to help protect them from rupture caused by kinks o...

Page 5: ...of hazardous fluid according to all local state and national guidelines D Always wear protective eyewear gloves clothing and respirator as recommended by the fluid and solvent manufacturer D Avoid ex...

Page 6: ...motor This assures that the stroke rate and stroke length of all pump lowers are identical providing constant pro portioning The mix ratio is fixed by selecting compat ible sets of two or three lower...

Page 7: ...ustment of the feed pump pressures Never exceed 400 psi on the inbound fluid pressure and never exceed 25 of the Hydra Cat pump outbound fluid pressure on the feed supply Two Displacement Pumps with F...

Page 8: ...ed pump pressures Never exceed 25 of the Hydra Cat pump outbound fluid pressure on the feed supply Heavy Viscosity Heated Feed System with Three Displacement Pumps 1 2 See note above Connect to drain...

Page 9: ...ntact your nearest Graco representative Hydraulic Pump 7354A Fig 3 F B Y C D A E G H J KEY A Hydraulic Pump B Mounting Stand C Hydraulic Supply Line D Hydraulic Return Line E Drain Line from pressure...

Page 10: ...id requirements of your system Read all instructions in the Installation section for further details NOTES 1 Models with three displacement pumps always use the two outer displacement pumps to supply...

Page 11: ...very day 3 Filters be sure your hydraulic power supply U is equipped with a suction filter to the hydraulic pump and a system return line filter S of 10 micron size Carefully follow the manufacturer s...

Page 12: ...es L are required in your system to relieve fluid pressure in the hose and gun see the WARNING above 5 Fluid hoses use only grounded fluid hoses 6 Hydraulic Power Supply or Air compres sor follow manu...

Page 13: ...air valve A in the pump air inlet 2 Install an air regulator and gauge E to control pump outlet pressure 3 Install a pump runaway valve D for each feed pump to automatically shut off the air to the p...

Page 14: ...ward rather than backwards as shown in Fig 7 Two Displacement Pump Models 1 Connect the resin supply hose EE to the 3 4 npt swivel inlet 37B for the resin displacement pump See Fig 7 2 Connect the har...

Page 15: ...e three screws 201a and lockwashers 201b supplied with each heater 2 Connect a swivel union 202 to the outlet of each heater 3 Connect a swivel union 203 to the inlet of each heater CAUTION Use heater...

Page 16: ...ner fluid hose 204B between union 17B and swivel 203B at heater inlet 3 Install another hardener fluid hose FB between heater outlet elbow 202B and hardener side of mixer manifold 23 4 Repeat Steps 1...

Page 17: ...6A 16B on each side of the mixer manifold 23 Turn the unions 17A 17B so the outlet faces up See Figs 12 and 13 2 Connect a new hardener fluid hose 204B between the union 17B and the swivel 203B at the...

Page 18: ...from the back of the swivel union 3 and install the adapter 301 Rotate the regulator gauge elbow 4 so the gauge is facing the operator 4 Couple the hose 303 and couplings 302 Connect the hose 303 to...

Page 19: ...dogR 14 34 375 mm KingR 21 5 534 mm PresidentR 16 06 408 mm ViscountR 11 2 284 48 mm ViscountR II 18 6 472 mm 1 3 4 2 1 3 4 2 5 7 6 7 6 5 32 3 4 832 mm 28 1 4 718 mm 17 3 4 451 mm 30 1 4 768 mm 11 279...

Page 20: ...that some moisture may get into the lines which could contaminate the hardener so flush again before restarting the system How to Operate the Mixer Manifold Push handle KK down to open or up to close...

Page 21: ...inimum pressure See Fig 15 5 Open the main master air valve A5 See Fig 16 6 Open the hardener pump master air valve A1 See Fig 16 7 Open the hardener side drain valve P1 Open the mixer manifold handle...

Page 22: ...RIC SHOCK HAZARD on page 4 Be sure the entire system and flushing pails are properly grounded Refer to Grounding on page page 11 Flush the pump D Before the first use D When changing fluids D Before s...

Page 23: ...solvent valves and fluid line s to the applicator 10 Ensure pump air pressure and main air valve are closed 11 If you suspect that the nozzle or hose is com pletely clogged or that pressure has not be...

Page 24: ...n If you suspect that the spray tip nozzle or hose is completely clogged or that pressure has not been fully relieved after following the steps above very slowly loosen the hose end coupling and relie...

Page 25: ...ly Monitor system material supply regularly based on system usage CAUTION Establish a rigid system for monitoring the material supply to prevent the pumps from running dry A sudden lack of material in...

Page 26: ...to get material to flow 5 When material begins to flow through drain valves P close valves 6 Turn power on to heaters if used and wait 5 minutes for heaters to warm up 7 Open proportioning pump air va...

Page 27: ...cking Mix Ratio WARNING INJECTION HAZARD To reduce the risk of serious injury follow the Pressure Relief Procedure on page 23 whenever you are instructed to relieve the pressure NOTE Since this is a f...

Page 28: ...valve P and the return line shutoff valve R 3 Start the hydraulic power supply 4 Hold a metal part of the gun firmly to the side of a grounded metal pail and hold the trigger open 5 Open the return li...

Page 29: ...ssure causes premature pump wear CAUTION Do not allow the pump to run dry It will quickly accelerate to a high speed causing damage If your pump is running too fast stop it immediately and check the f...

Page 30: ...es Clean Static Mixer Visually inspect the static mixer G weekly Replace the static mixer if clogged or damaged See Fig 21 1 Follow the Pressure Relief Procedure on page 23 2 Remove the hose H from th...

Page 31: ...ACKING 2 PISTON PACKING 3 PISTON BALL CHECK RISING FALLING RISING RESIN PUMP HARDENER PUMP TROUBLE AREA RESIN PUMP LEAKAGE 1 THROAT PACKING 2 FOOT VALVE BALL CHECK FALLING RISING RESIN PUMP HARDENER P...

Page 32: ...nnections Service pump See instructions in sepa rate manual 307944 or 684004 Pump operates but resin output pressure drops during upstroke Dirty worn or damaged resin pump pis ton valve Worn or damage...

Page 33: ...worn or damaged hardener pump intake valve Fluid supply low Clean service pump See instructions in separate manual 307944 or 684004 Refill or change container Fluid leaks around fluid pump packing nu...

Page 34: ...in the pumps Stop the pump at the bottom of its stroke CAUTION If you are changing to a different type of fluid com pletely clean all of the equipment and hoses making sure that no fluid remains in a...

Page 35: ...er displacement pump rod through the tie plate 121 center locknut 123 and wash er 115 Thread the displacement rod into the yoke 114 by turning the complete cylinder Use a wrench on the flats of the di...

Page 36: ...fer to the separate motor manual 307158 supplied Reconnecting the Displacement Pumps 1 Apply thread sealant to the threads of the coupler 2 and screw it onto the hydraulic motor Place the gasket 3 on...

Page 37: ...308986 37 Service Hydraulic System Displacement Pump 7355A Fig 26 1 2 Torque to 40 50 ft lb 53 68 NSm Apply thread sealant 3 1 2 3 4 14 10 11 24 12 13 7 5 23 6 Lubricate R 2 2 2 1 1 1 3 3...

Page 38: ...38 308986 Notes...

Page 39: ...308986 39 Notes...

Page 40: ...ach of warranty shall be as set forth above The buyer agrees that no other remedy including but not limited to incidental or consequential damages for lost profits lost sales injury to person or prope...

Reviews: